
Step 6: Wood Floors, Ceiling, and Walls.
It’s time to give your dream some form. Pretty much you want to cover all the areas you insulated so you can start building your storage areas. I chose to go with a plywood floor, thin plywood walls (thin enough to bend/contour to the shape of my van), tongue-and-groove ceiling. Tons of different flooring/ceiling options out there just make sure the floor can take a beating, because it will! Nothing in your van is flat. Front-to-back, side-to-side, almost no surface in the E-350 has perfect right angles, so you will be constantly cutting custom shapes (put into place, make a mark, remove, cut, repeat until it fits).
Tools /Materials used:
- Dewalt Drill 20V Cordless
- Dewalt Drill Bits
- Basic Tool Set
- JigSaw – Makita corded JigSaw
- JigSaw Blades – 3 Pack – I used a few different blades, found that the fine tooth took longer but made smoother cuts.
- Flooring: Birch Plywood 1/2in. x 2 ft x 4 ft
- Qty: 2
- Ceiling: Pine Board – 1 in. x 8 in. x 12 ft. Tongue and Groove Pine Board
- Qty: 9
- Walls: Birch 5mm Plywood – 0.196 in. X 48 in. X 96 in
- Qty: 3
- Quarter Round – 3/4″ Wood – Used for finishing the facure board to ceiling interface and eventually the interface at the back wall/side wall (this will be completed in Step 11: Finishing work)
- Qty: 36′
- Finishing Nails – Nails – Used for the quarter Round
- Qty: 100
- Wood Glue – Gorilla Wood Glue 8 oz
- Qty: 1
- Screws – GripRite #6 x 1-1/4″ Gold Screws – Used for floor and ceiling. (Make sure your screws aren’t too long for your van and you accidentally screw through the outer sheet metal!)
- Qty: 1lb pack
- Screws – #6 x 1/2″ Philips Screws – Used for walls (drill pilot holes)
- Qty: 200
- Screws – #6 x 1″ Philips Screws – Used for walls where 1/2″ screws were too short
- Qty: 100
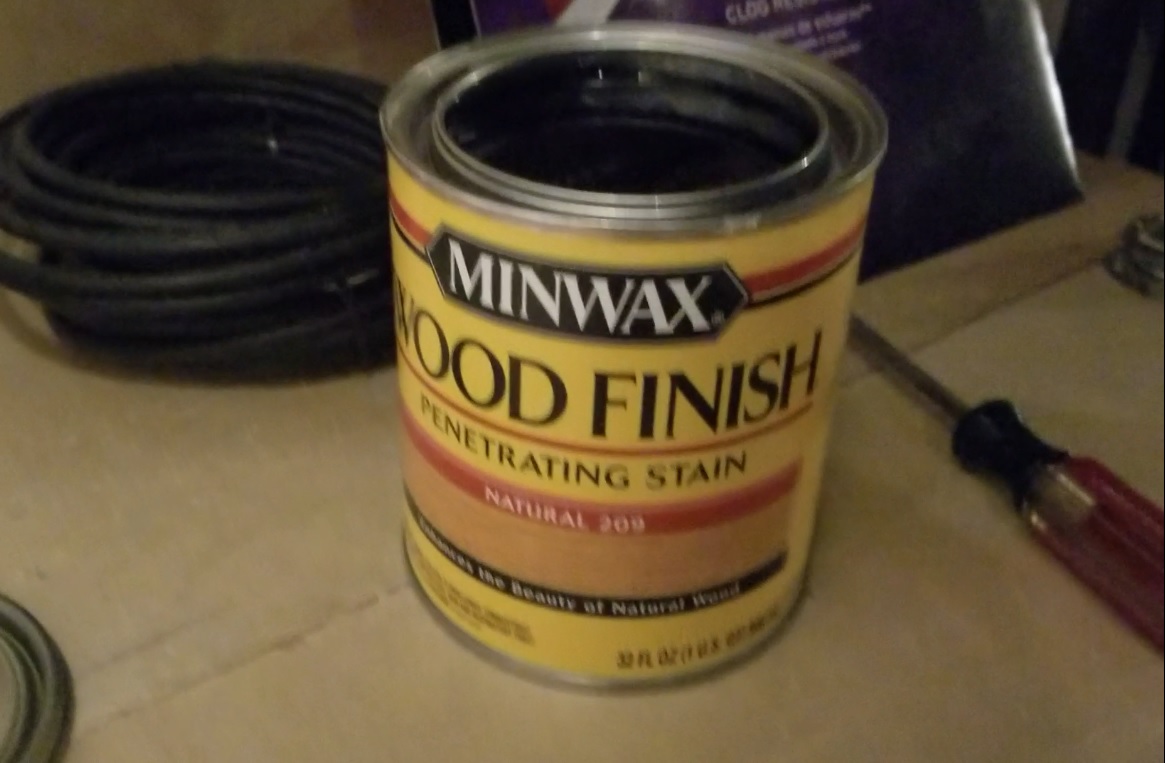
- Stain – Natural 209 MinWax Wood Finish Stain
- Qty: Quart
- Sealer – MinWax Polycrylic Clear Sealant
- Qty: Quart
- Stain Pad – Stain Sponge
- Qty: 2
- Puck Lights – LED Overhead Lights
Procedure:
Flooring:
- Use the carpet as a template for your plywood flooring. I ended up using 2 sheets and cutting them into 3 pieces to fit the floor of the van.
- Use a chalk-line tool to indicate the location of the ribs of the floor of the van. I wanted to make sure I was getting a good interface between the wood and the van’s sheet metal floor below the insulation.
- I drilled small pilot holes, and then used screws to secure it to the floor.
- Caution! Ensure that your screws aren’t too long! You could potentially put a screw through the floor and hit wiring or another component beneath your frame, so keep that in mind!
- You’ll seal and paint this after the bed and the cabinets are installed. You can do this before if you like, your call.
 Use the subfloor insulation as a template and start cutting!


Floor Install Video:
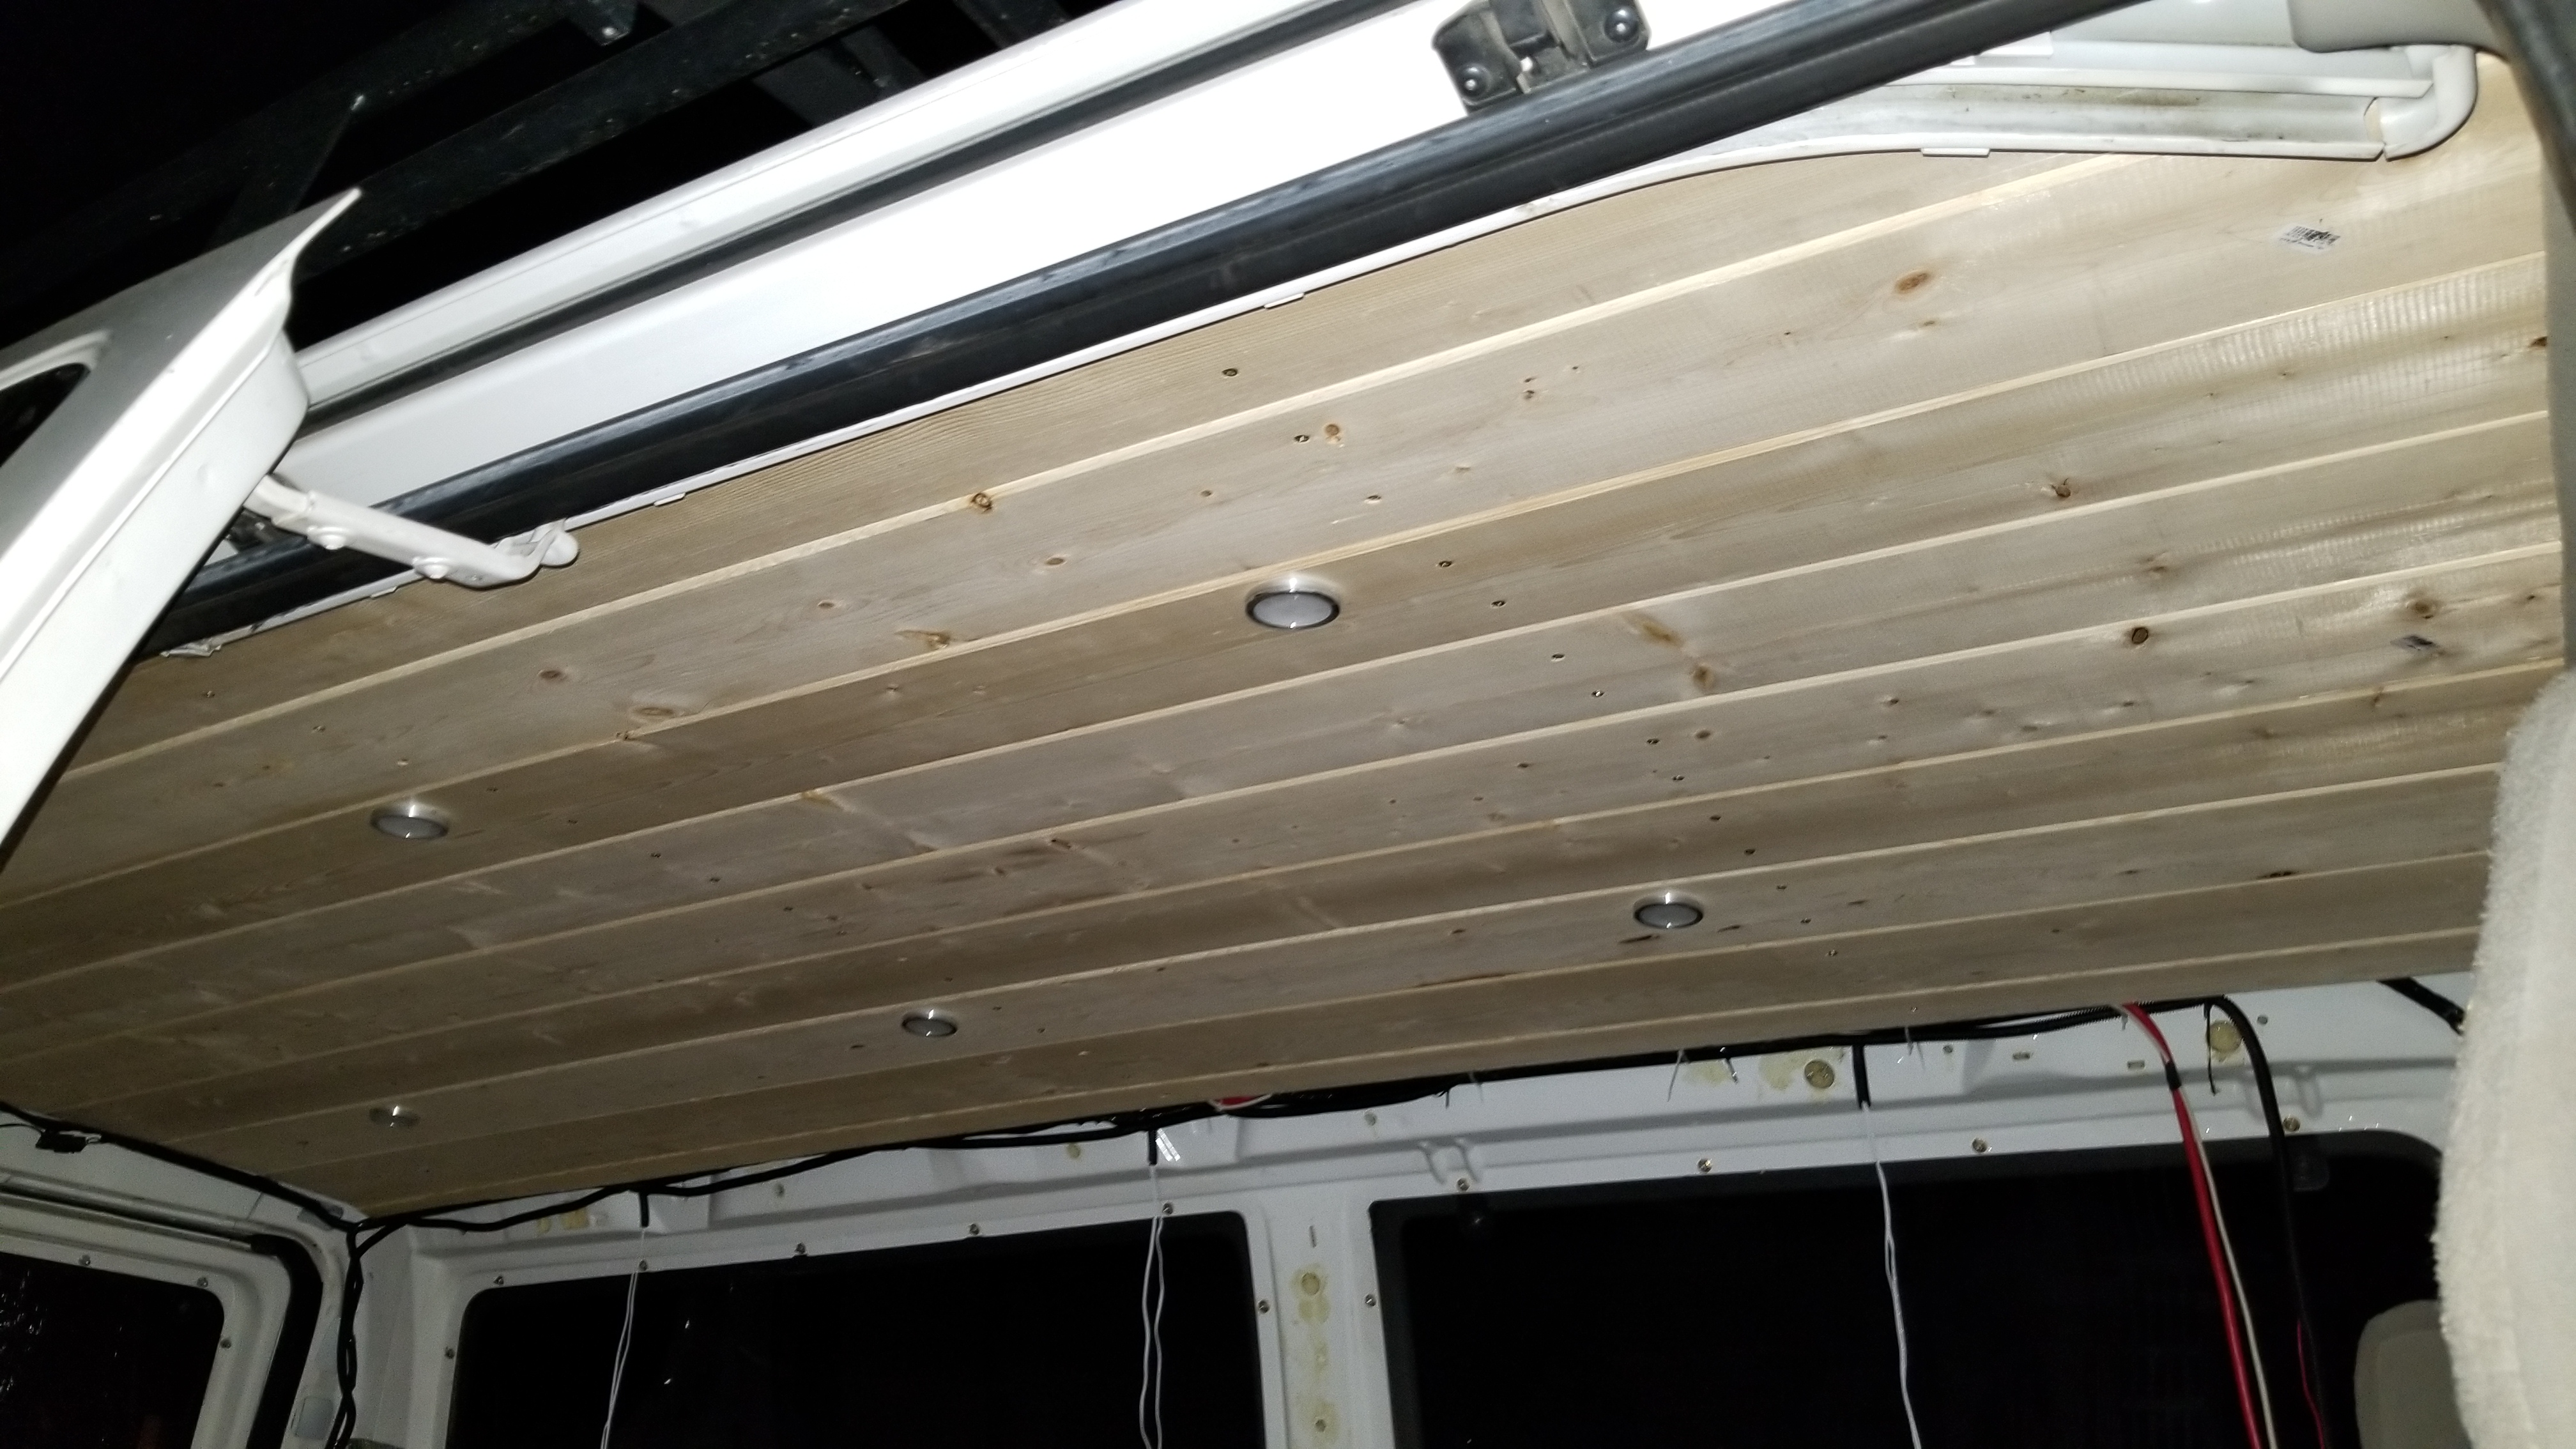
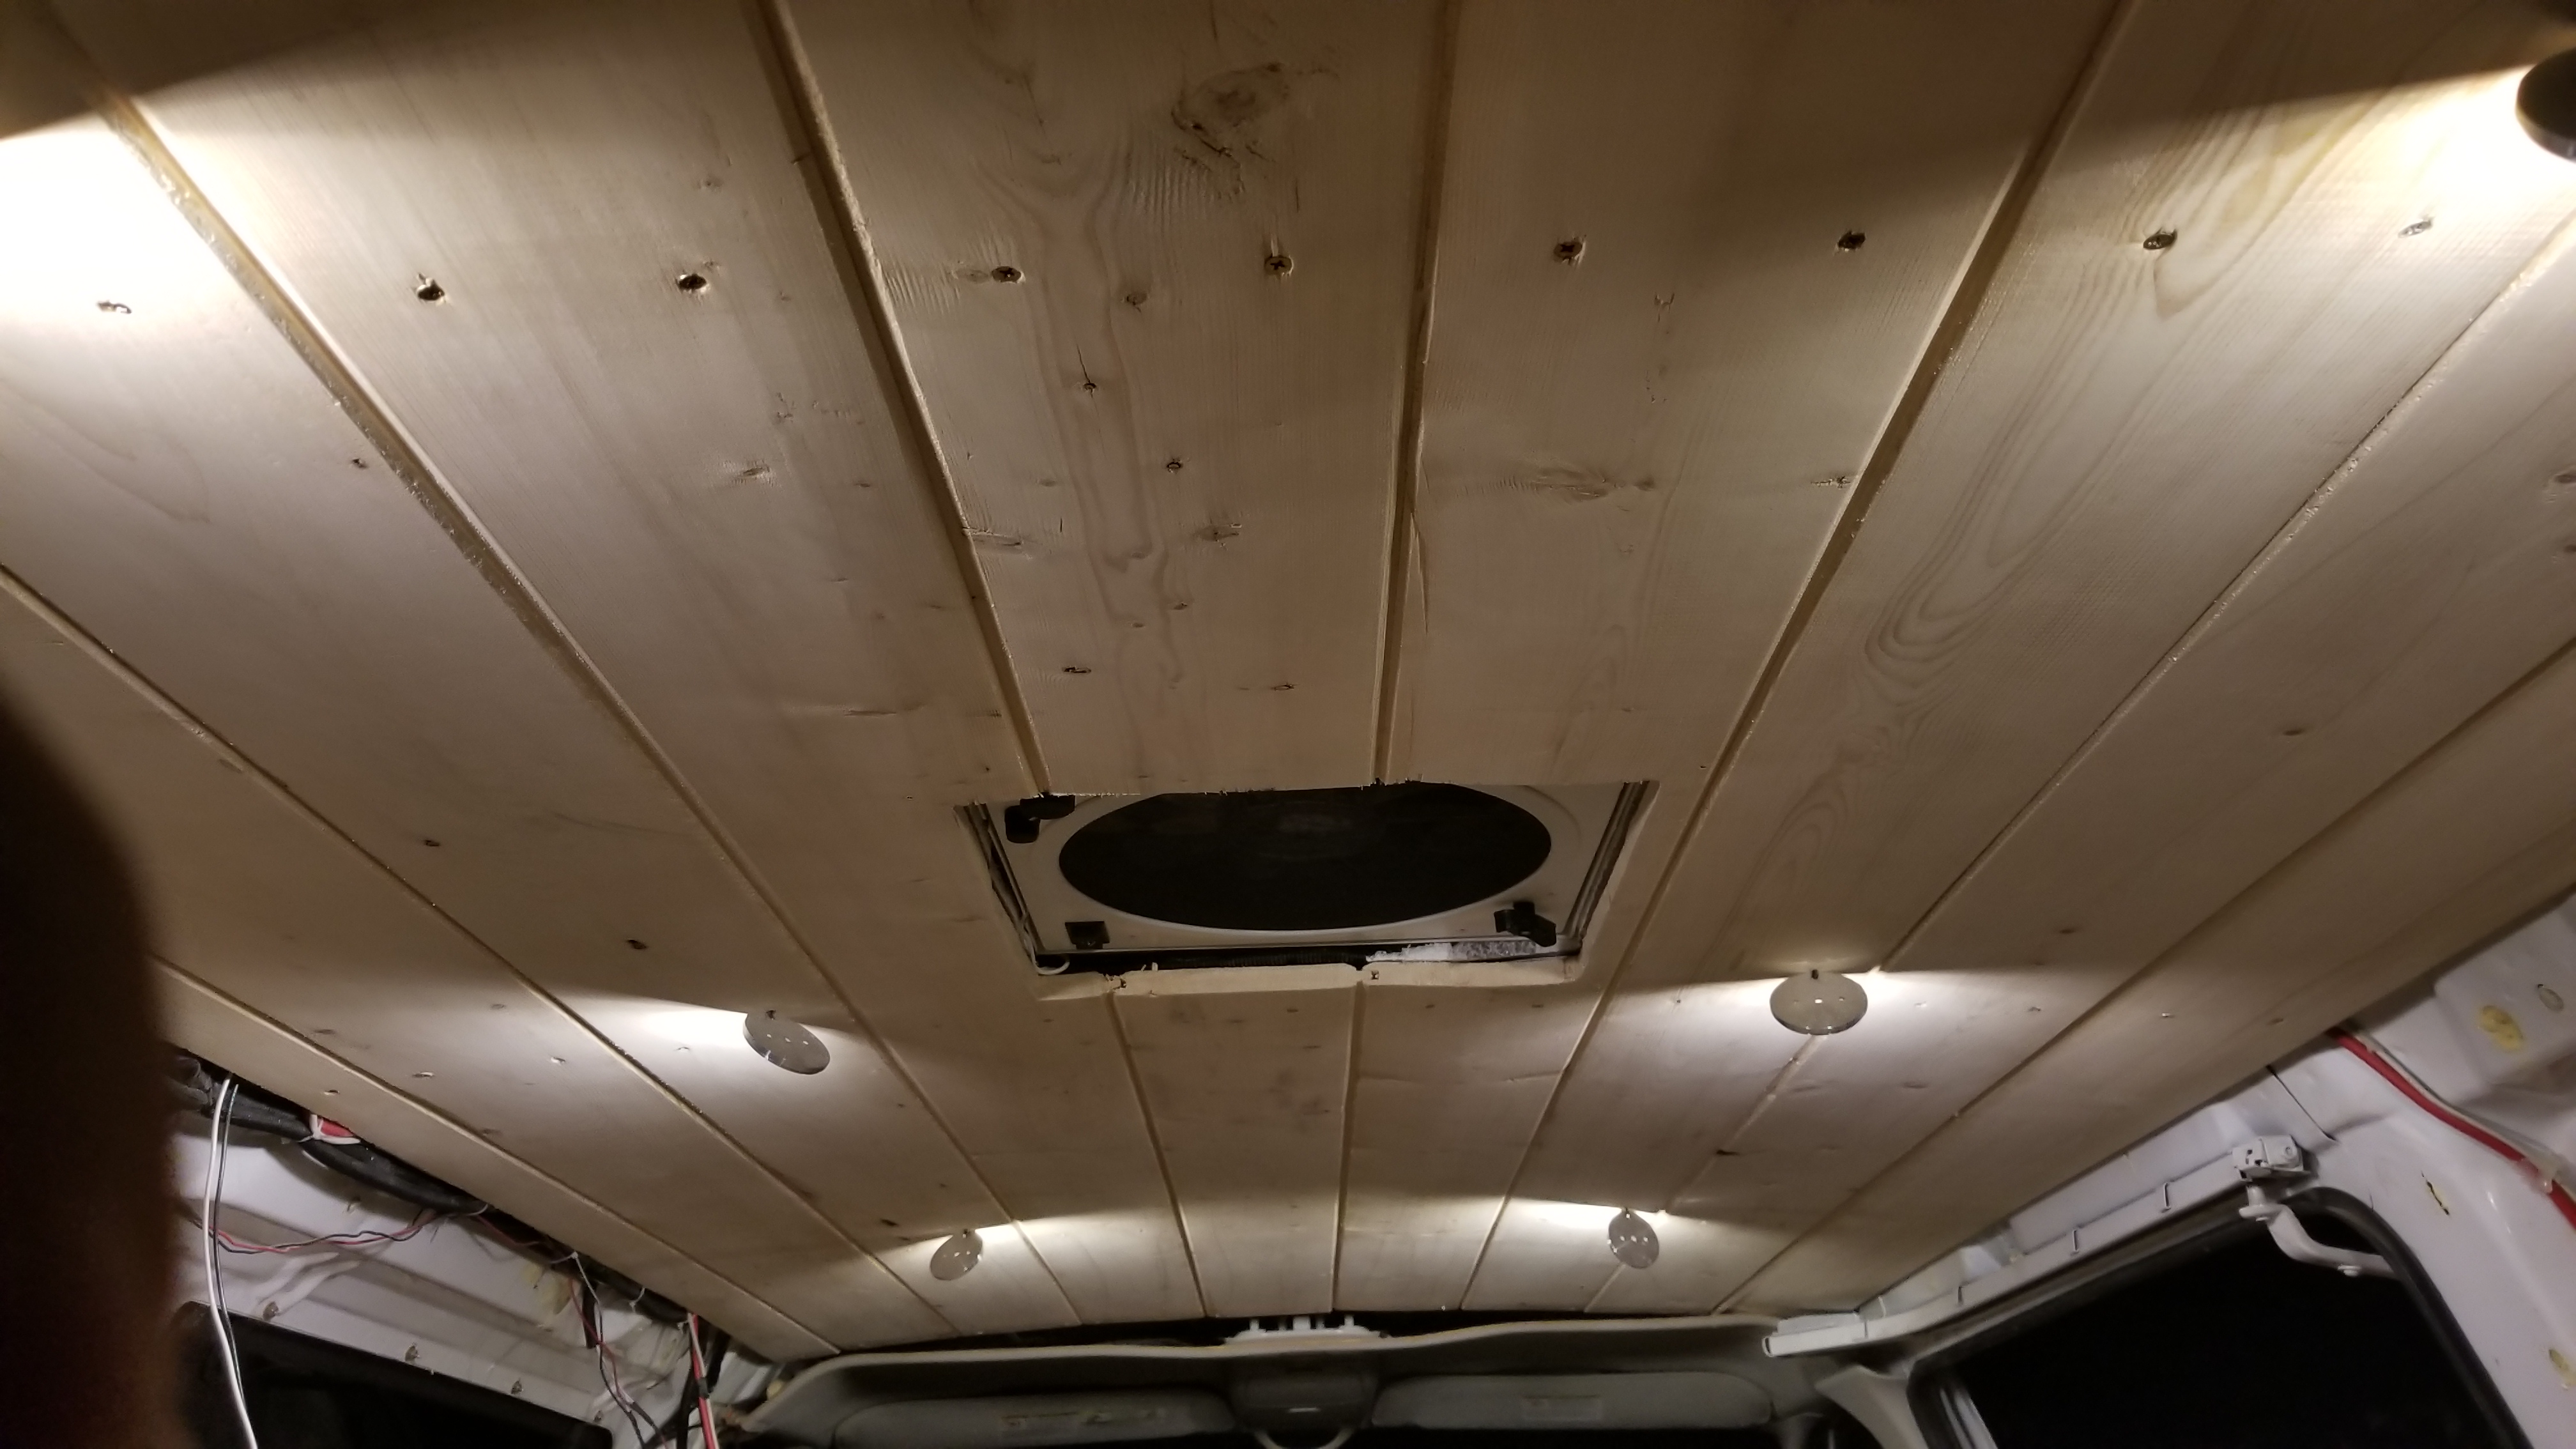
Ceiling:
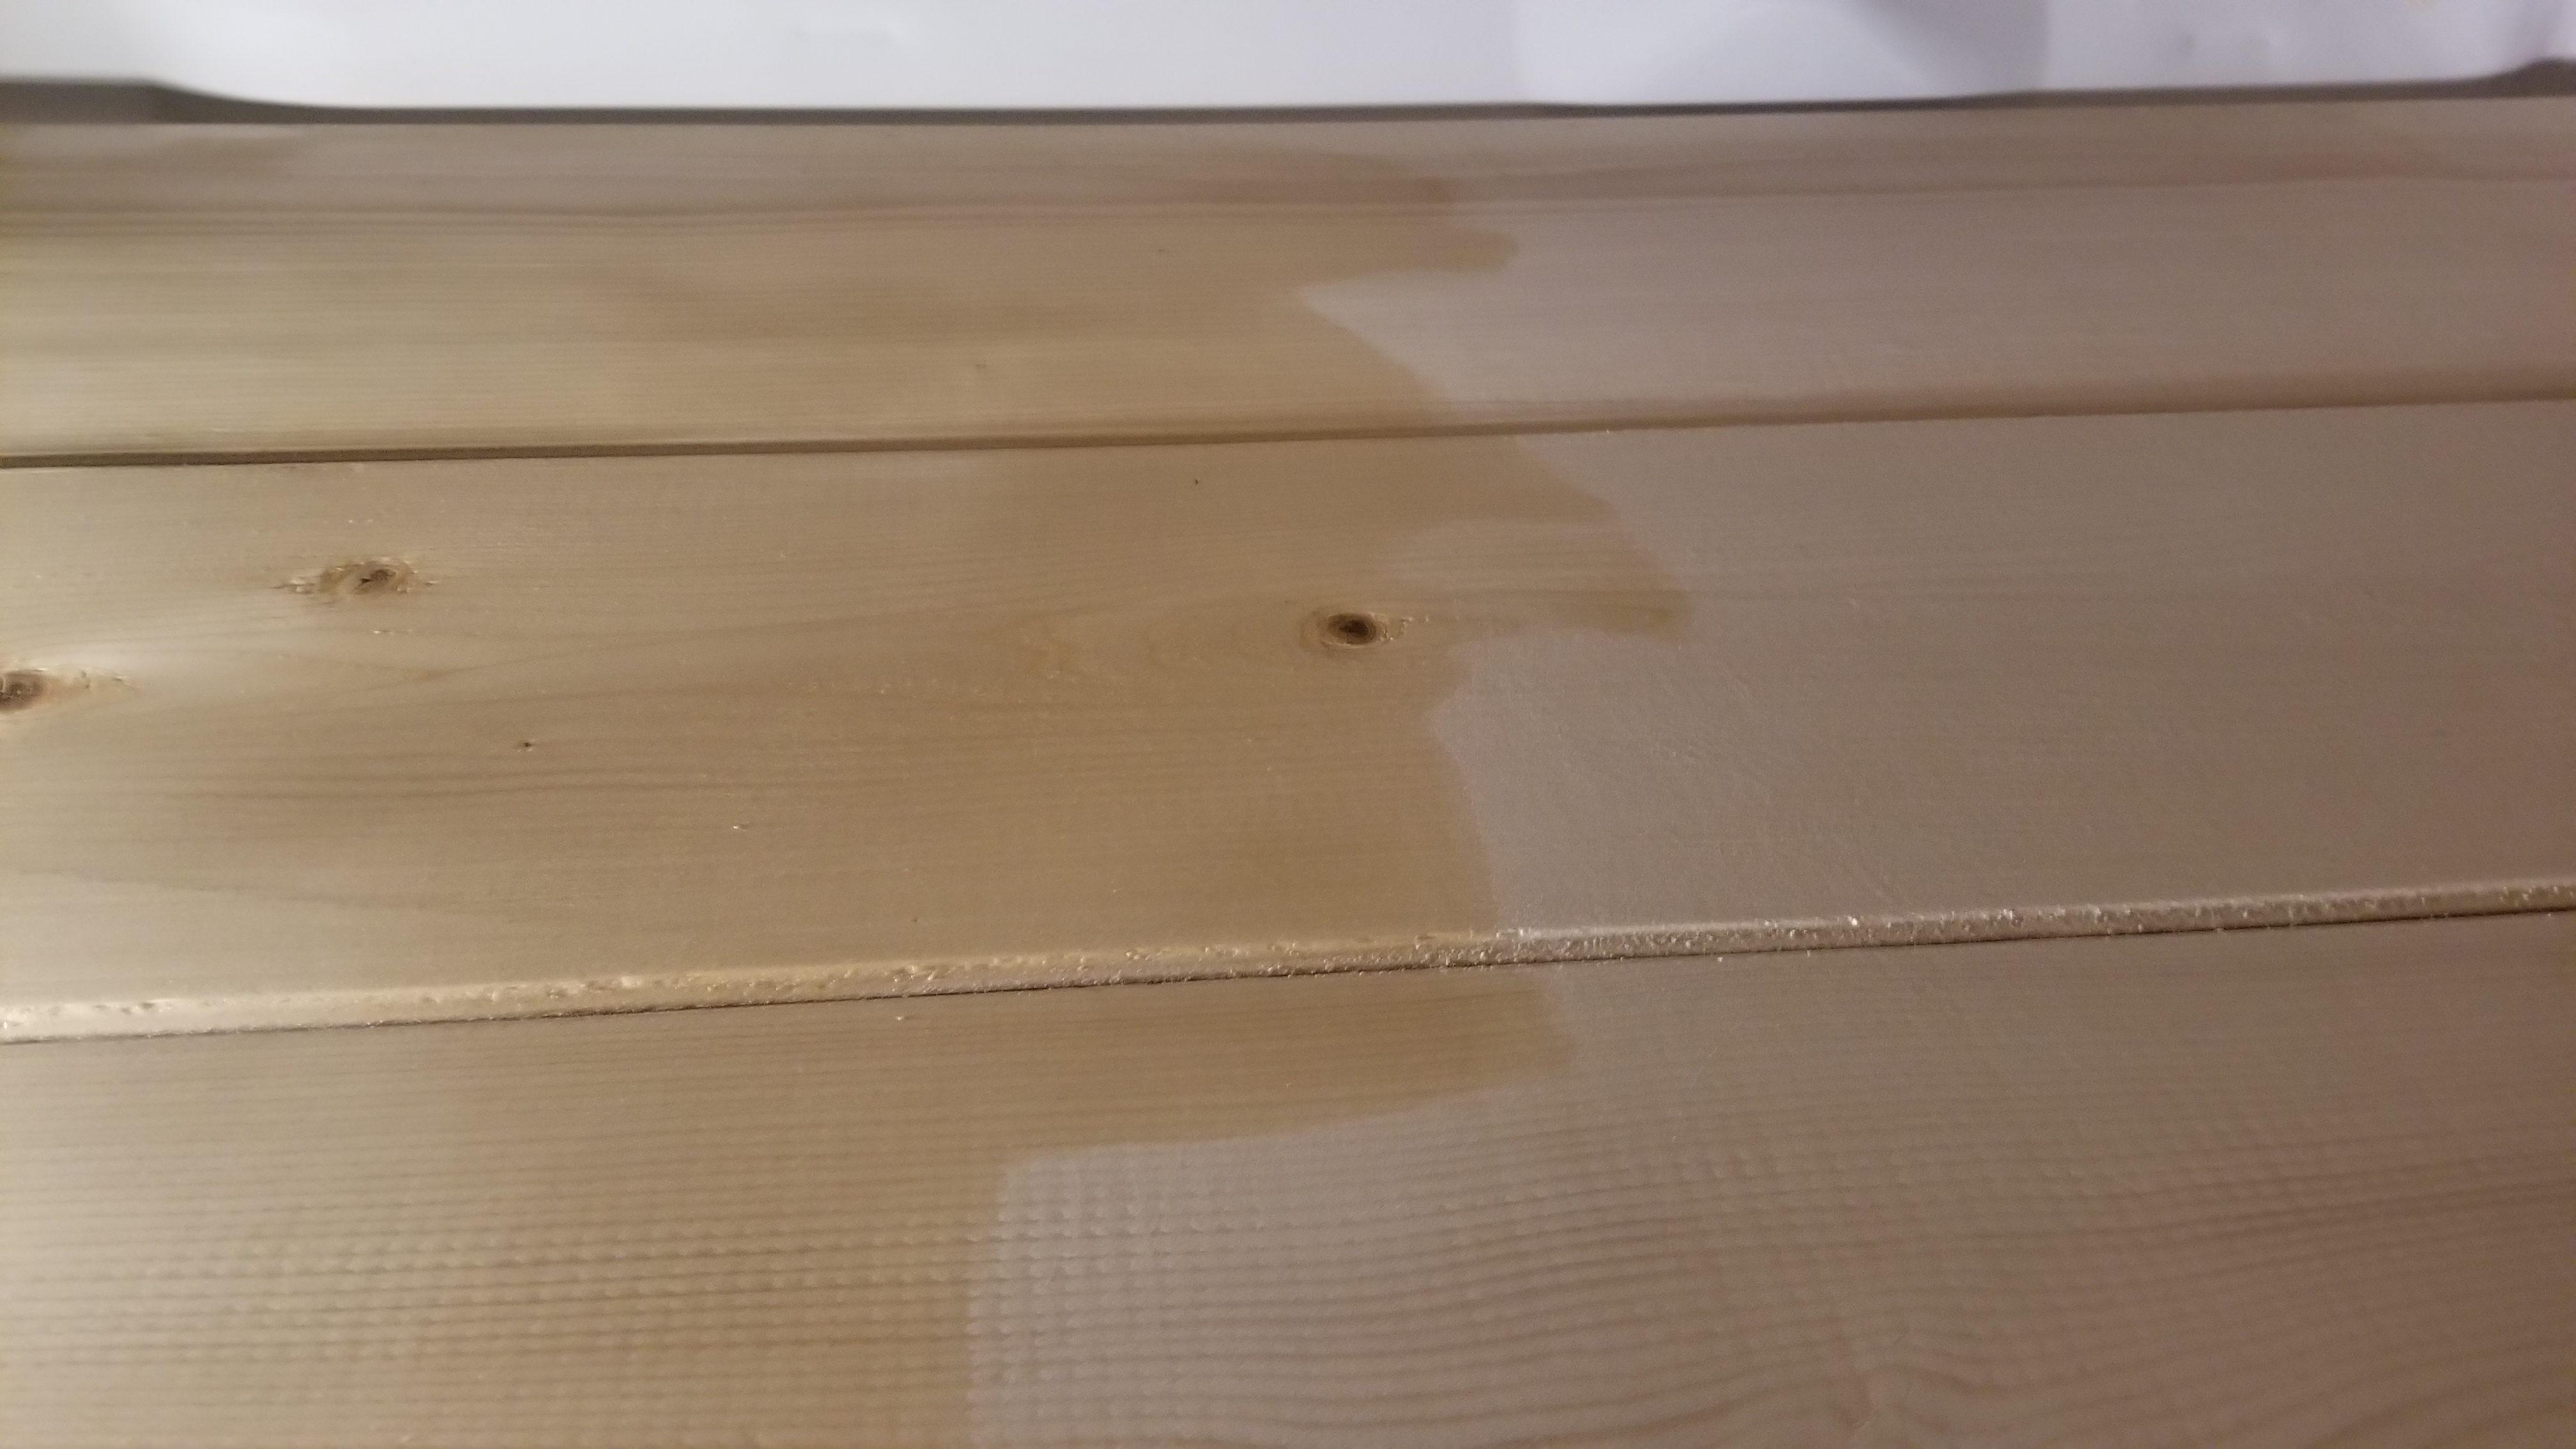
- First stain and seal the wood if you are planning to, before you put them in (save yourself some overhead work like I had to go through, lesson learned:
- Video: https://youtu.be/HfAn_Ar1_ew)! I used a light natural wood stain (it really makes the wood pop). Then I sealed the wood.
- I butted up my first tongue-and-groove piece against the passenger side of the van (Note: from what I’ve seen, if you want perfect symmetry you should start in the center of the van and work outwards, lesson learned). I cut the tongue off this first piece so it would snug up nicely to the edge. I screwed the first piece in where the ribs of the vans ceiling were to secure it in place (make sure your screws aren’t too long as you don’t want a hole in your roof!). I moved along towards the driver’s side, fitting in the next piece and snugging it up before screwing it in. Once I reached a board where I planned to have a puck light installed, I drilled a hole through the board for the puck light wires, ran the wires through, installed the puck light to the board, and snugged it up before screwing it in place. I continued this process until I reached the driver’s side of the van’s ceiling. For the last piece I had to cut a custom sized board to fit in place (this was a pain in the butt to get the last piece in, but it was tight and eventually went). Nothing in this van is flat and everything you cut will be custom.

Ceiling Install Videos:
- Installing lights in ceiling as you build – https://youtu.be/7z3_SqxVKvE
- Install progression – https://youtu.be/NnyGosqdtIo
- Install complete – https://youtu.be/OYBg8EedUek
- Staining ceiling and floor: https://youtu.be/McOwaKKnKiM
Walls:
- My particular passenger van had a metal tab/lip that protruded out which would obstruct the wood walls from going down to the floor. I took a large hammer and beat this tab/lip flat so I had a good surface to work with (I covered this in the insulation section, but wanted to note it just in case you insulated your van differently).
Video: https://youtu.be/NPkwn7DhH-M
 Lip beat down!
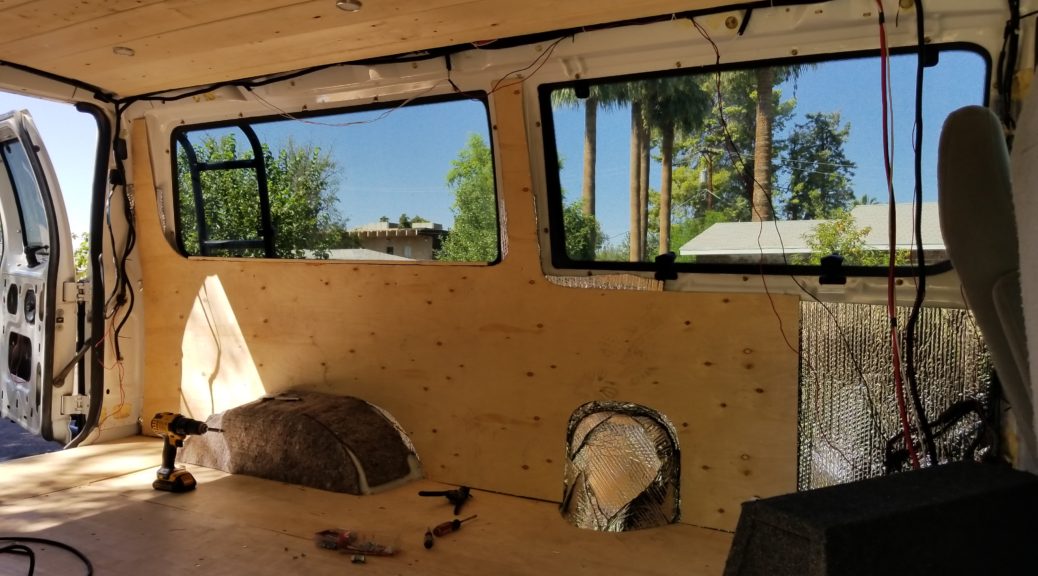
- I used a thin (0.20” thick) piece of plywood for my walls. I chose something thin so it would bend with the shape of the van’s sheet metal. This step was quite a pain to be honest. I wanted to keep the wood in one piece if possible, which means a lot of custom work, templates, fitting, marking, cutting, in and out of the van like 30 times before you finally have the right piece to fit. Once you have the right fit, screw it into place with appropriate sized screws (drill pilot holes) for where you are placing it.

Walls up and in! 
Custom back wall pieces cut with a newspaper template. I put this off until later in the build because I was dreading it, just go ahead and get it over with before the upper facer boards go in! 
Walls in progress! 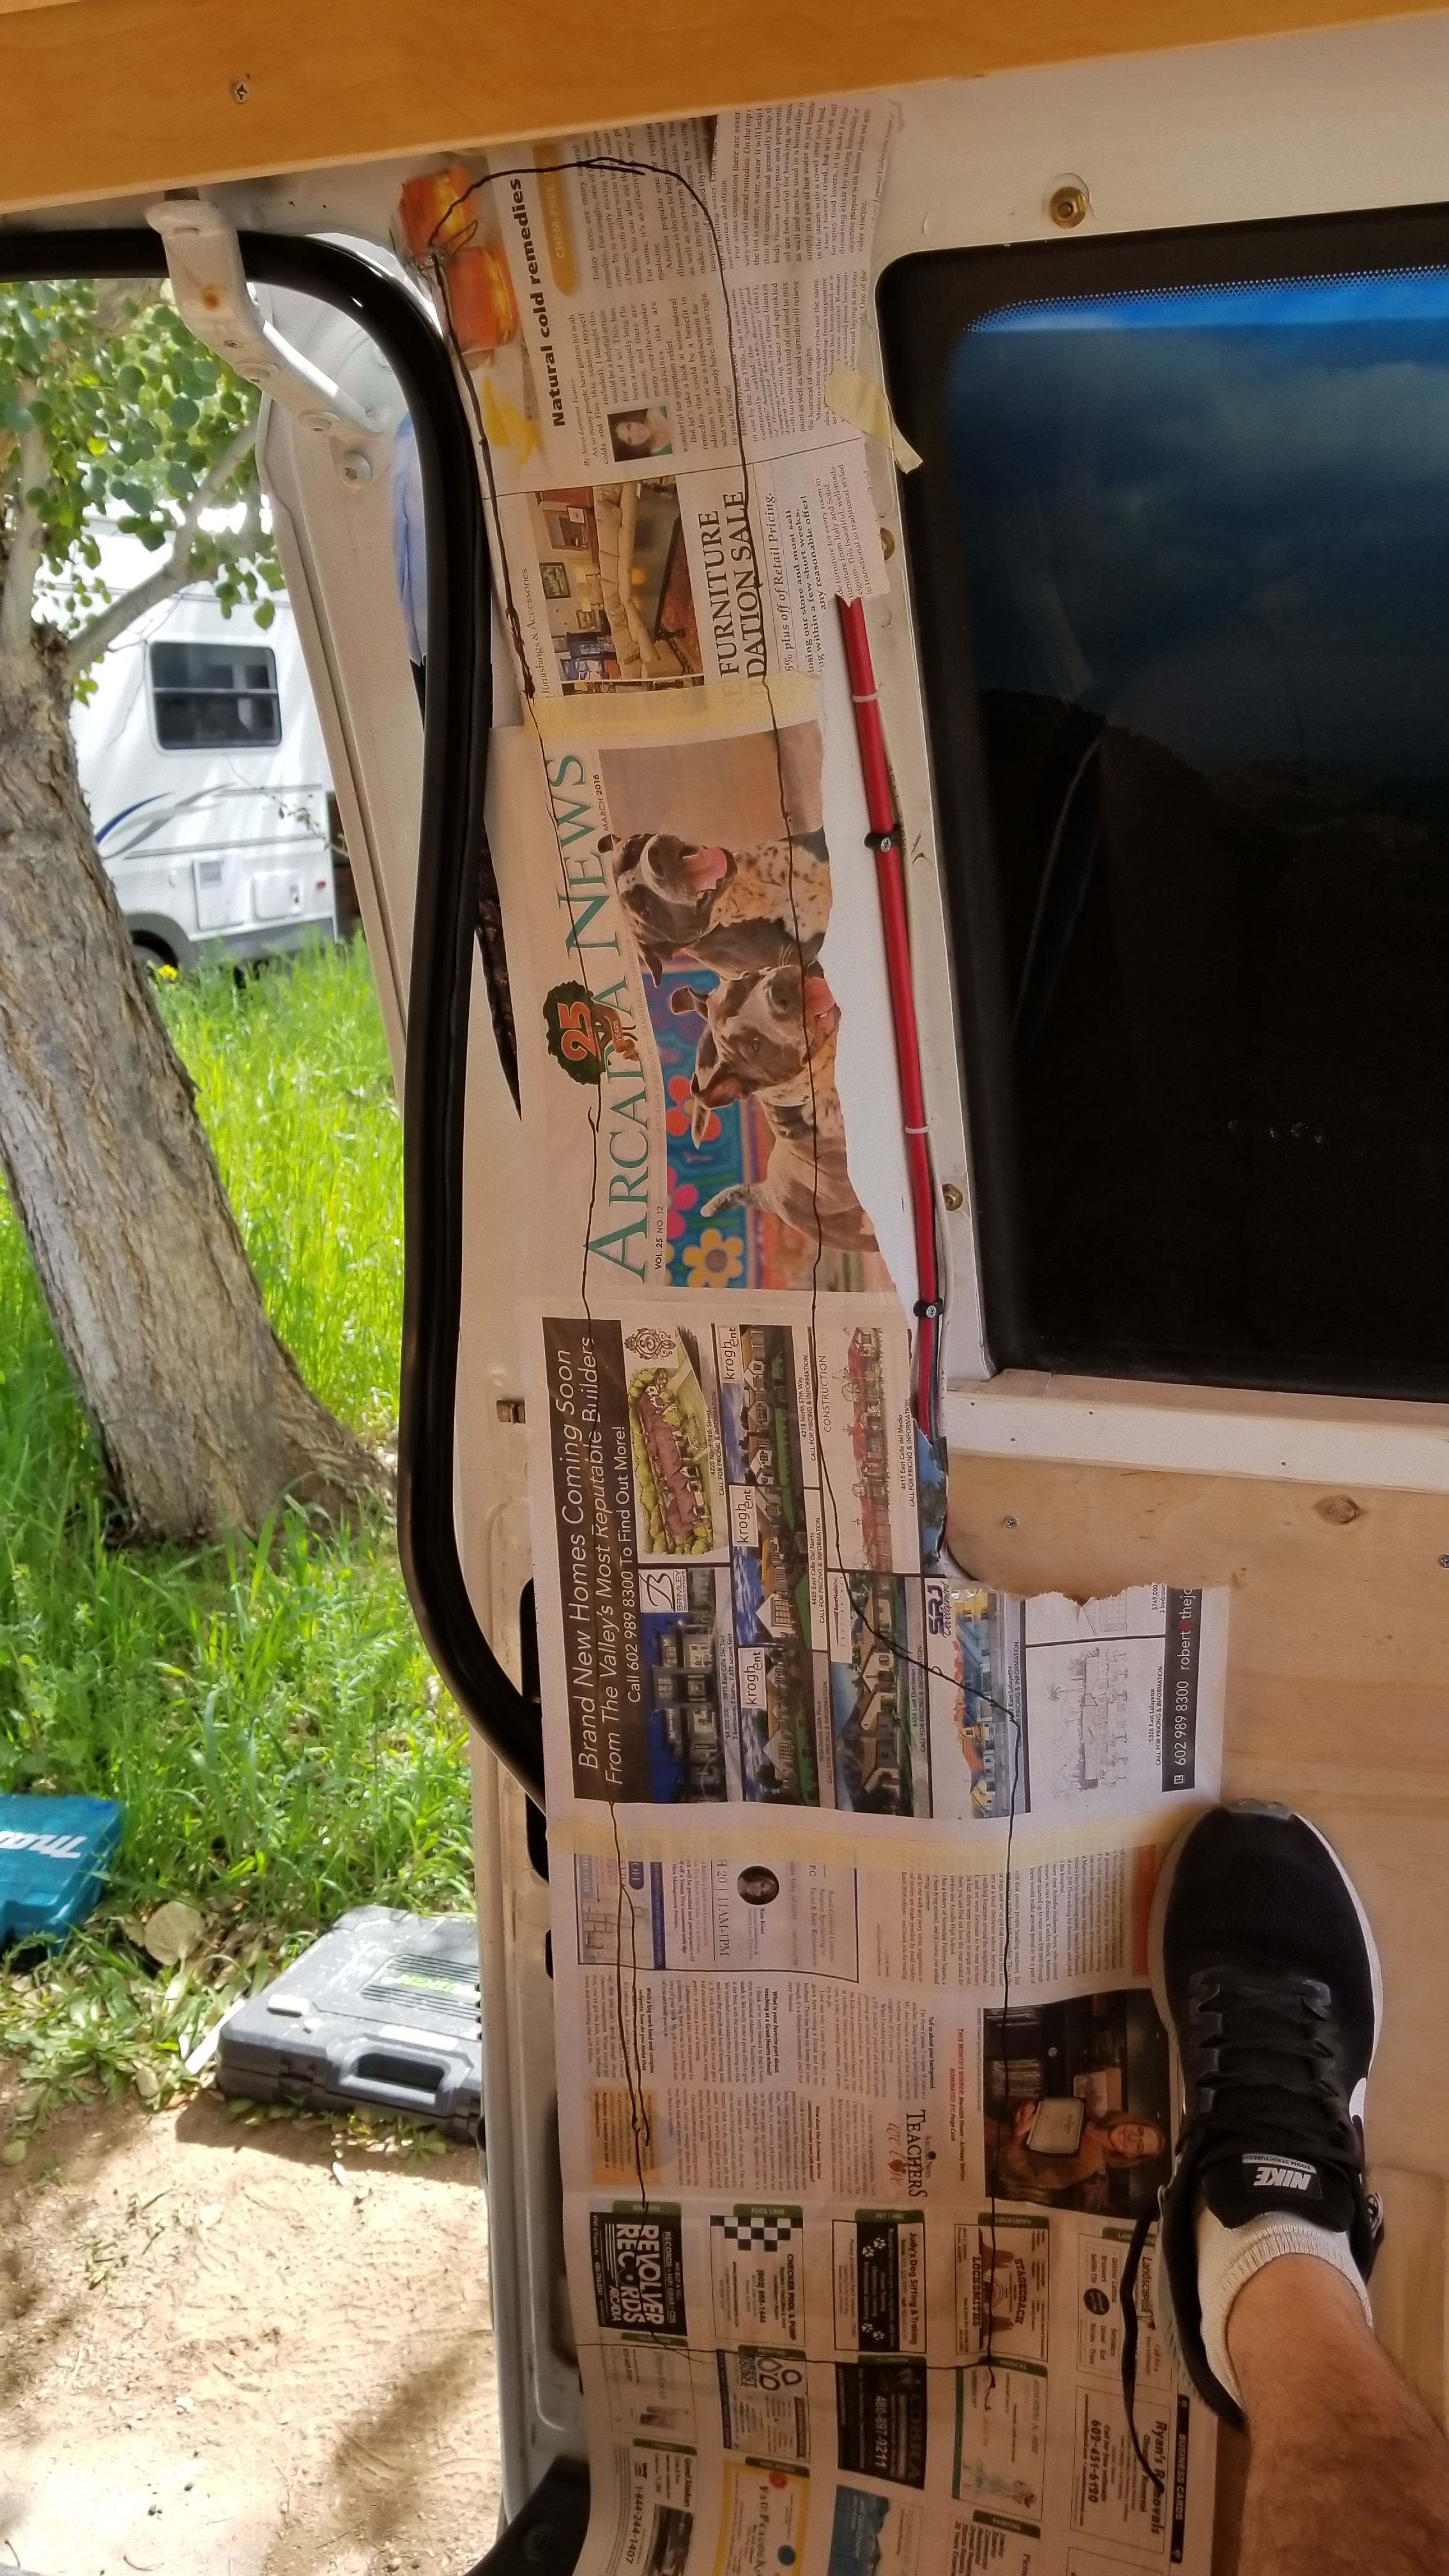
Use newspaper where you can for custom templates, it’ll save your sanity a little! 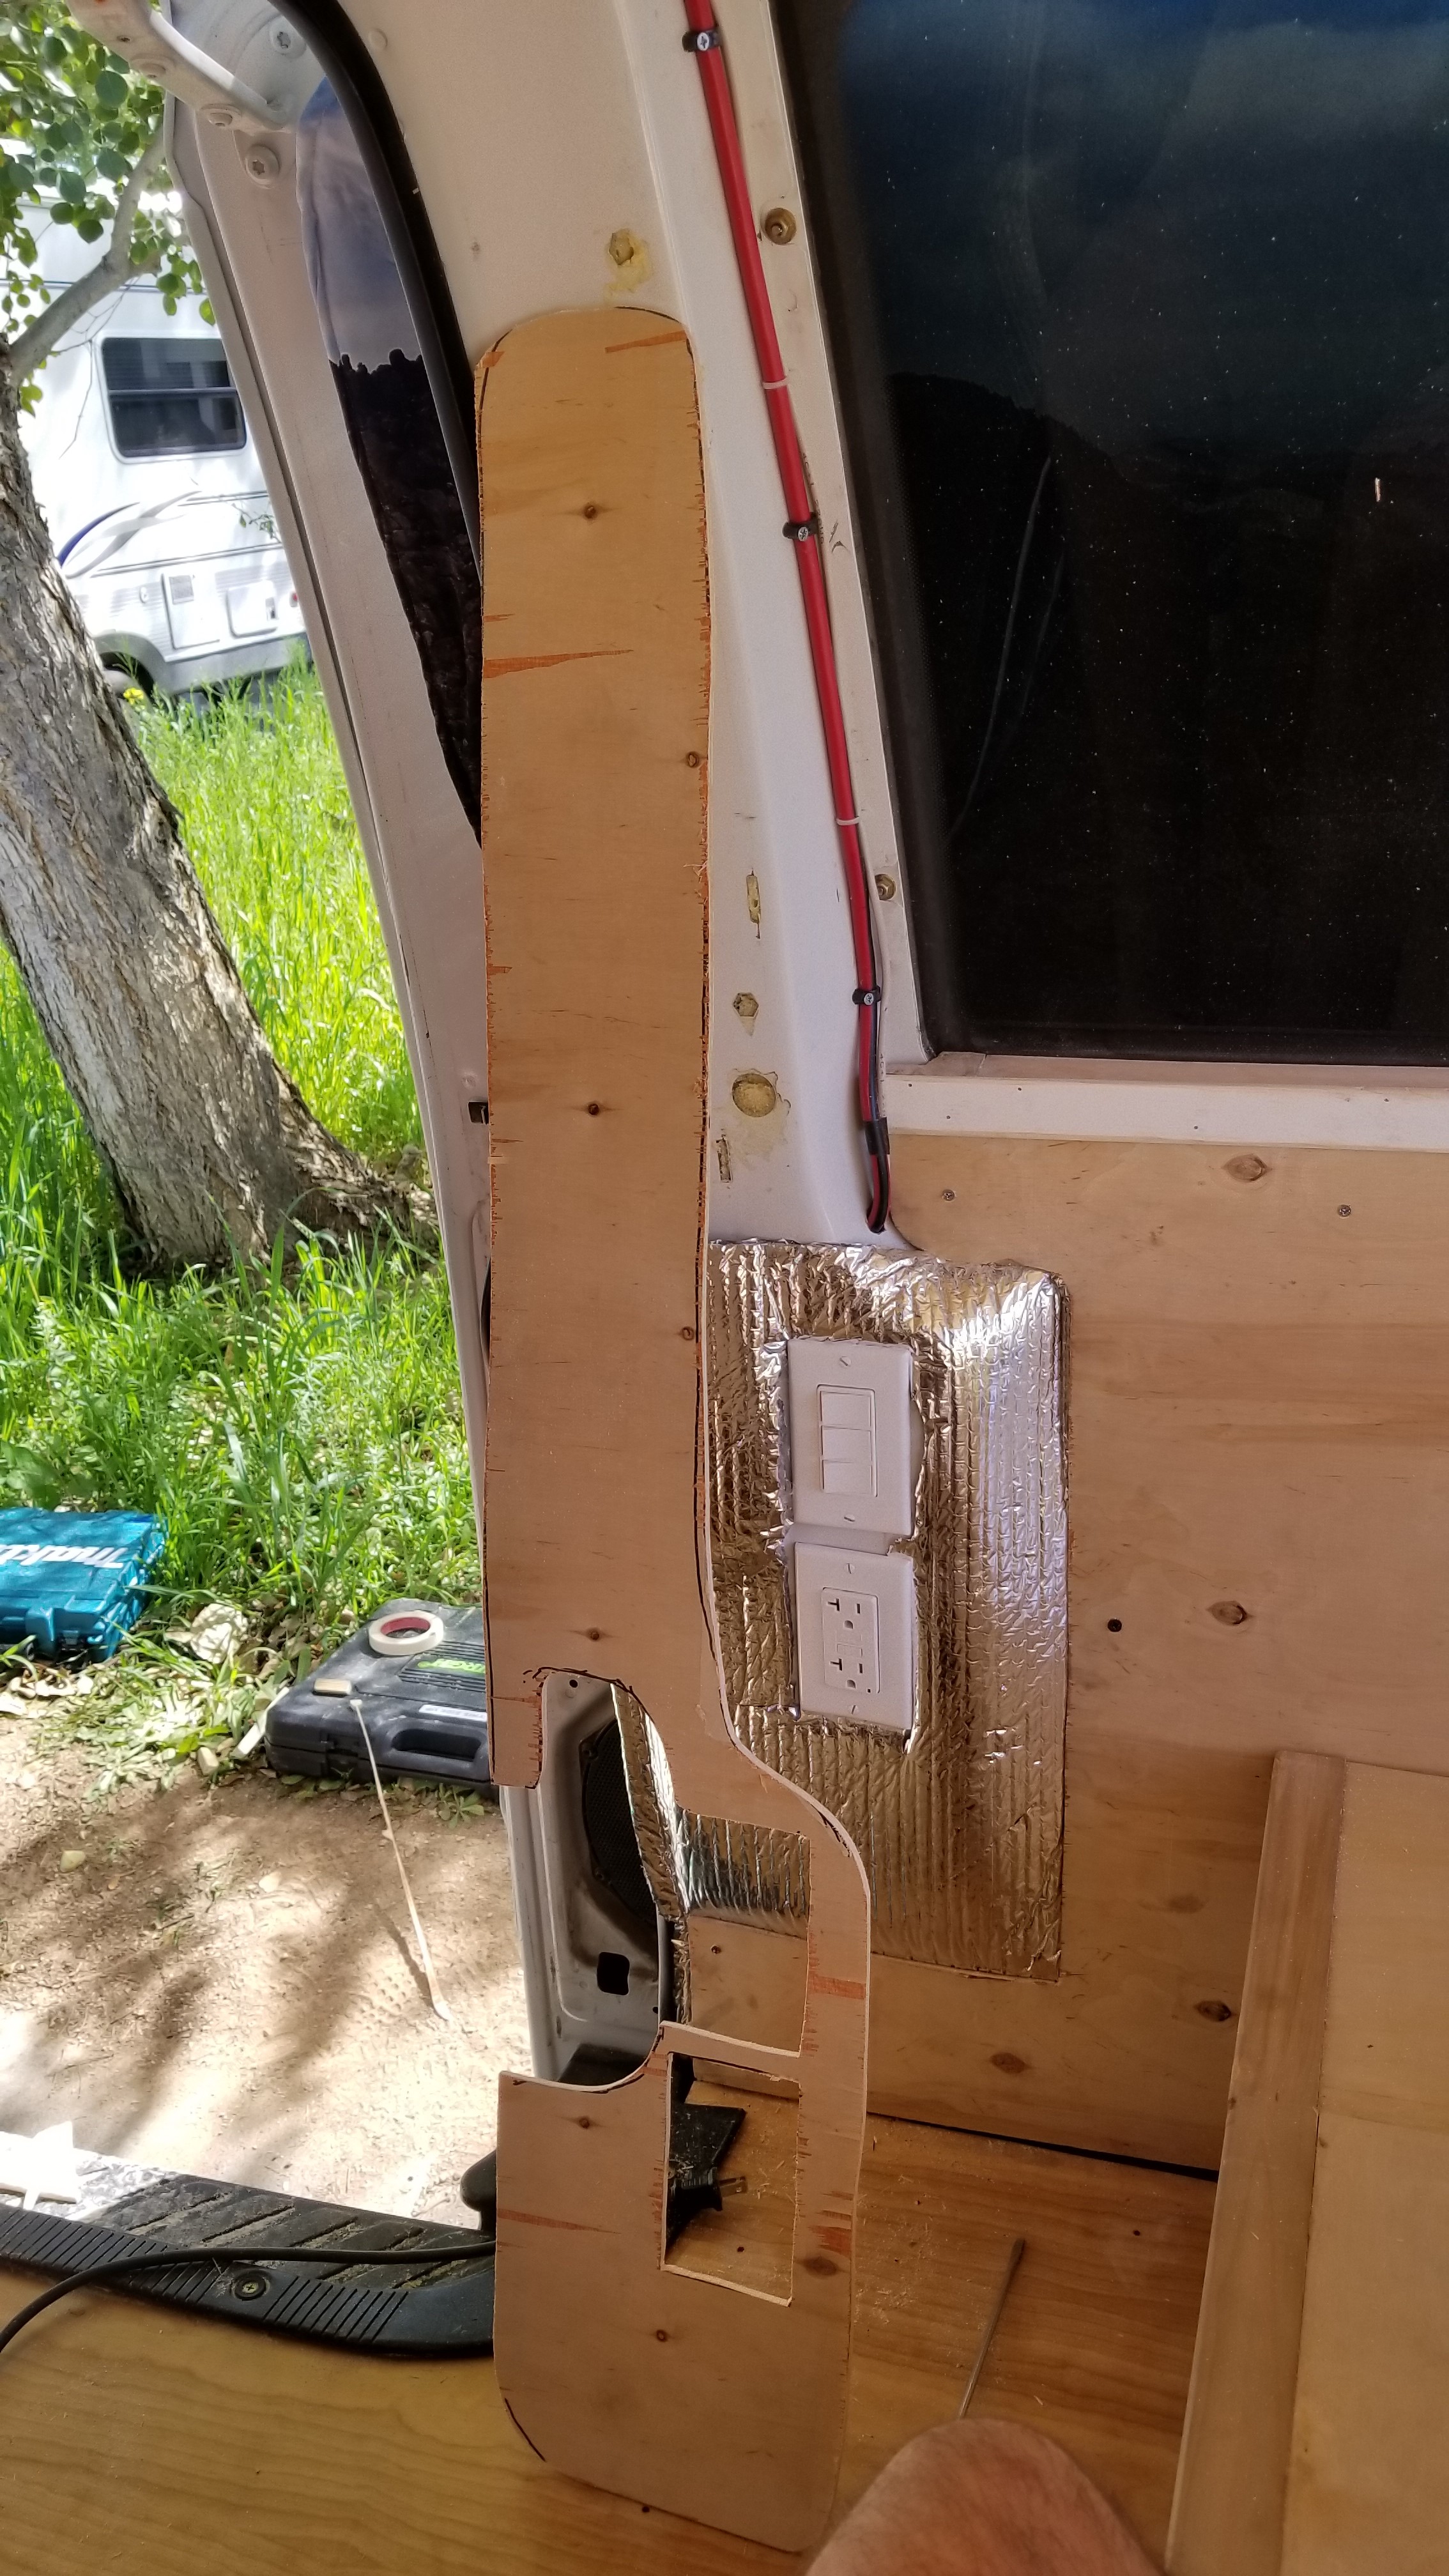
Presto! Custom panel for sliding door column! - Video for back wall: https://youtu.be/1_sF3UDD9Ho
- Video for wall outlet custom panel: https://youtu.be/a8fKACTMUuI
- Leave the back corners where the back face of the van and the sidewalls meet open (I finished these up with quarter round later after I finished installing the bed and before paint)


Upper Facer Boards:
Create upper facer boards for the edges of the ceiling/walls. I wanted to create a lip that I could tuck an LED strip behind for indirect light as well as hiding all the wiring and blemishes or the bare metal van body.
- Cutting custom mounting standoff blocks to ensure I had space behind the facer boards for the LED strip lights. Screw these to the metal frame of the van along the brace where the wall and ceiling meet.
- Cut custom facer boards for the length of all 3 walls.
- Install the facer boards onto the mounting blocks you have in place.
- Once complete I buttoned it together with a strip of quarter round at the interface between the wooden ceiling and this upper facer board, then glued and nailed into place.
 Create custom standoff blocks for your facure boards all around the side and back walls!


- Now that the upper facer board and ceiling is complete, you can put the cab roof liner back into place. I used some short wood screws to accomplish this.