

Lady Mountain

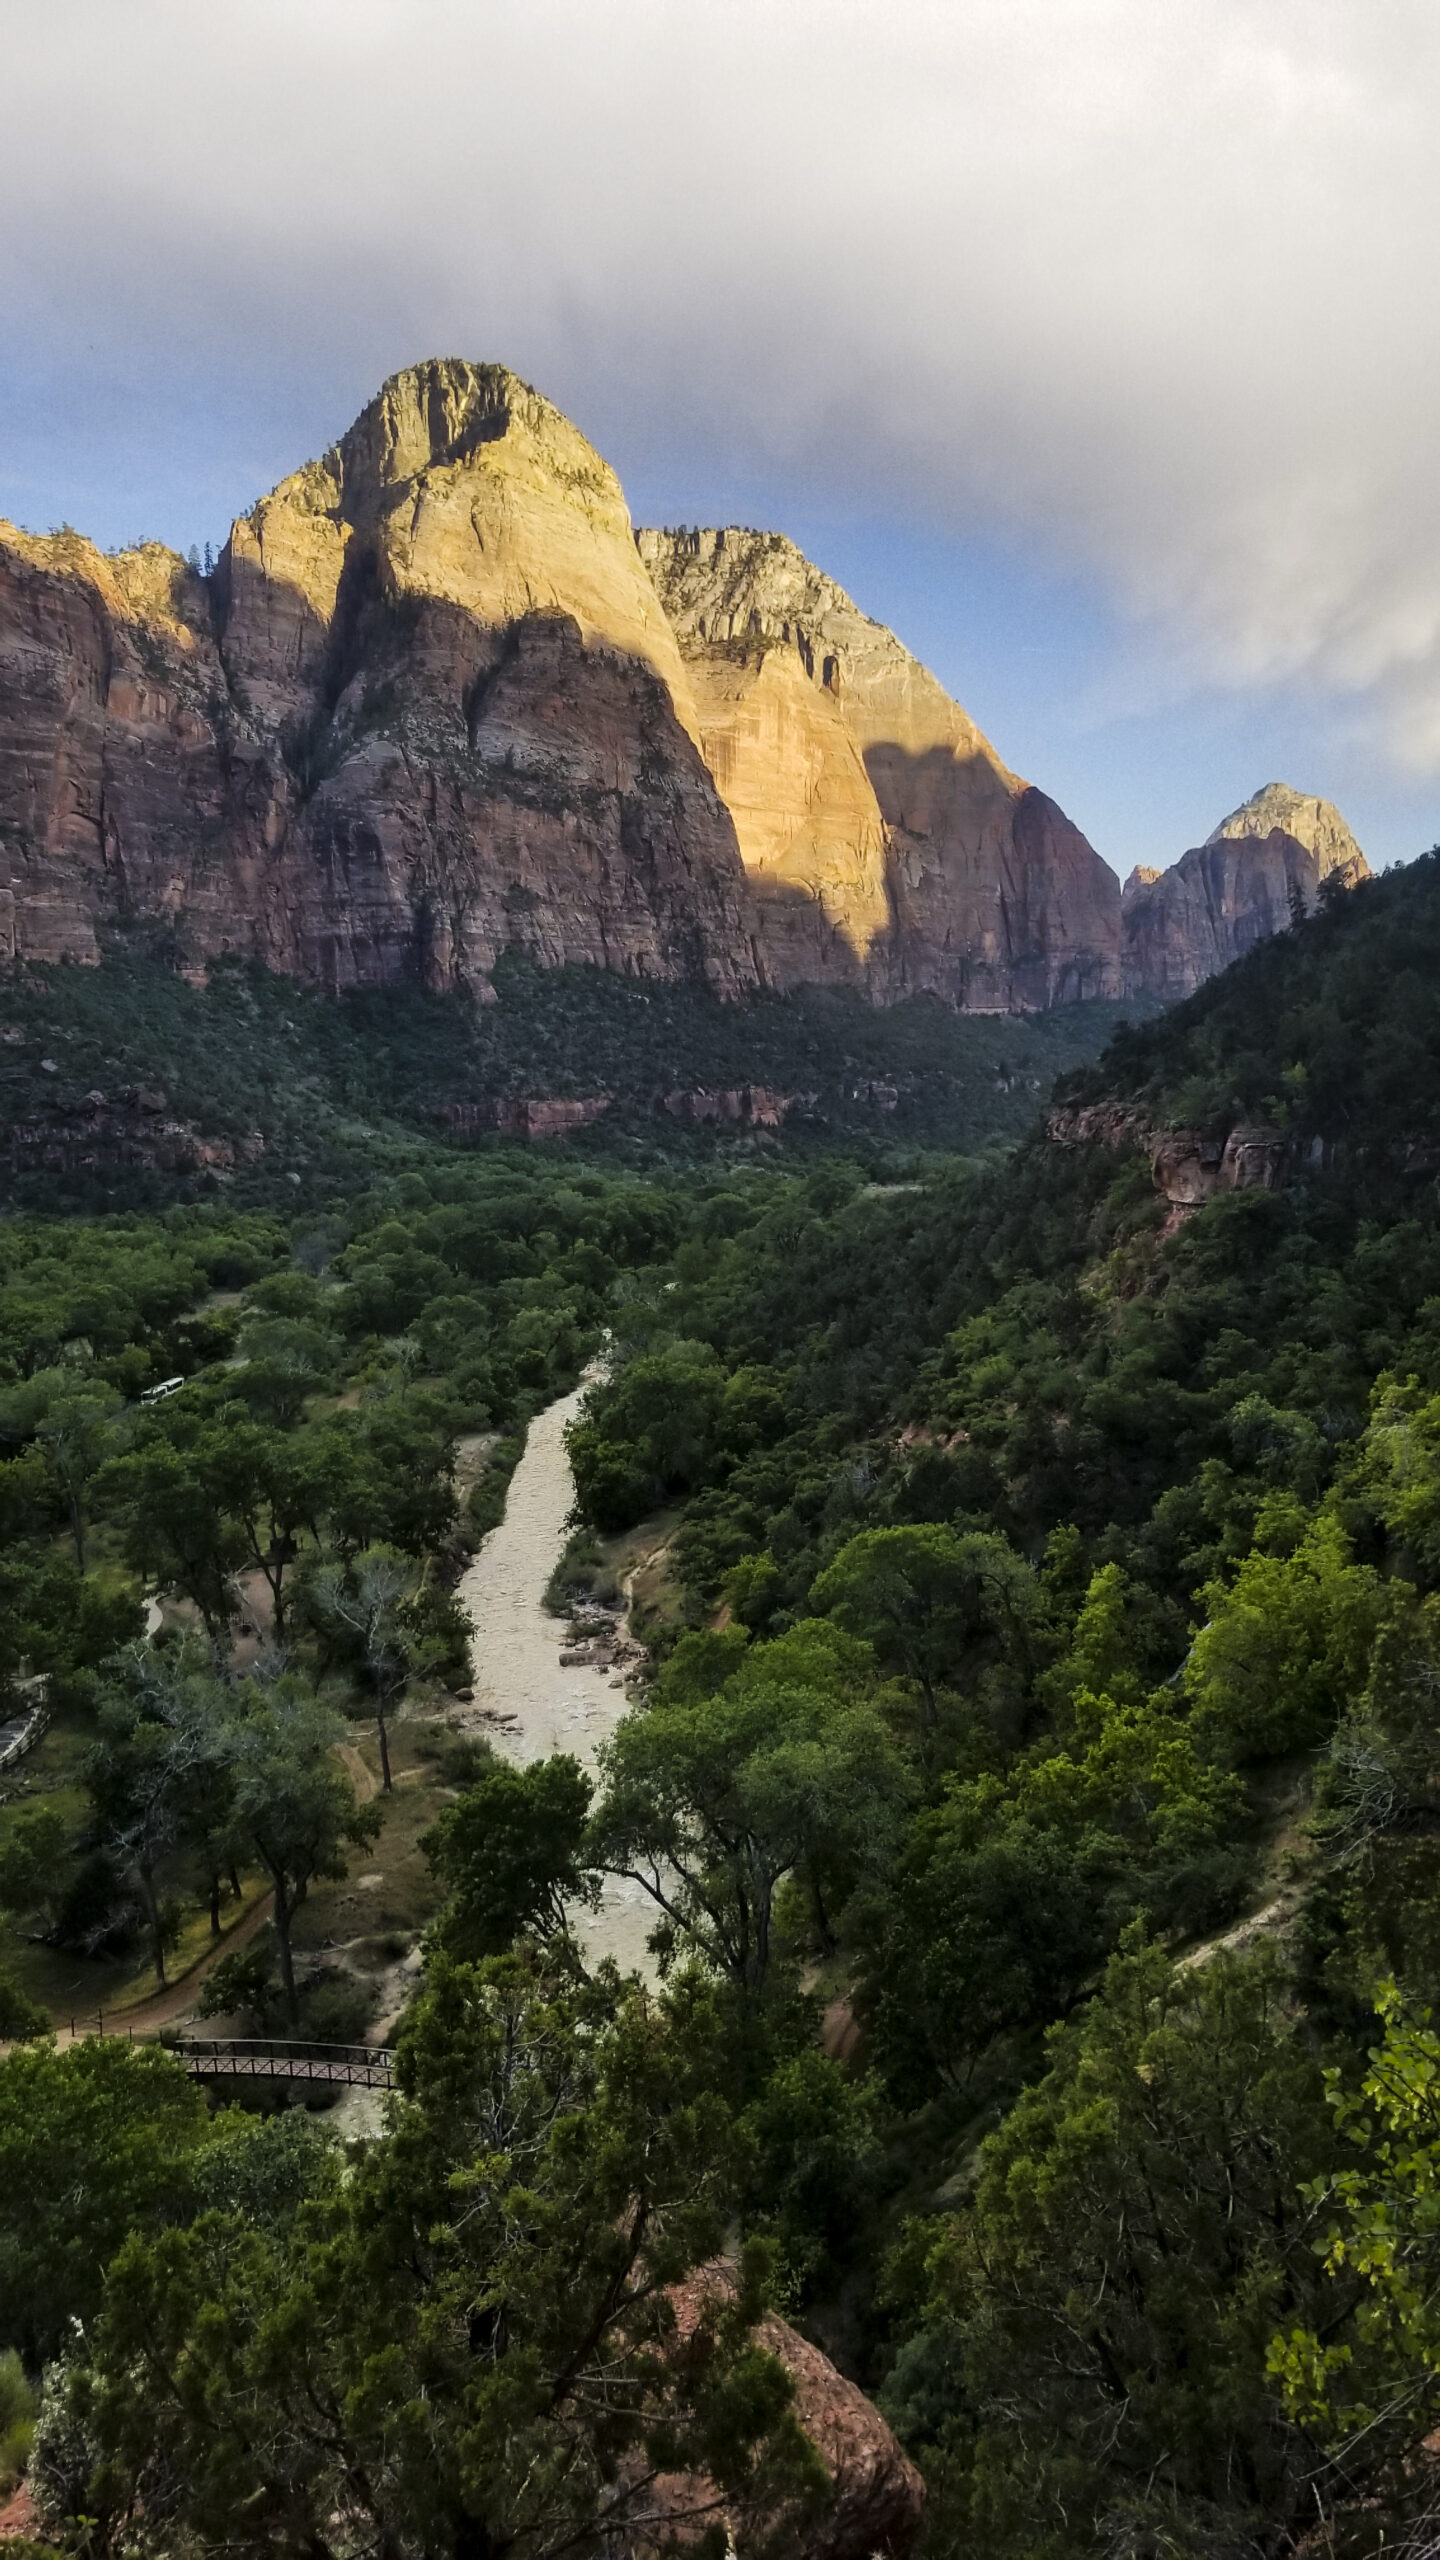
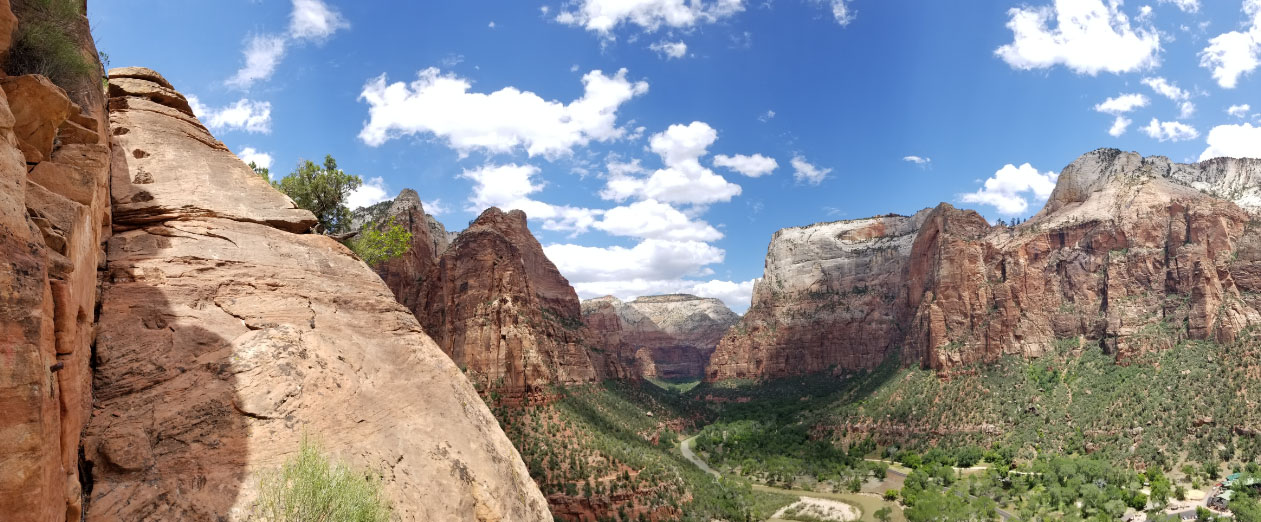
Zion has had a tough spring. The rain has been constant; the snow has capped the orange cream sandstone peaks more times and later in the season than any local has seen for quite a while. The Virgin is rushing too high for the Narrows to open, rock falls closed Observation Point, and road closures have kept visitors from Kolob Canyon. But, there are more options to this place than the highlighted dotted lines on the visitor center maps. This account is about the ascent of one of those routes.
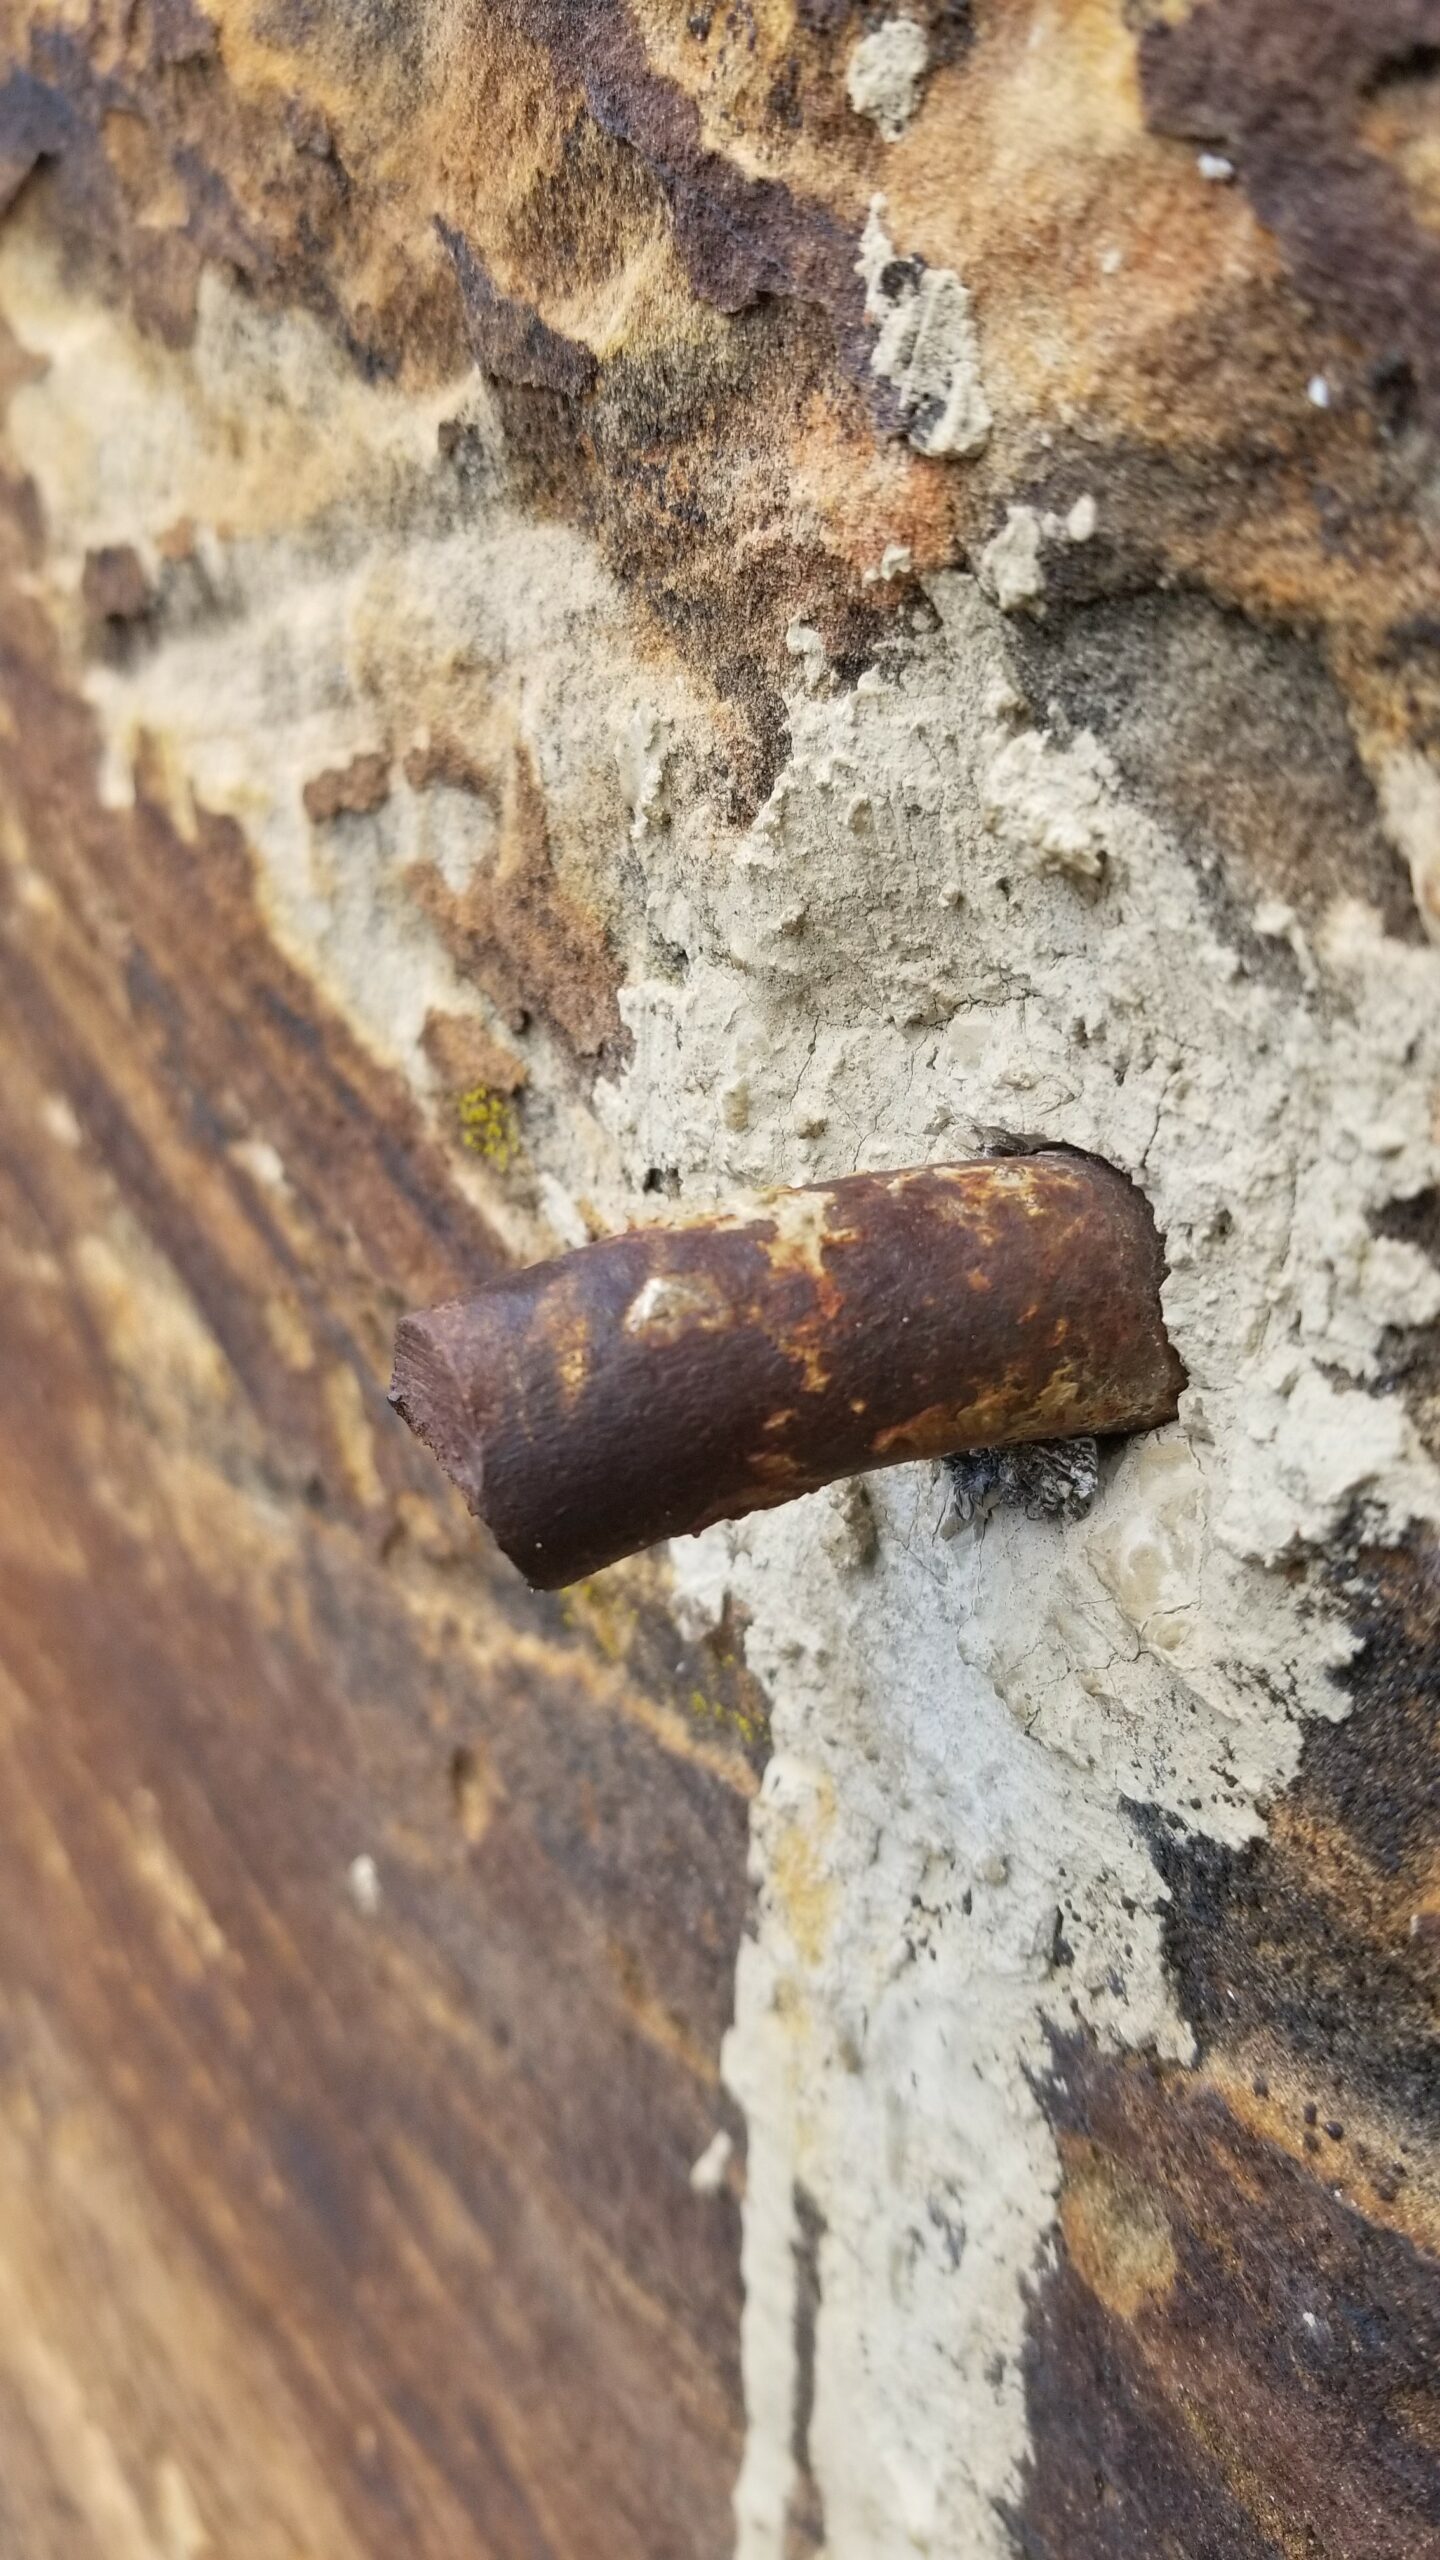
Here’s a little back story: during the height of putting up Via Ferrata routes across the United States, Zion was no different. Completed in 1924, the park encouraged people to ascend the 2600 ft from the canyon floor to the top of Lady Mountain. After having to save several weary hikers, Zion finally abandoned the route in the 60s, taking down the cables, and cutting most of the bolts. But the route still exists as a fun, adventurous mountaineering route. It’s definitely worth the time to get spectacular views of the canyon from a different perspective, and takes you well away from the hoards of tourists on more conventional trails.

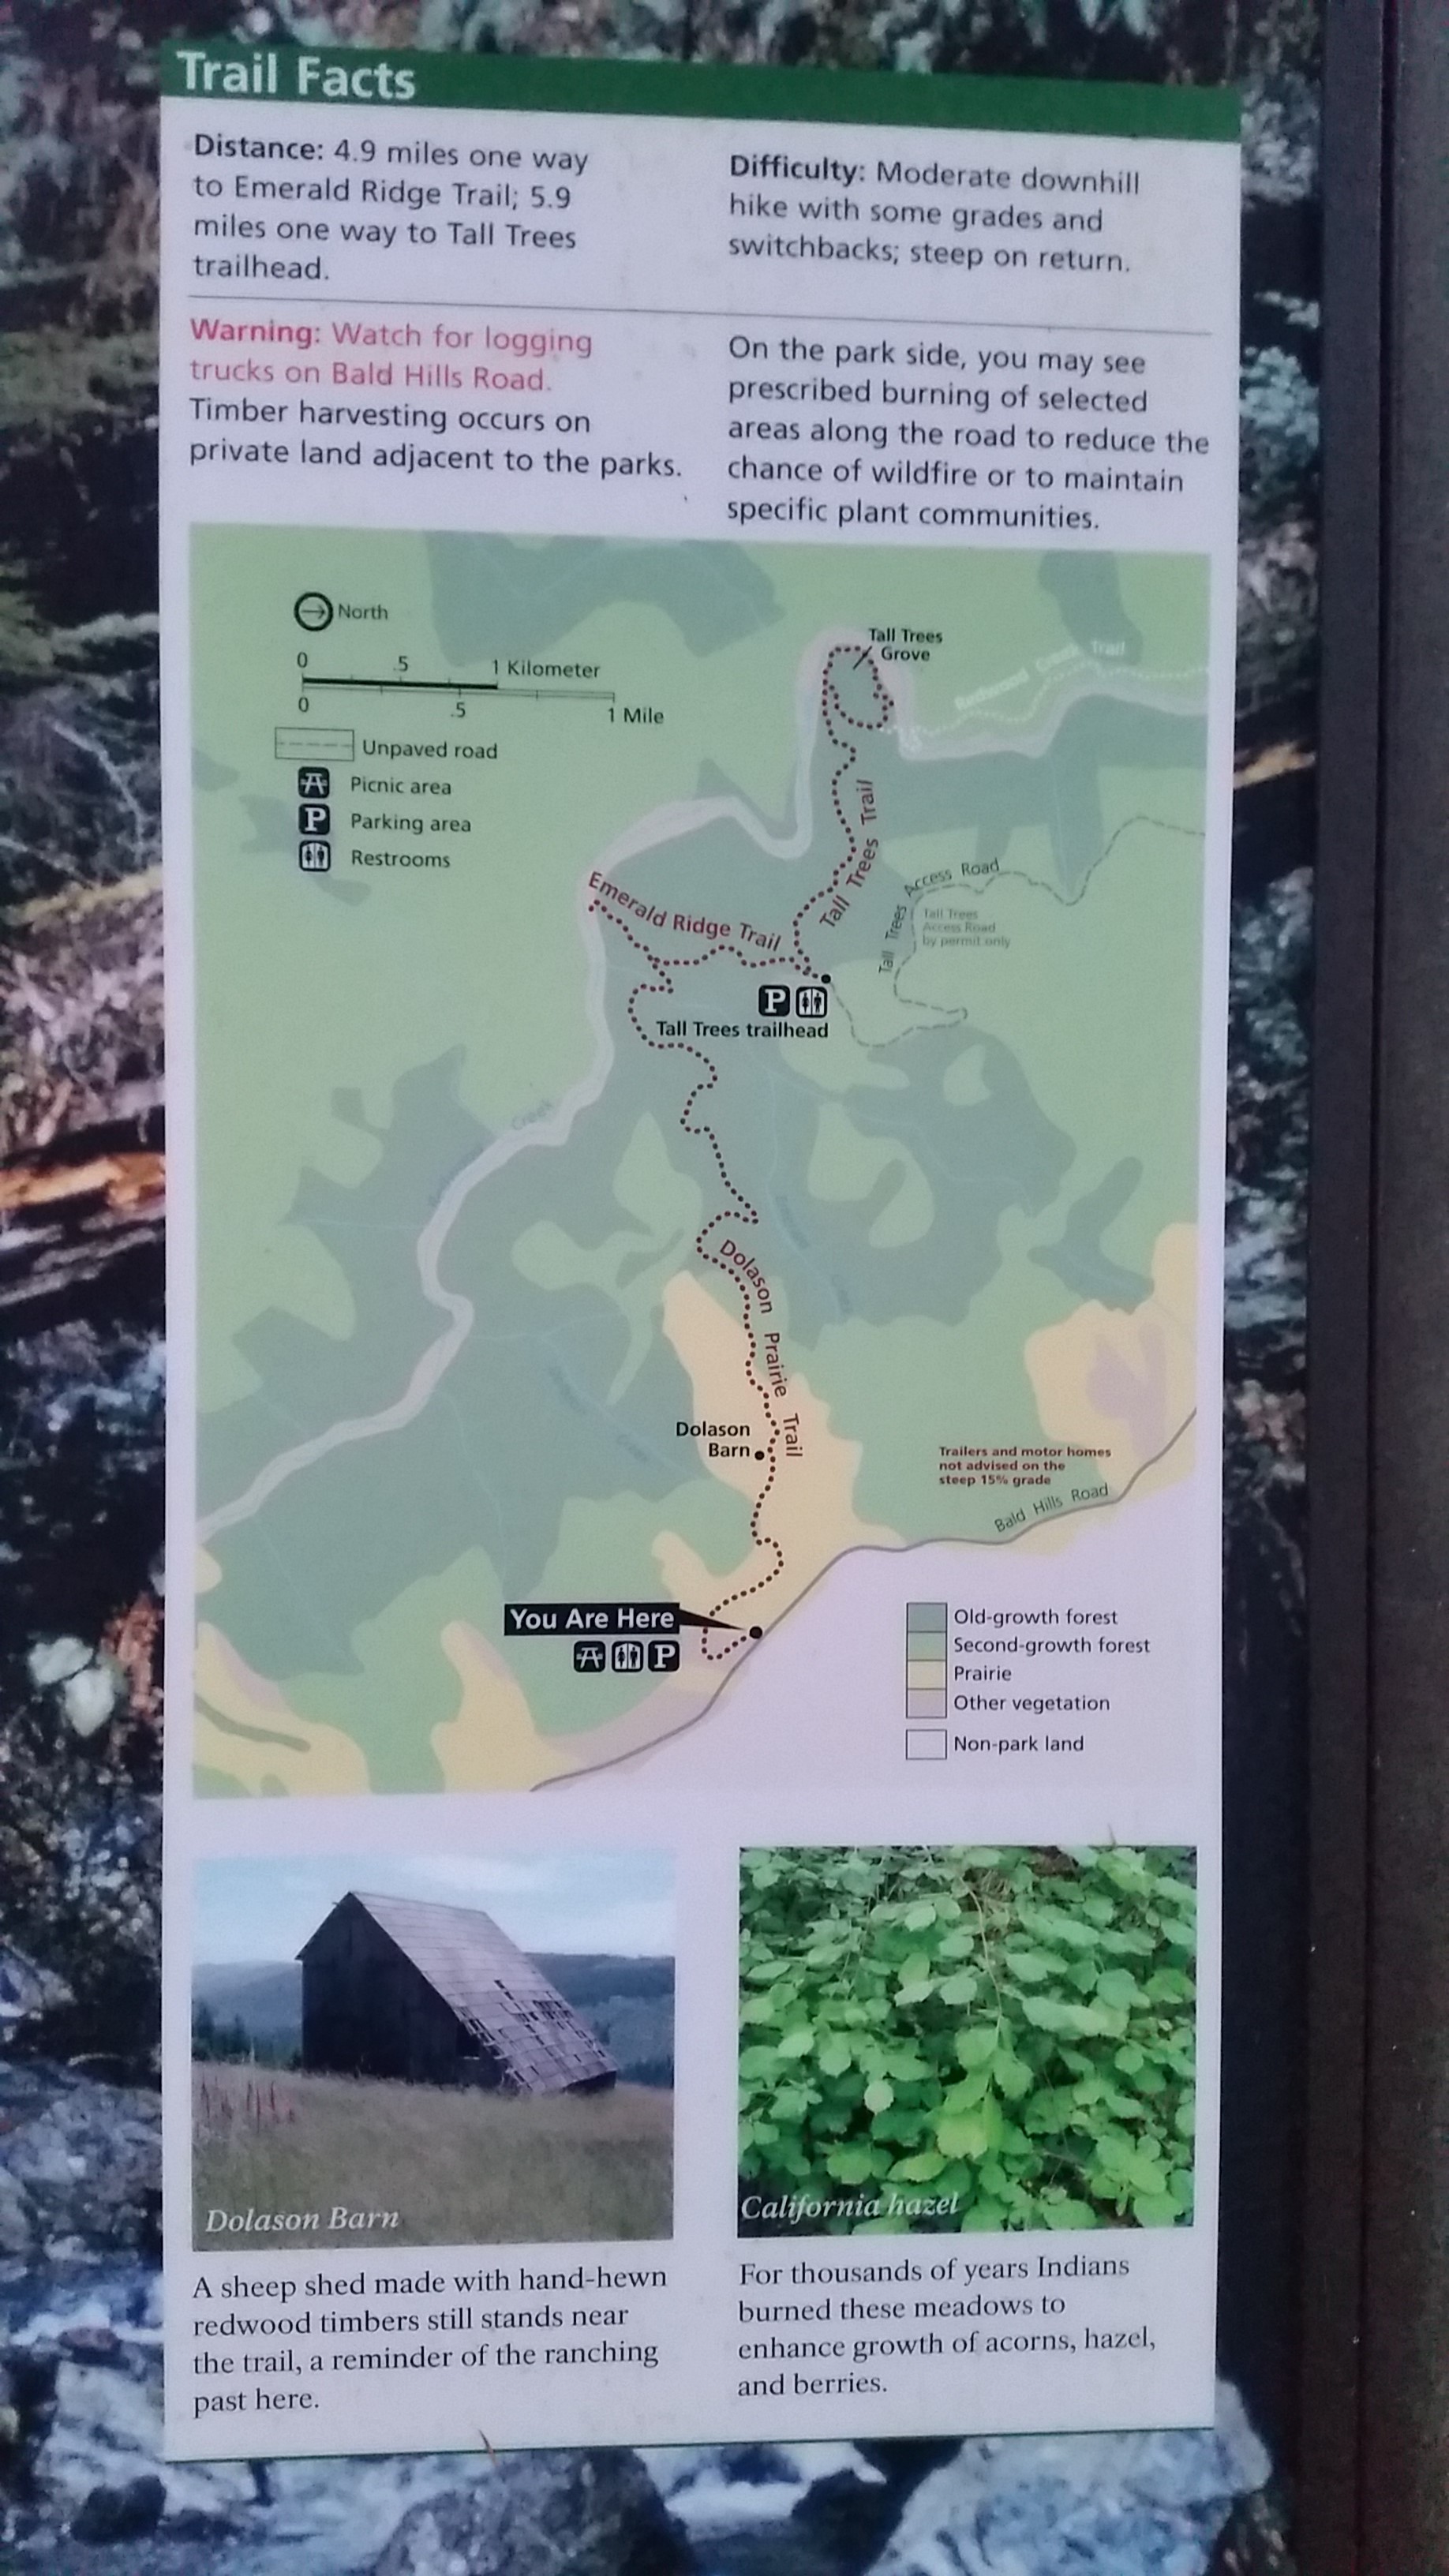
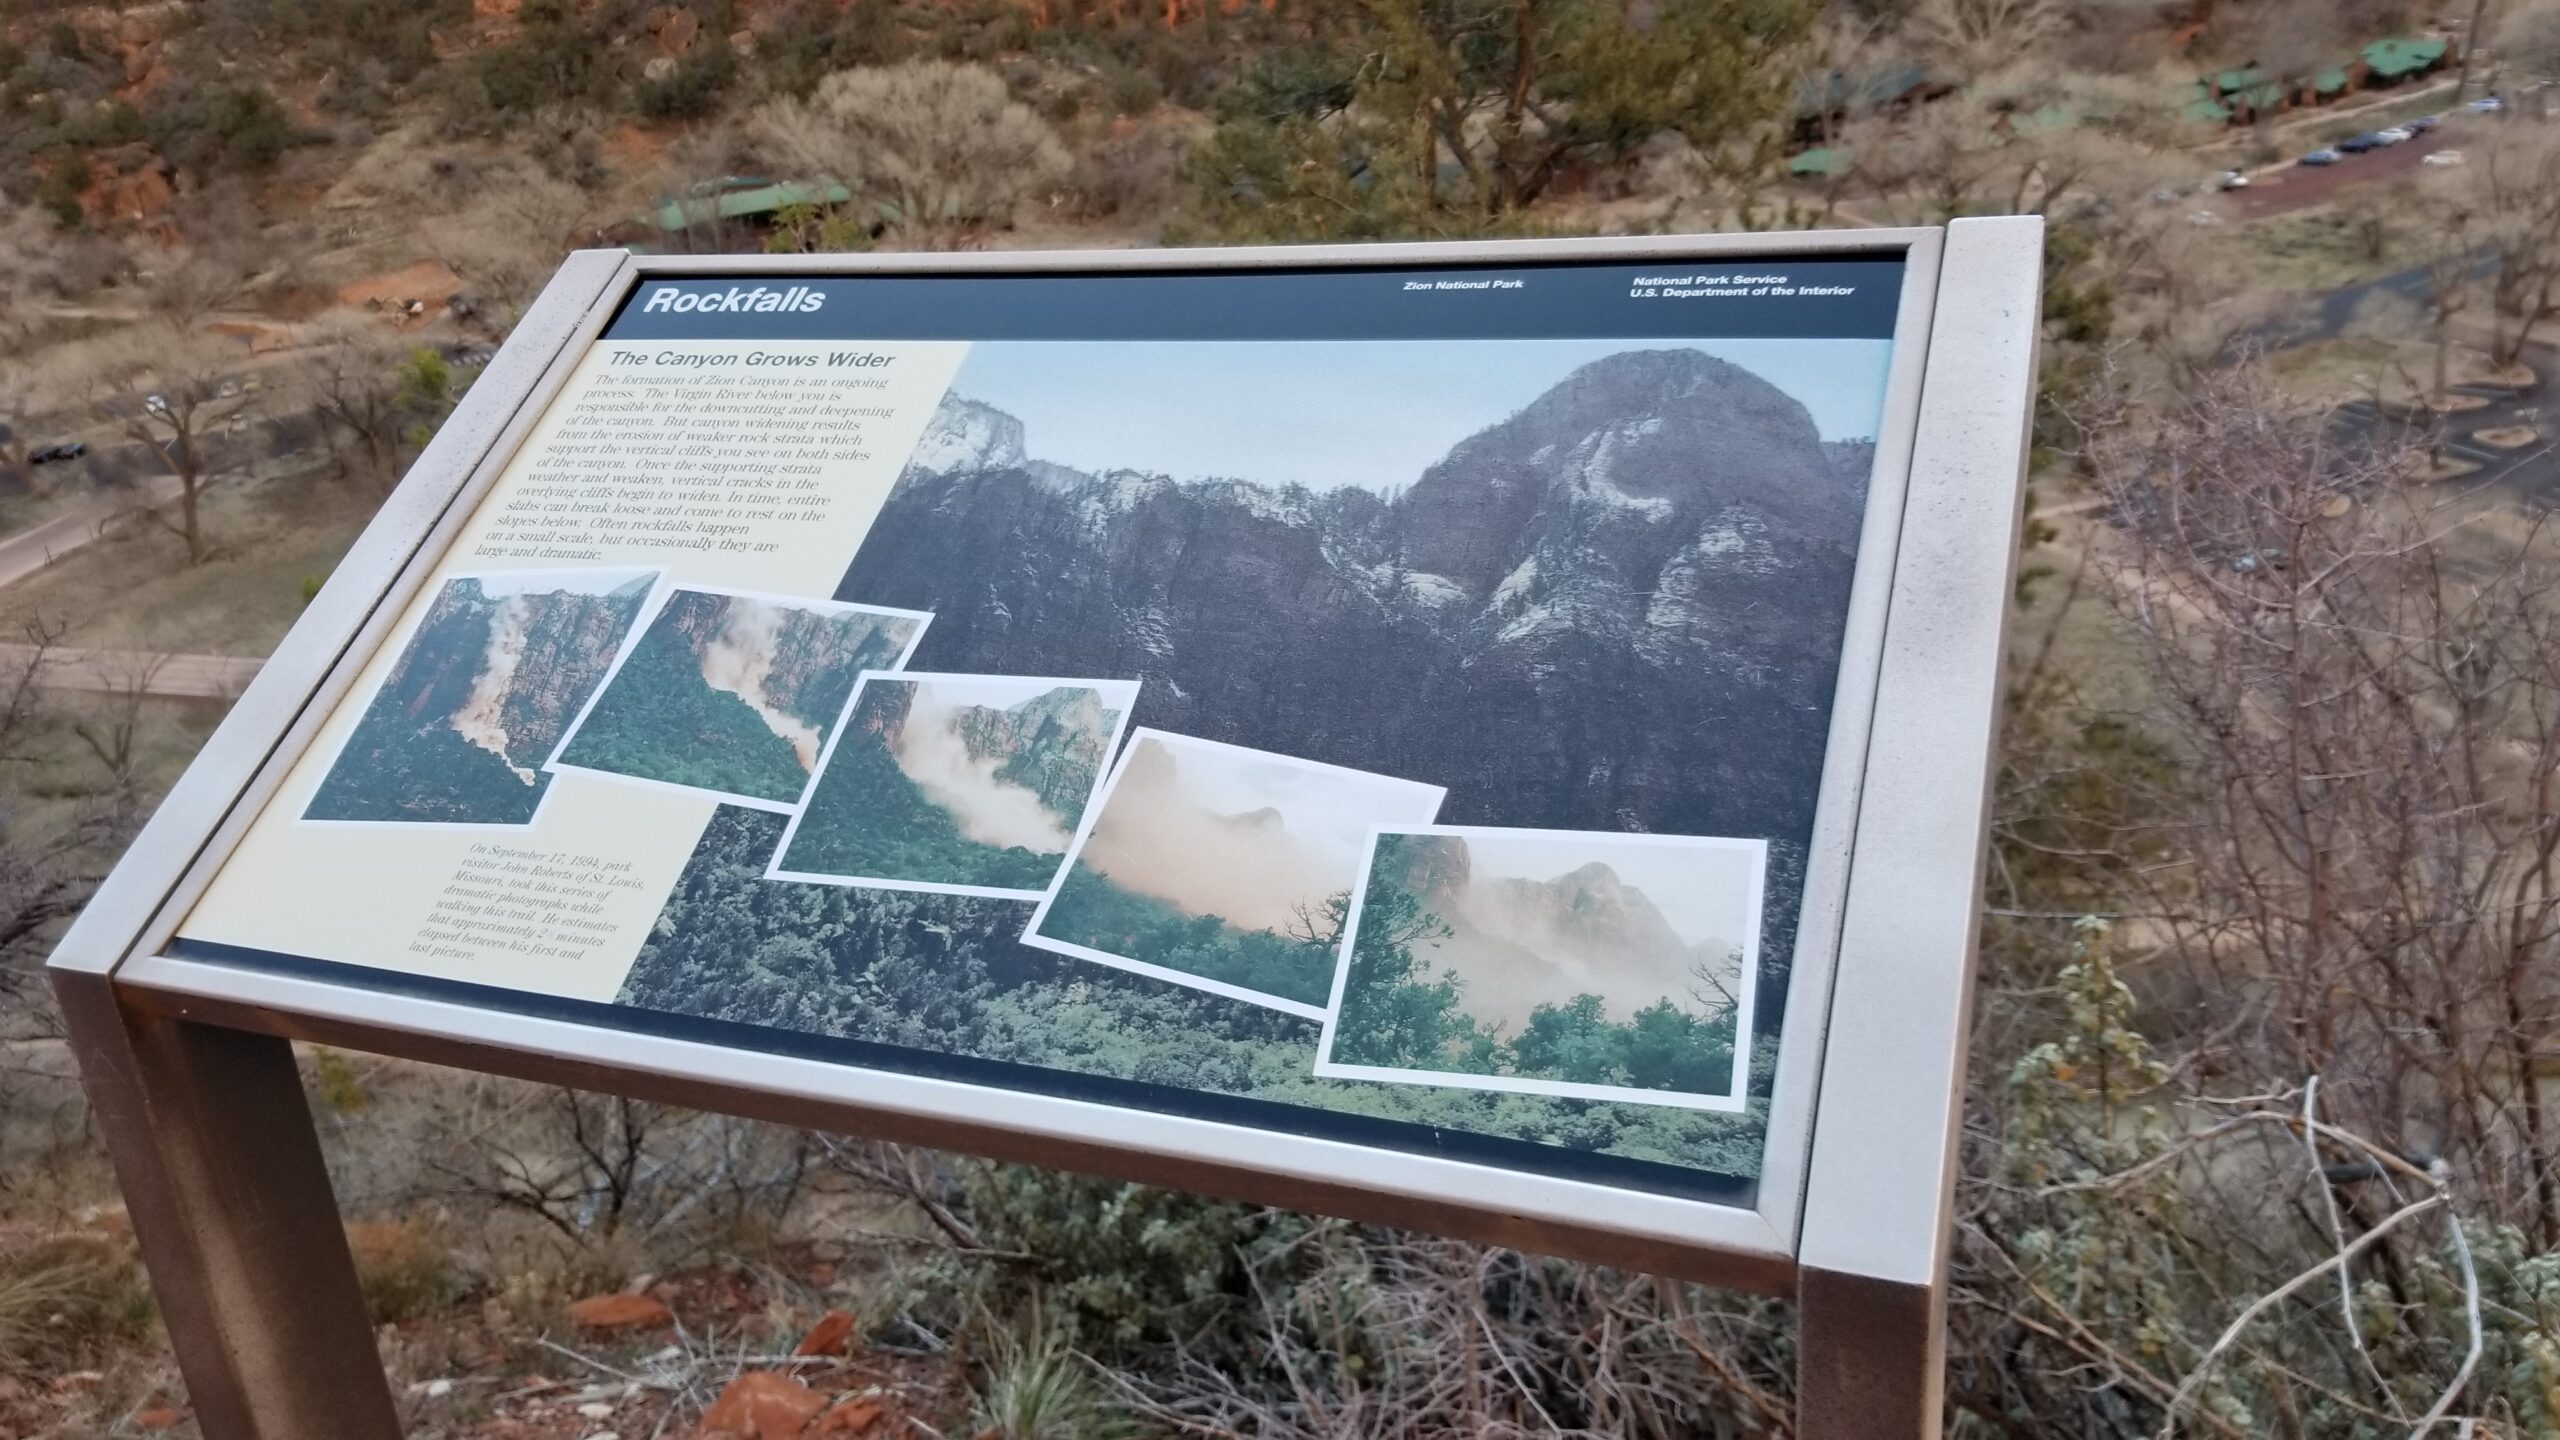
People may give you funny looks as you climb on the Zion Shuttle bus with a harness and helmet strapped to your daypack, but just a 30m gym rope and a few cams (Black Diamond 0.75, 1, 2, 3) is all you need for this adventure. The shuttle will navigate up canyon while the towering walls keep watch and the doors open and you get off at the Zion Lodge stopHead for Emerald Pools, just after crossing the Virgin River Bridge, turn left, away from the crowds and up the closed Kayaenta trail. They are working on the closure; it’s coming along and they’re doing good work. Go up the switchbacks and pass the pour offs until taking a brief moment at a sign documenting a rock fall across the canyon. Take a moment and take in the views, check out the river rolling through constantly forming the canyon around you. Don’t worry, the whole climb ahead of you will still be there after your break.
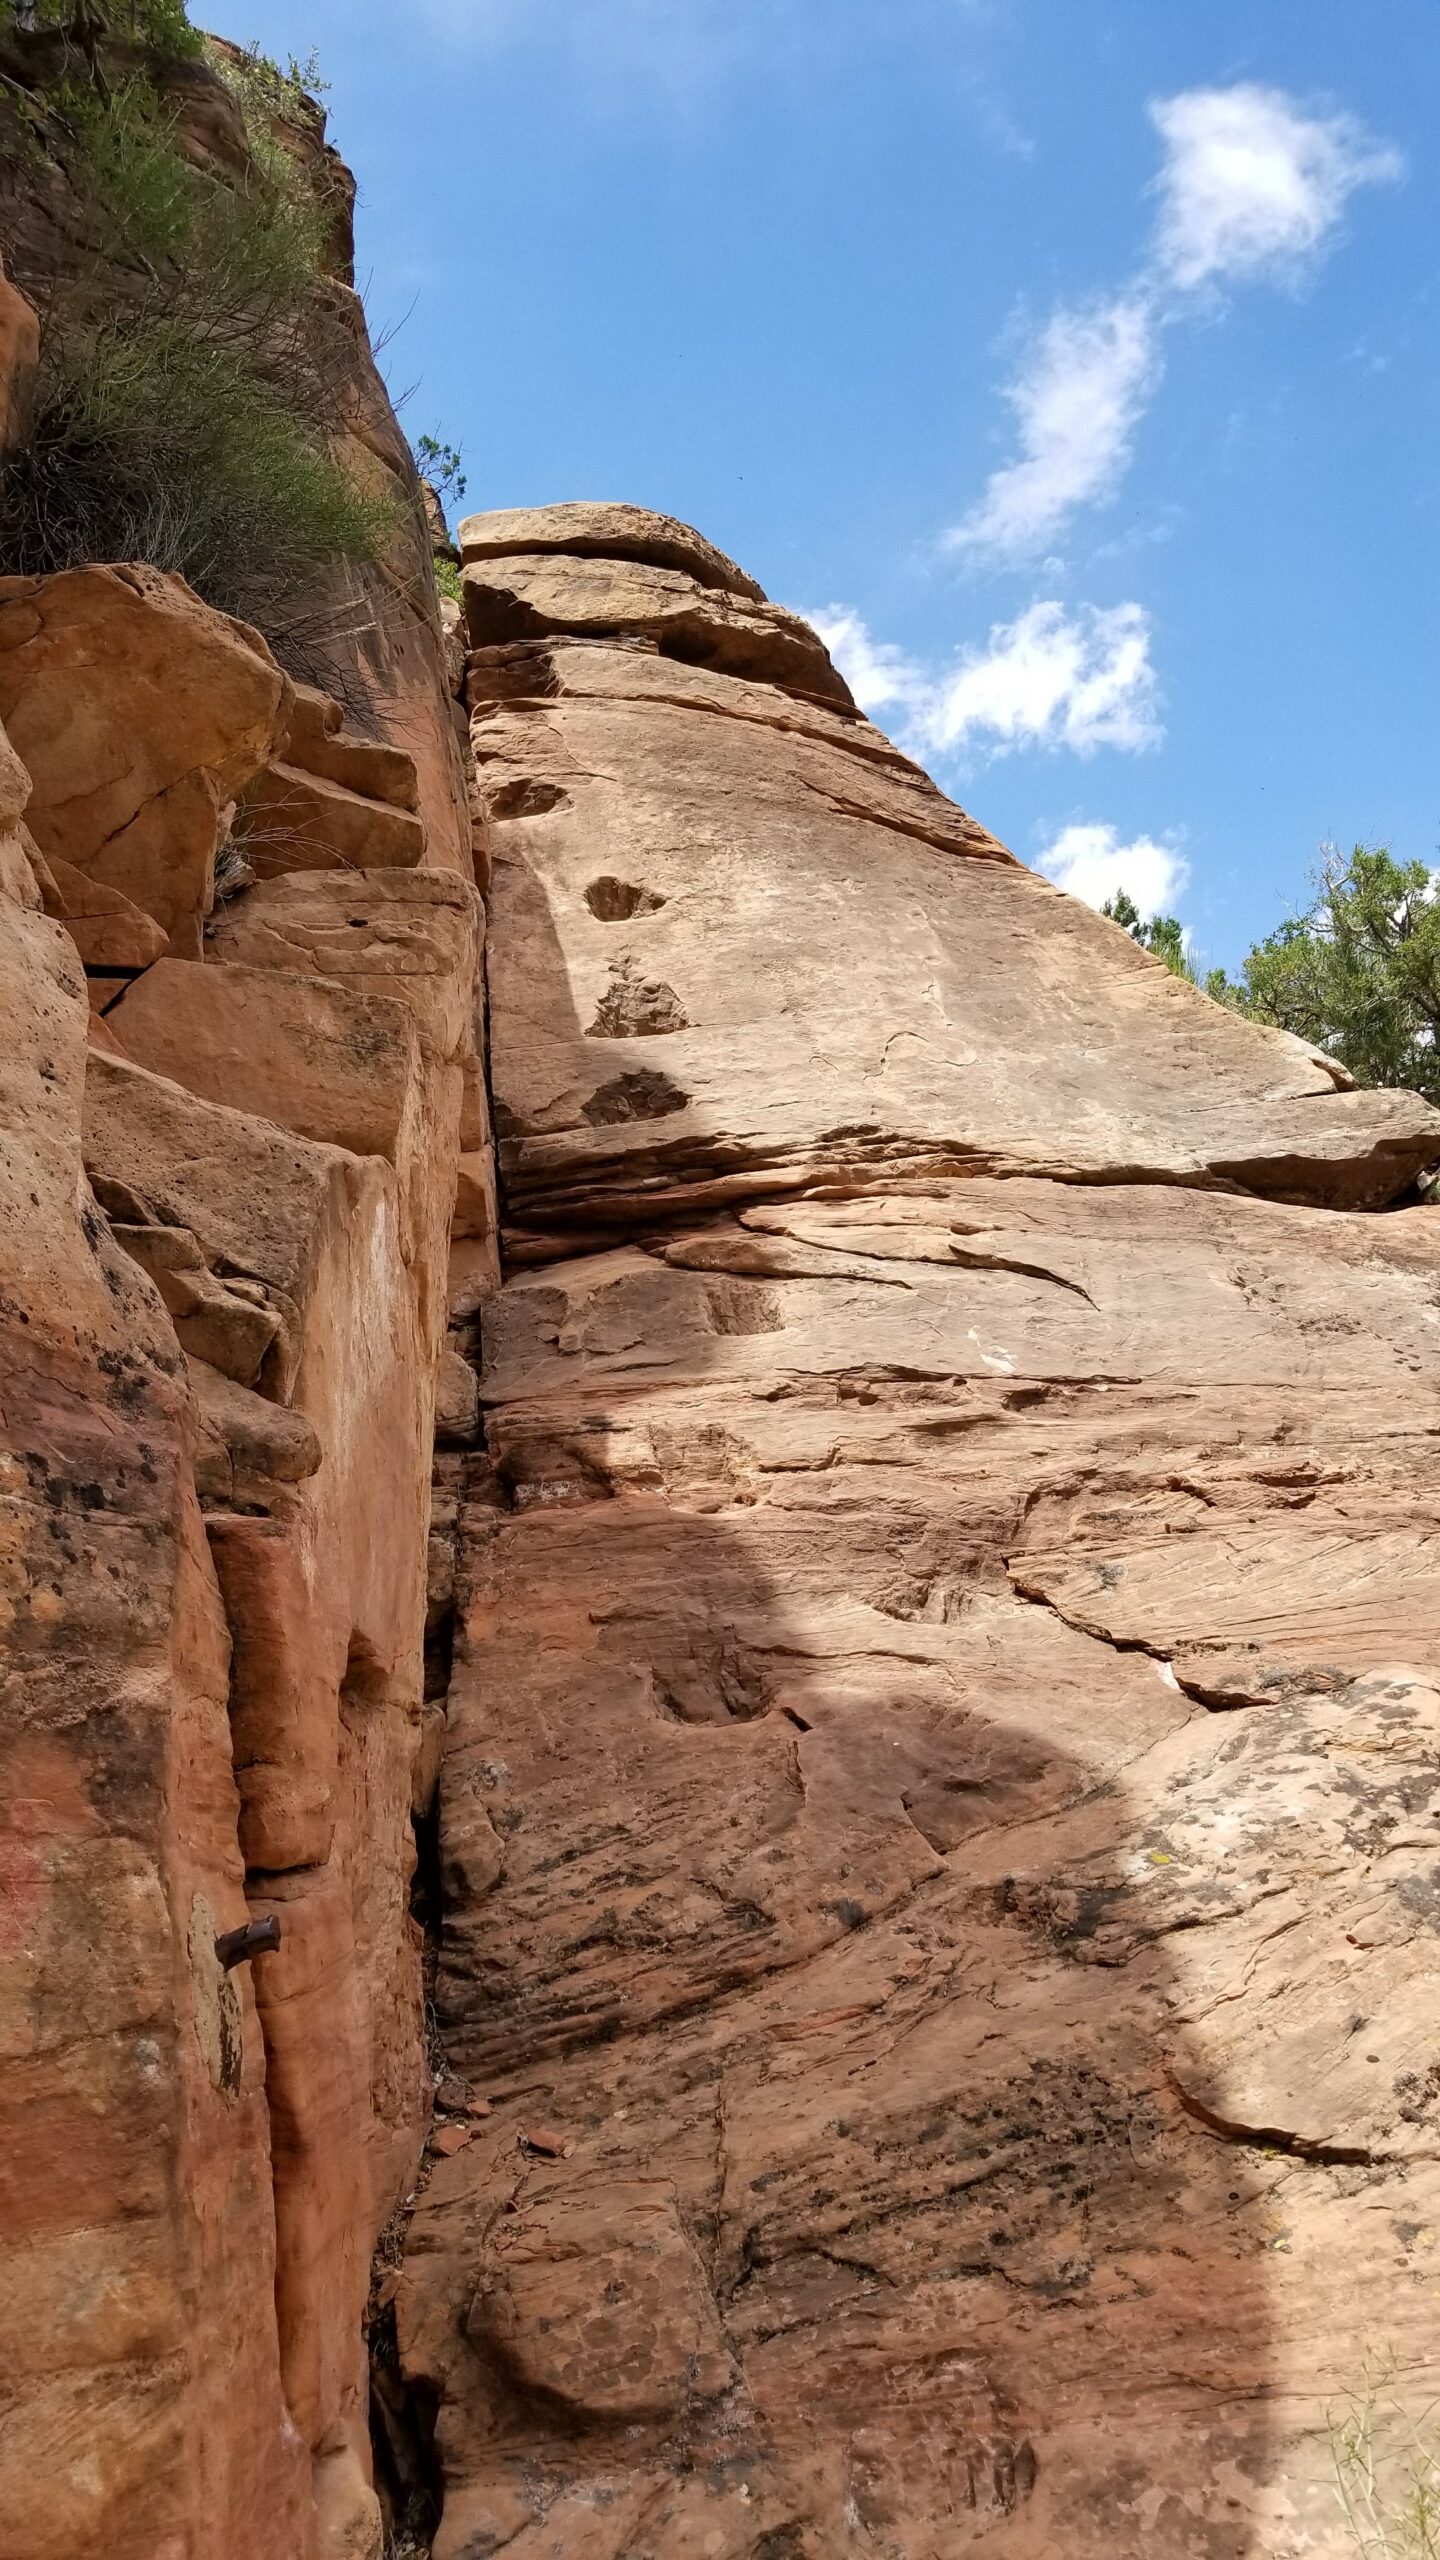
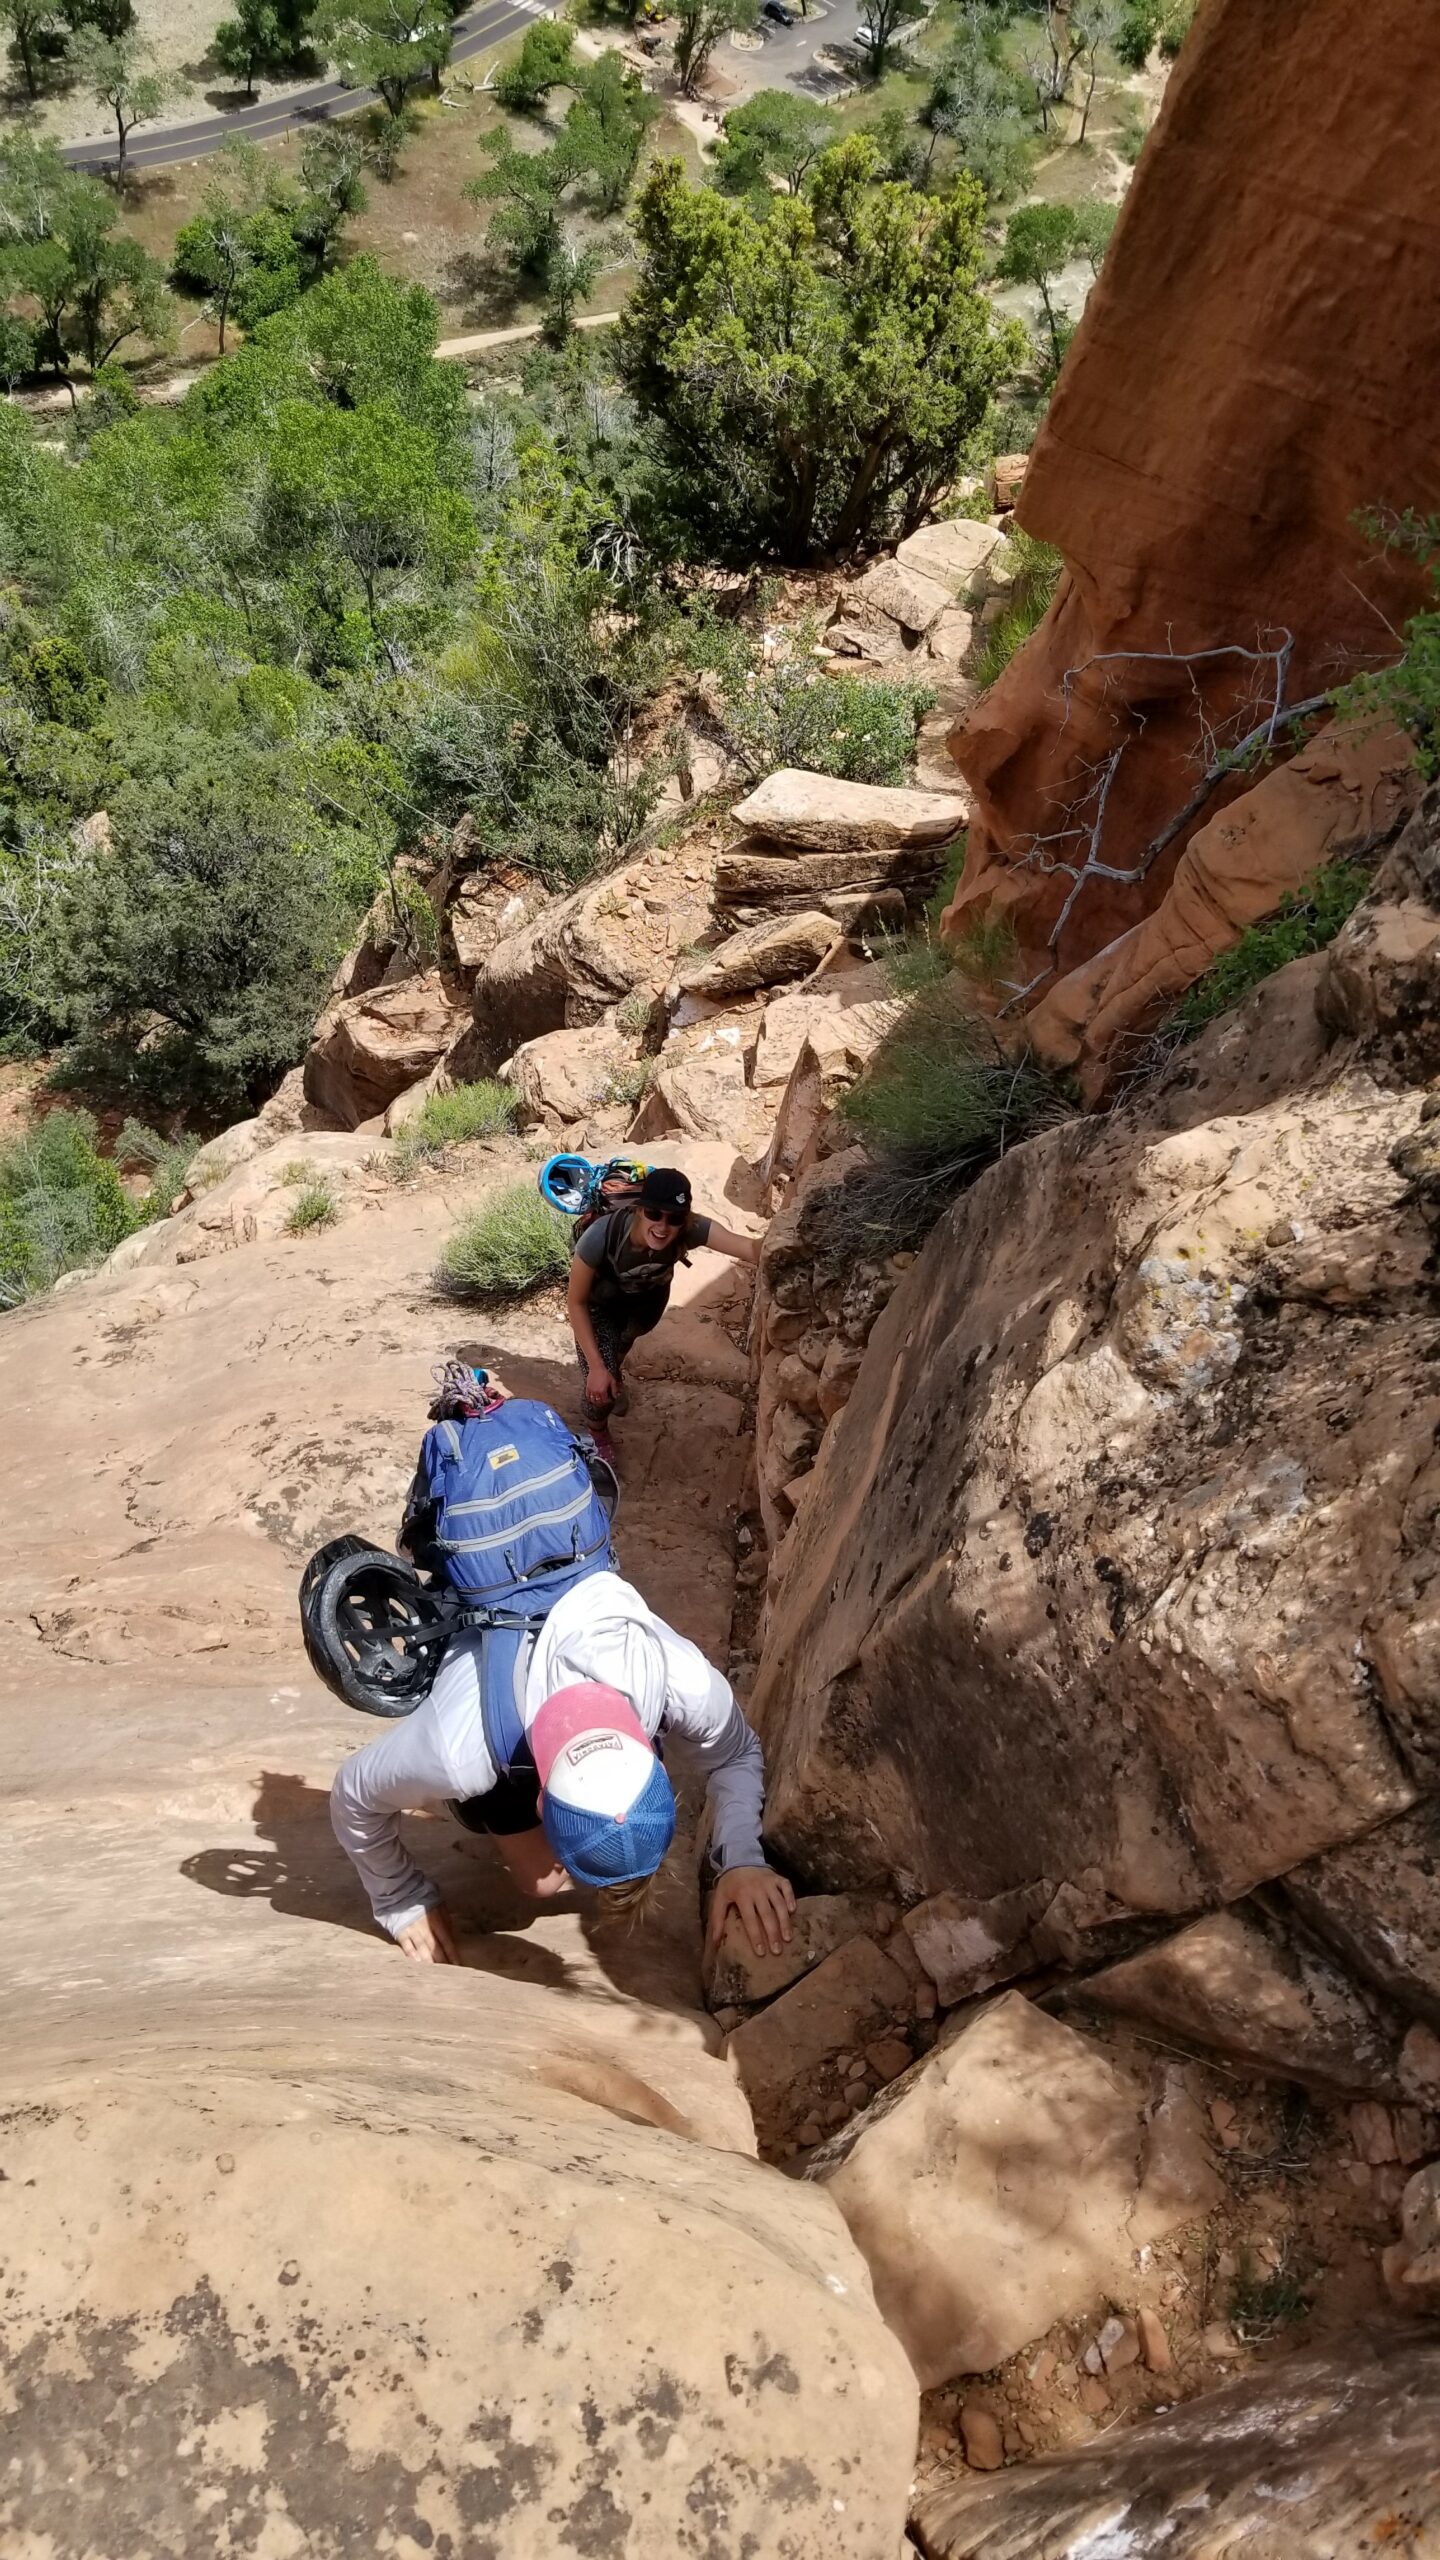
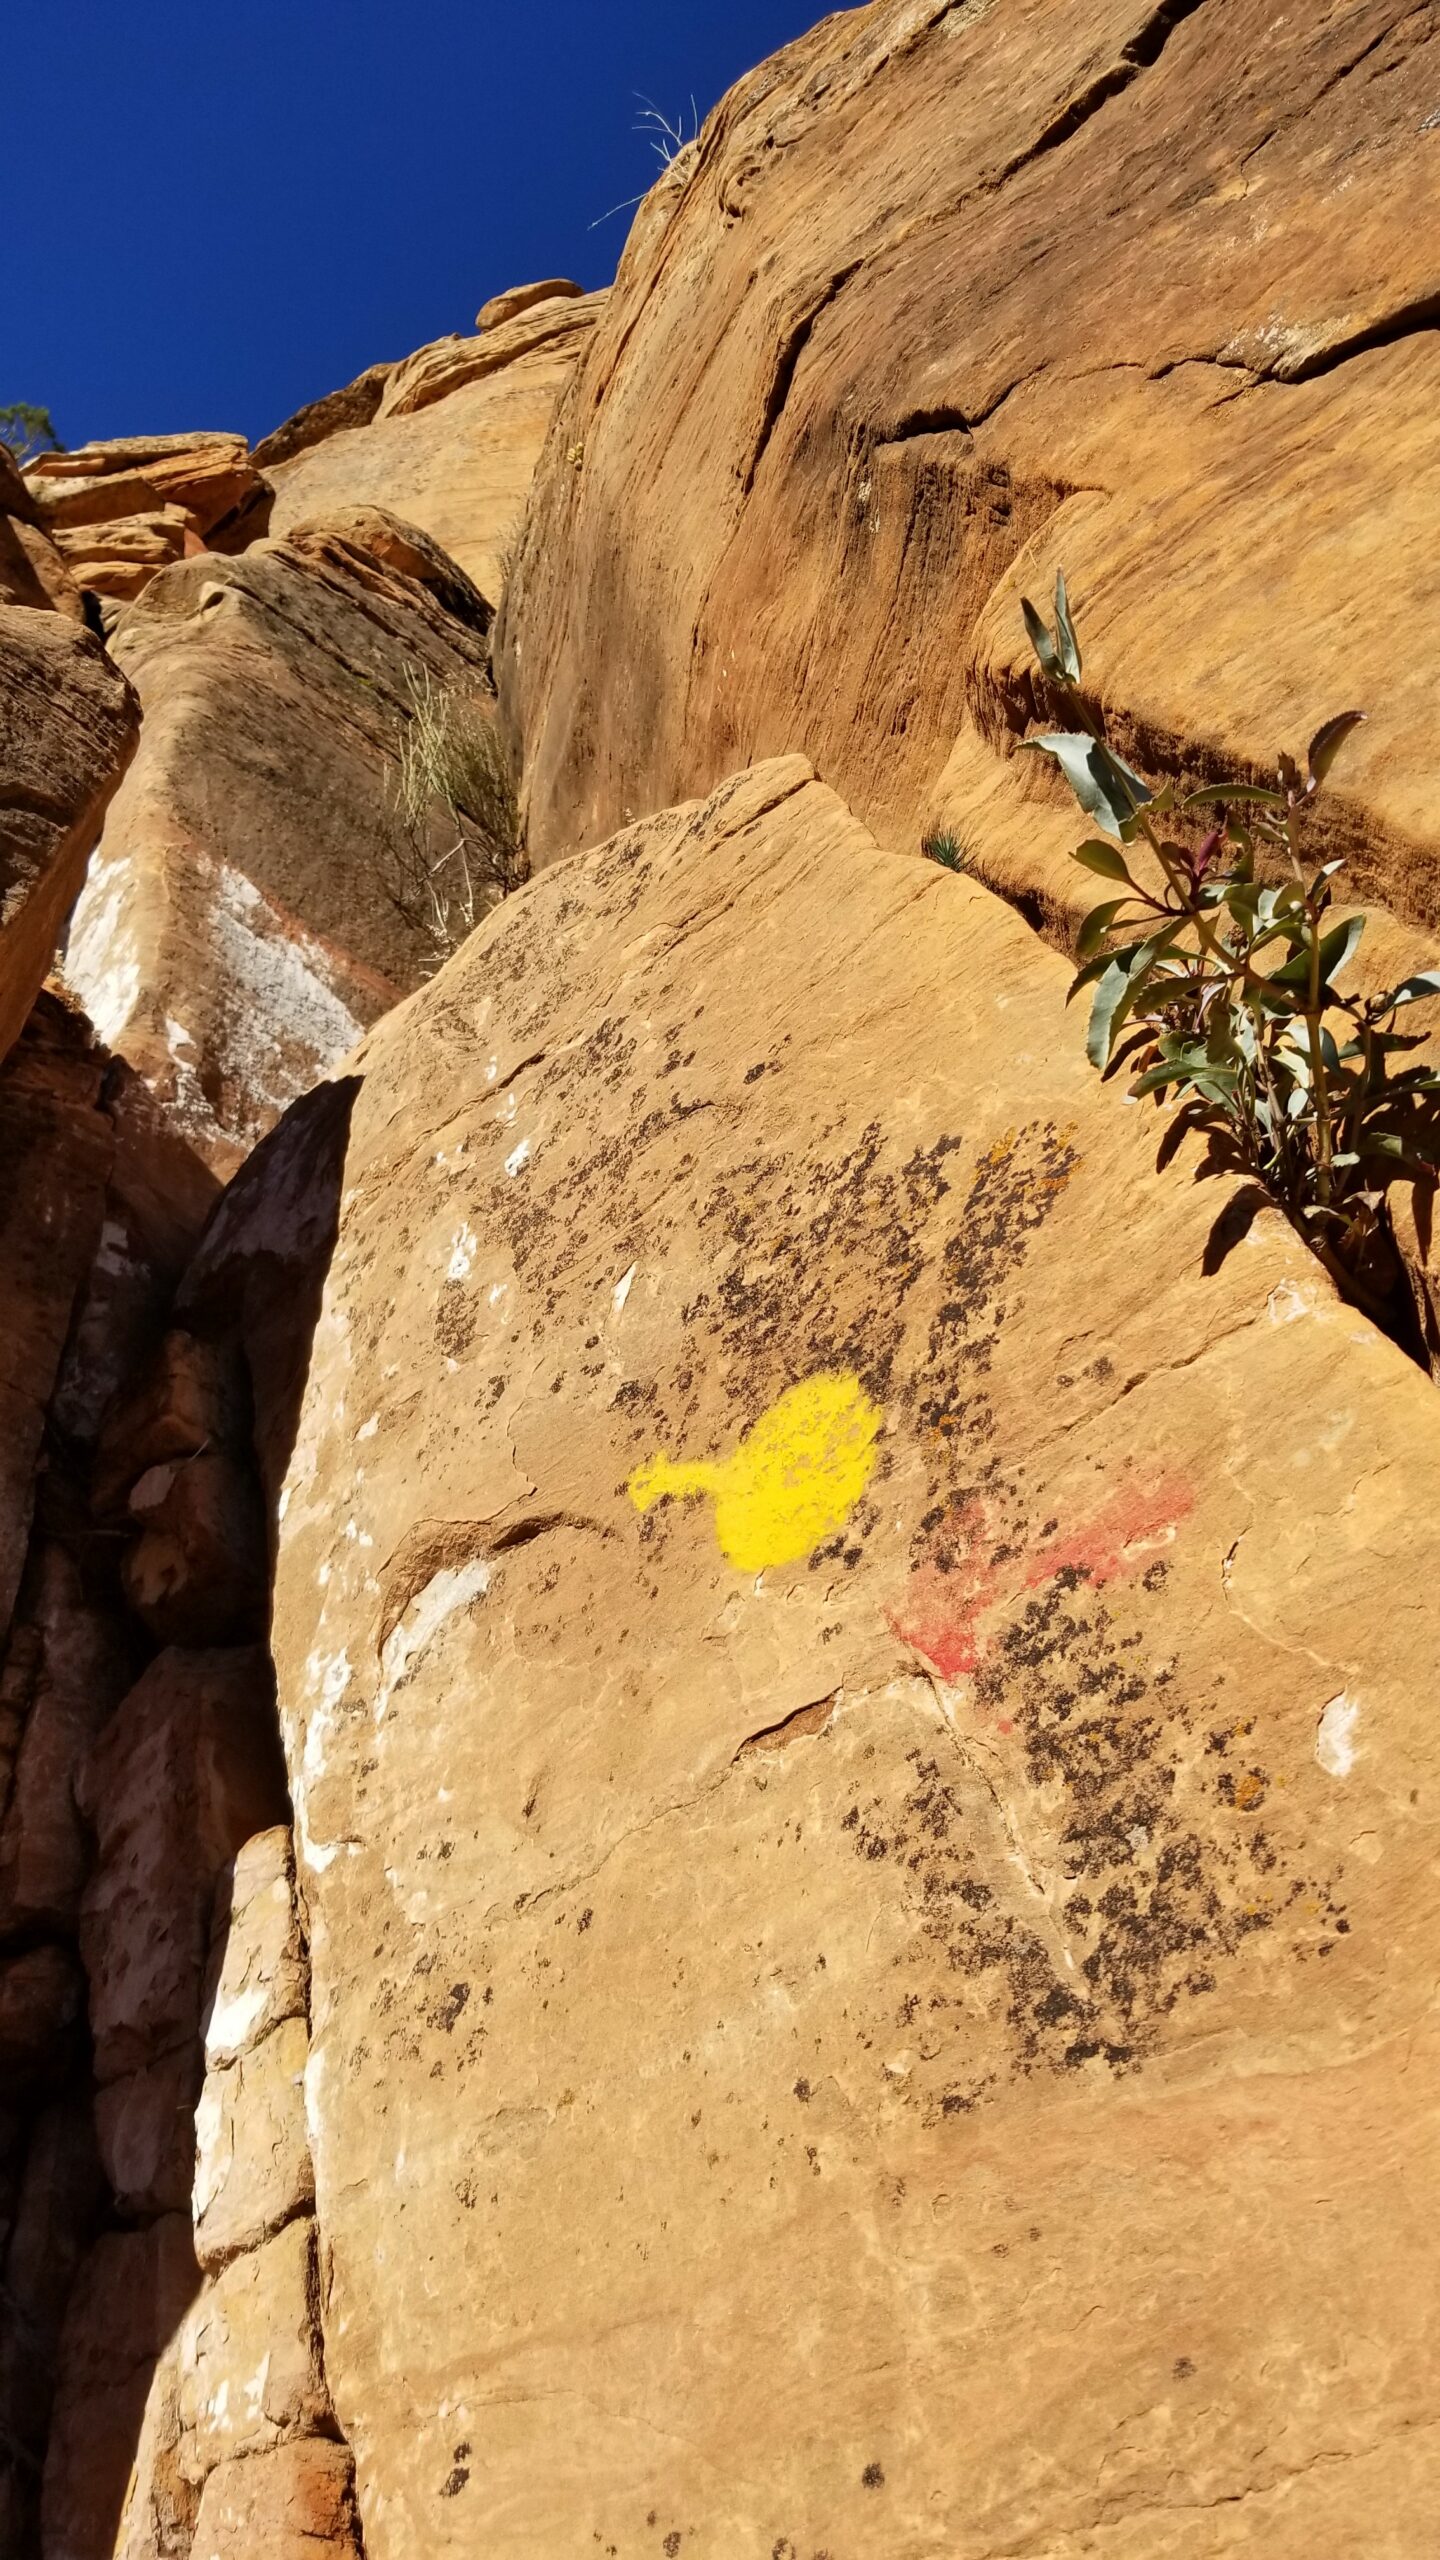
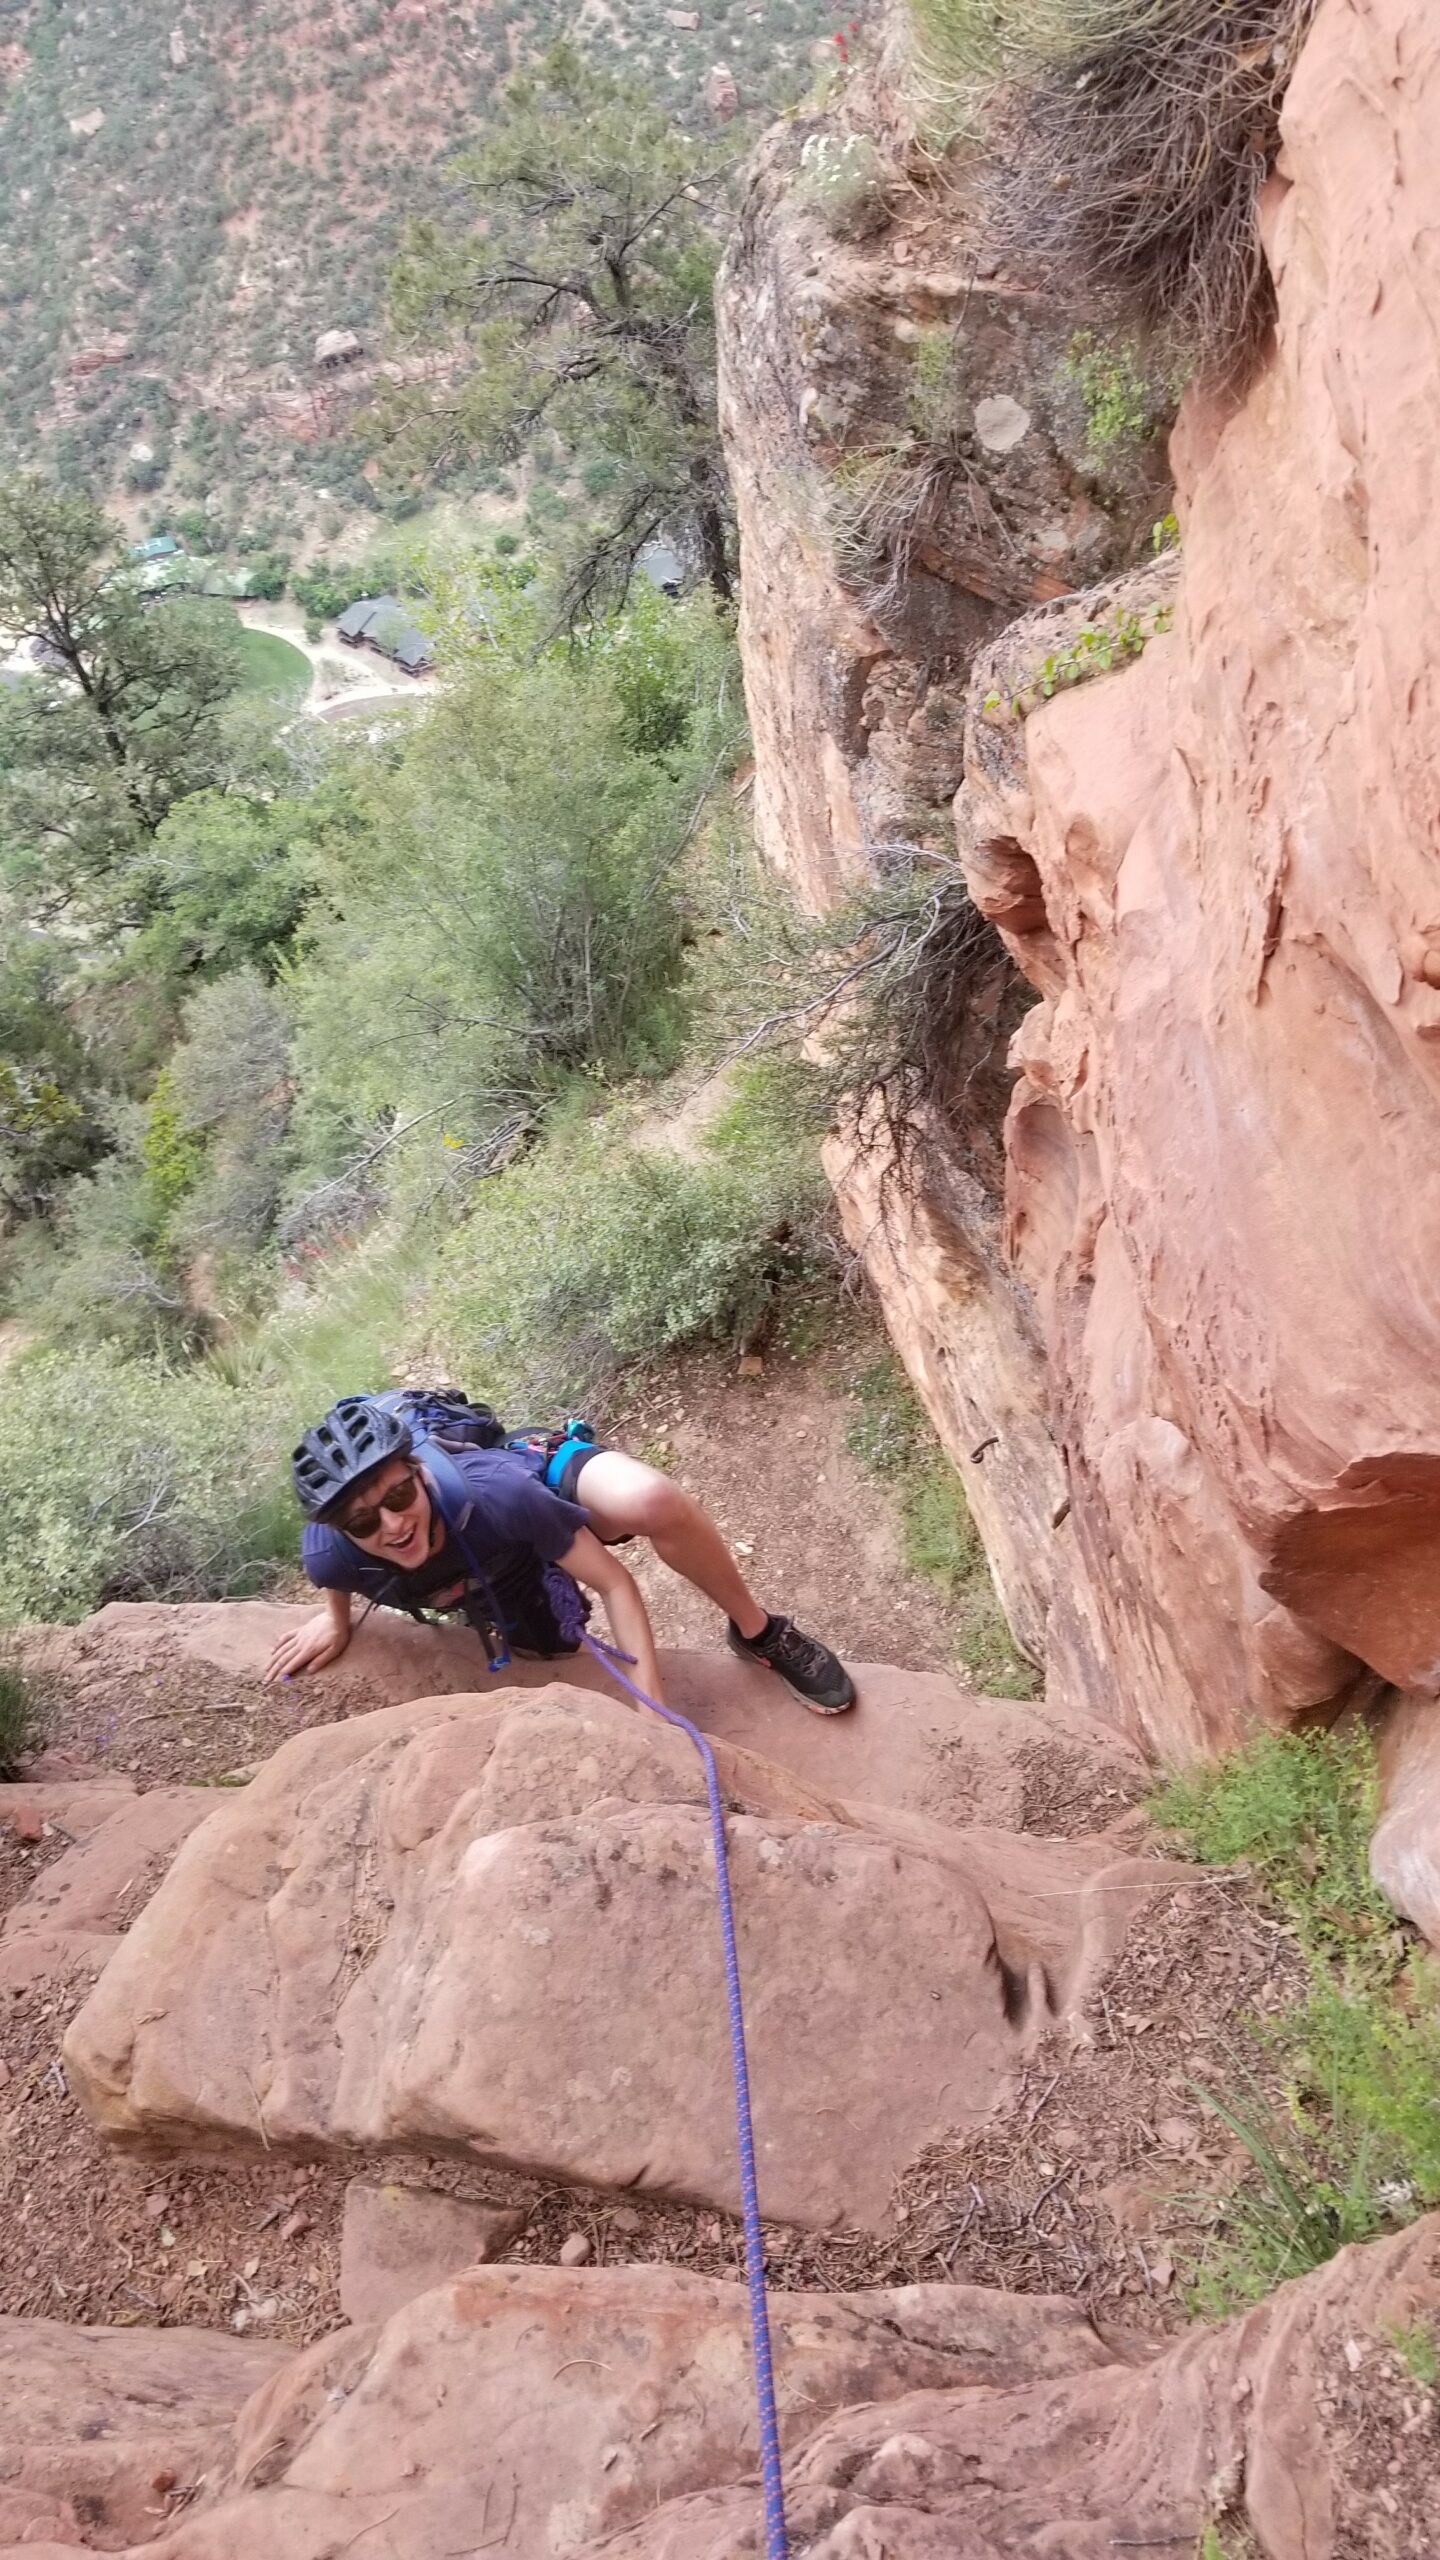
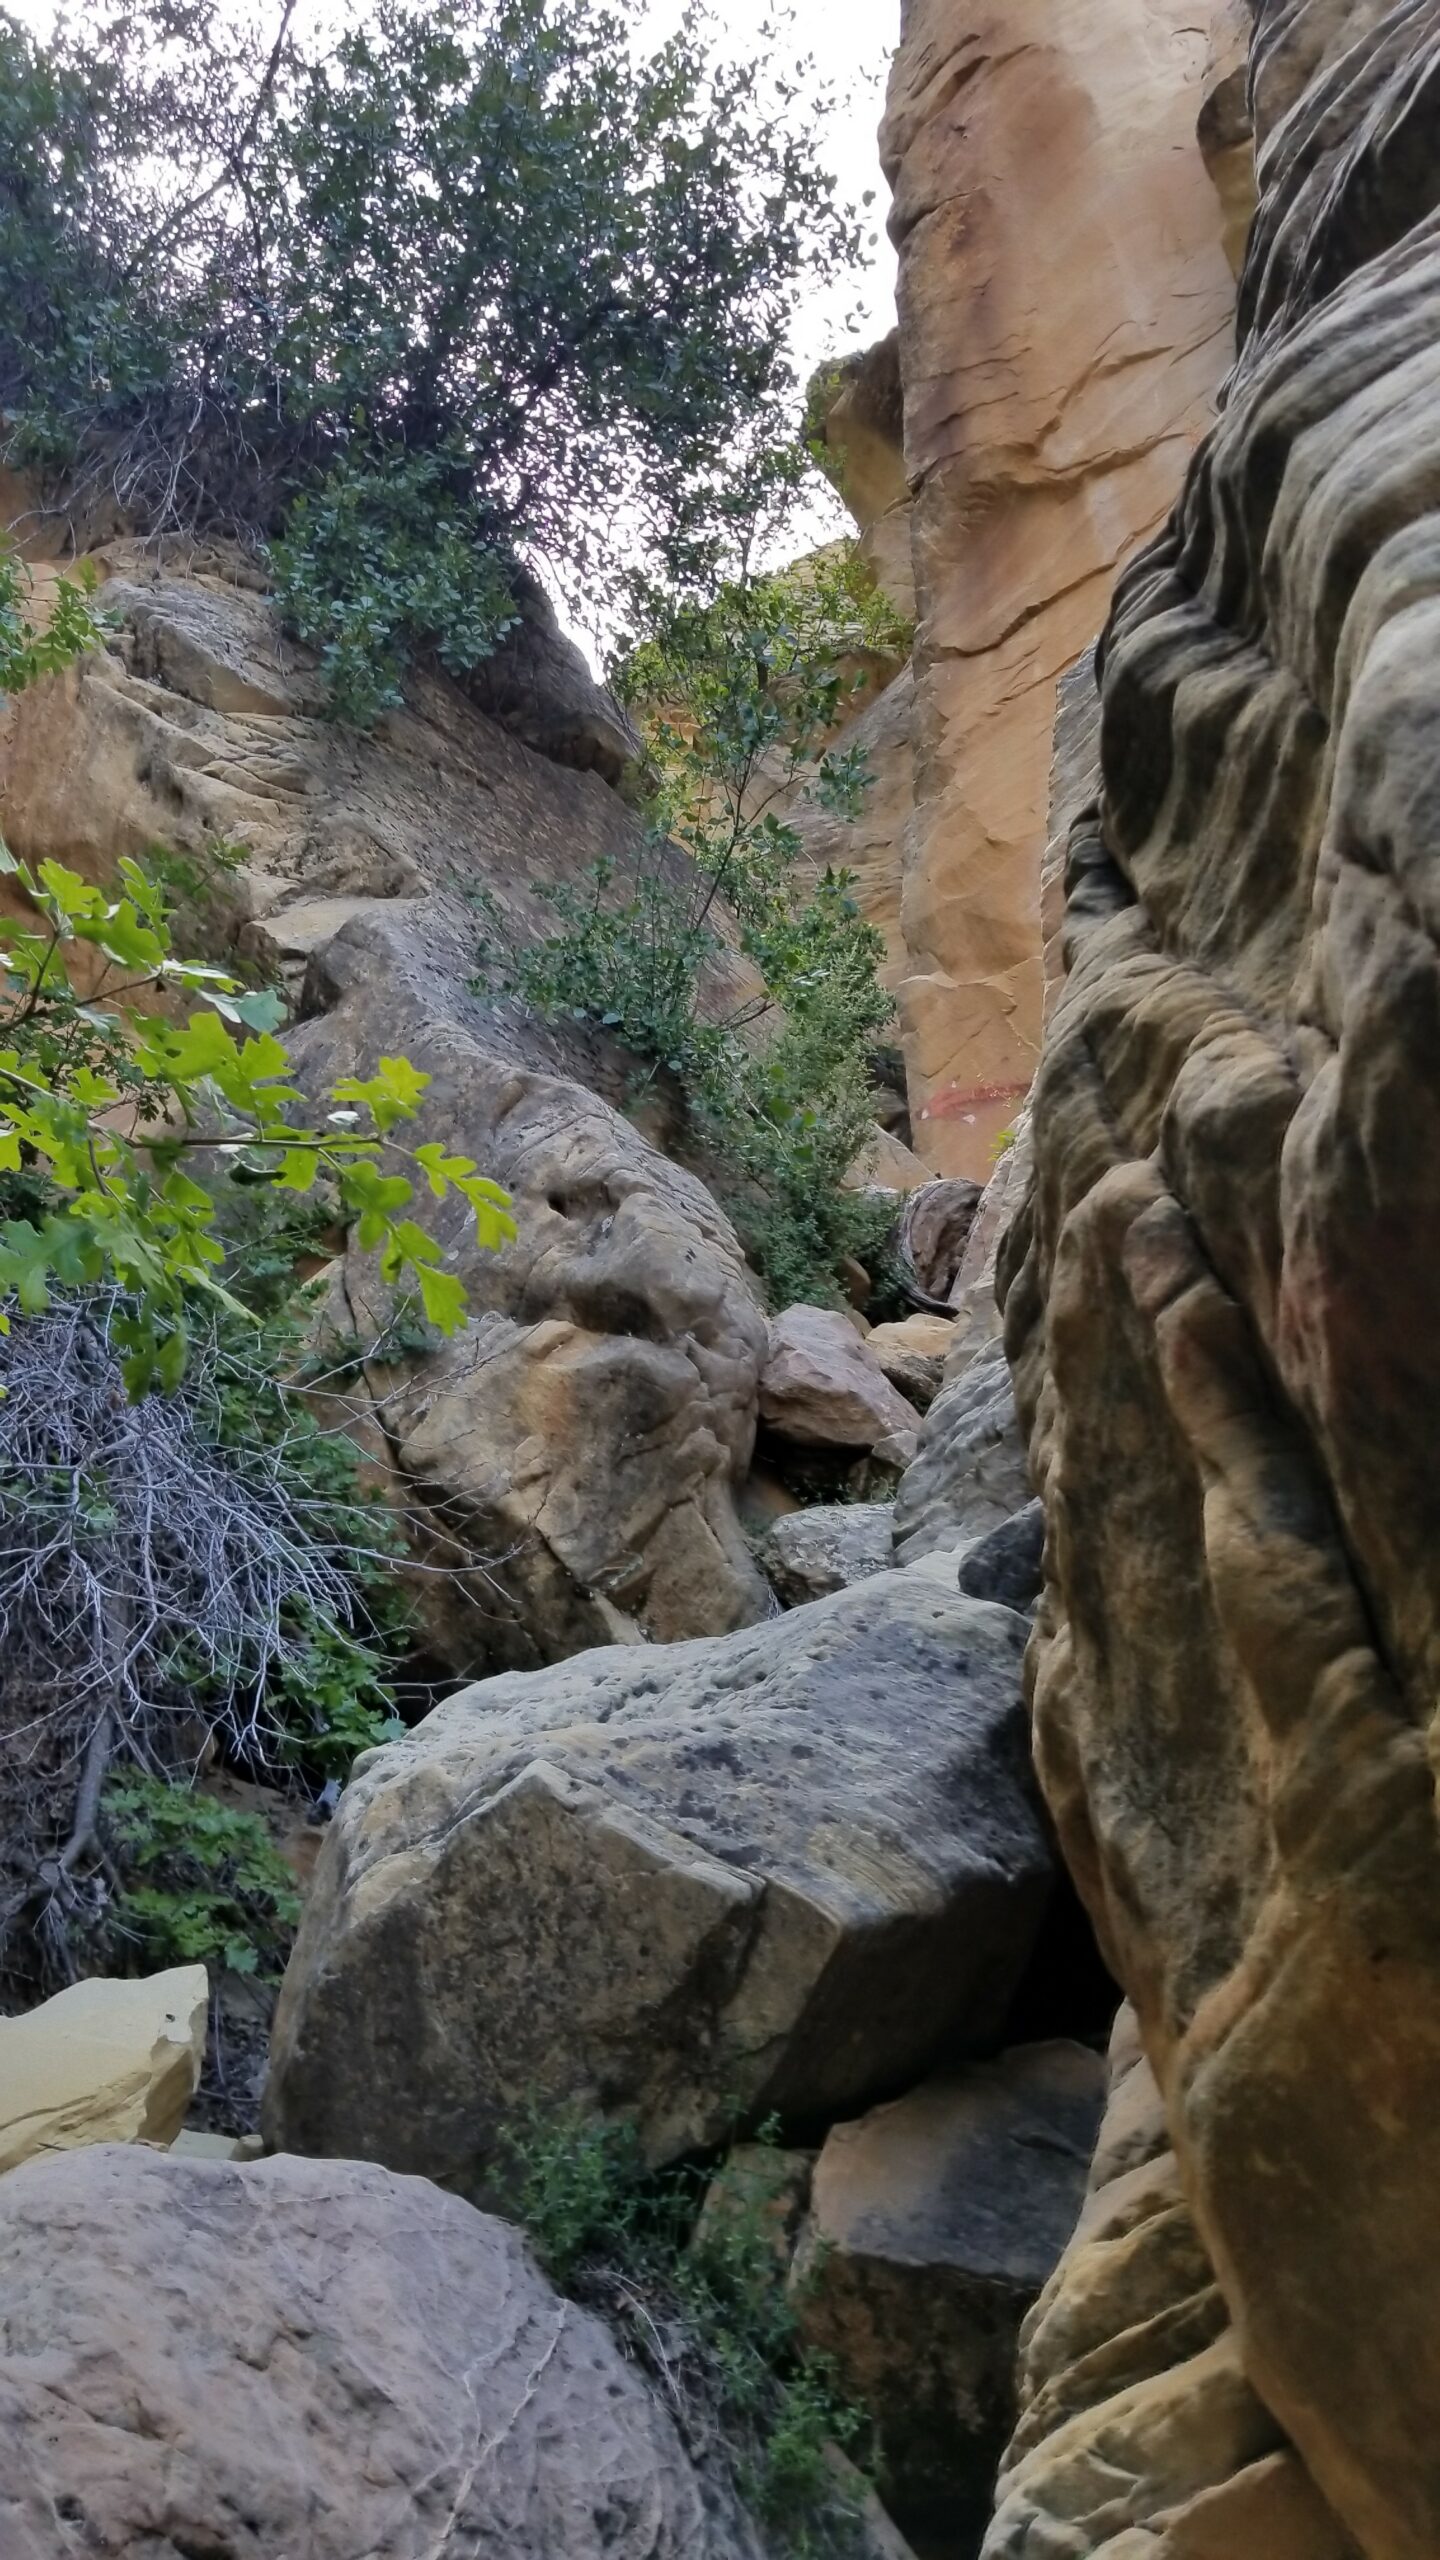
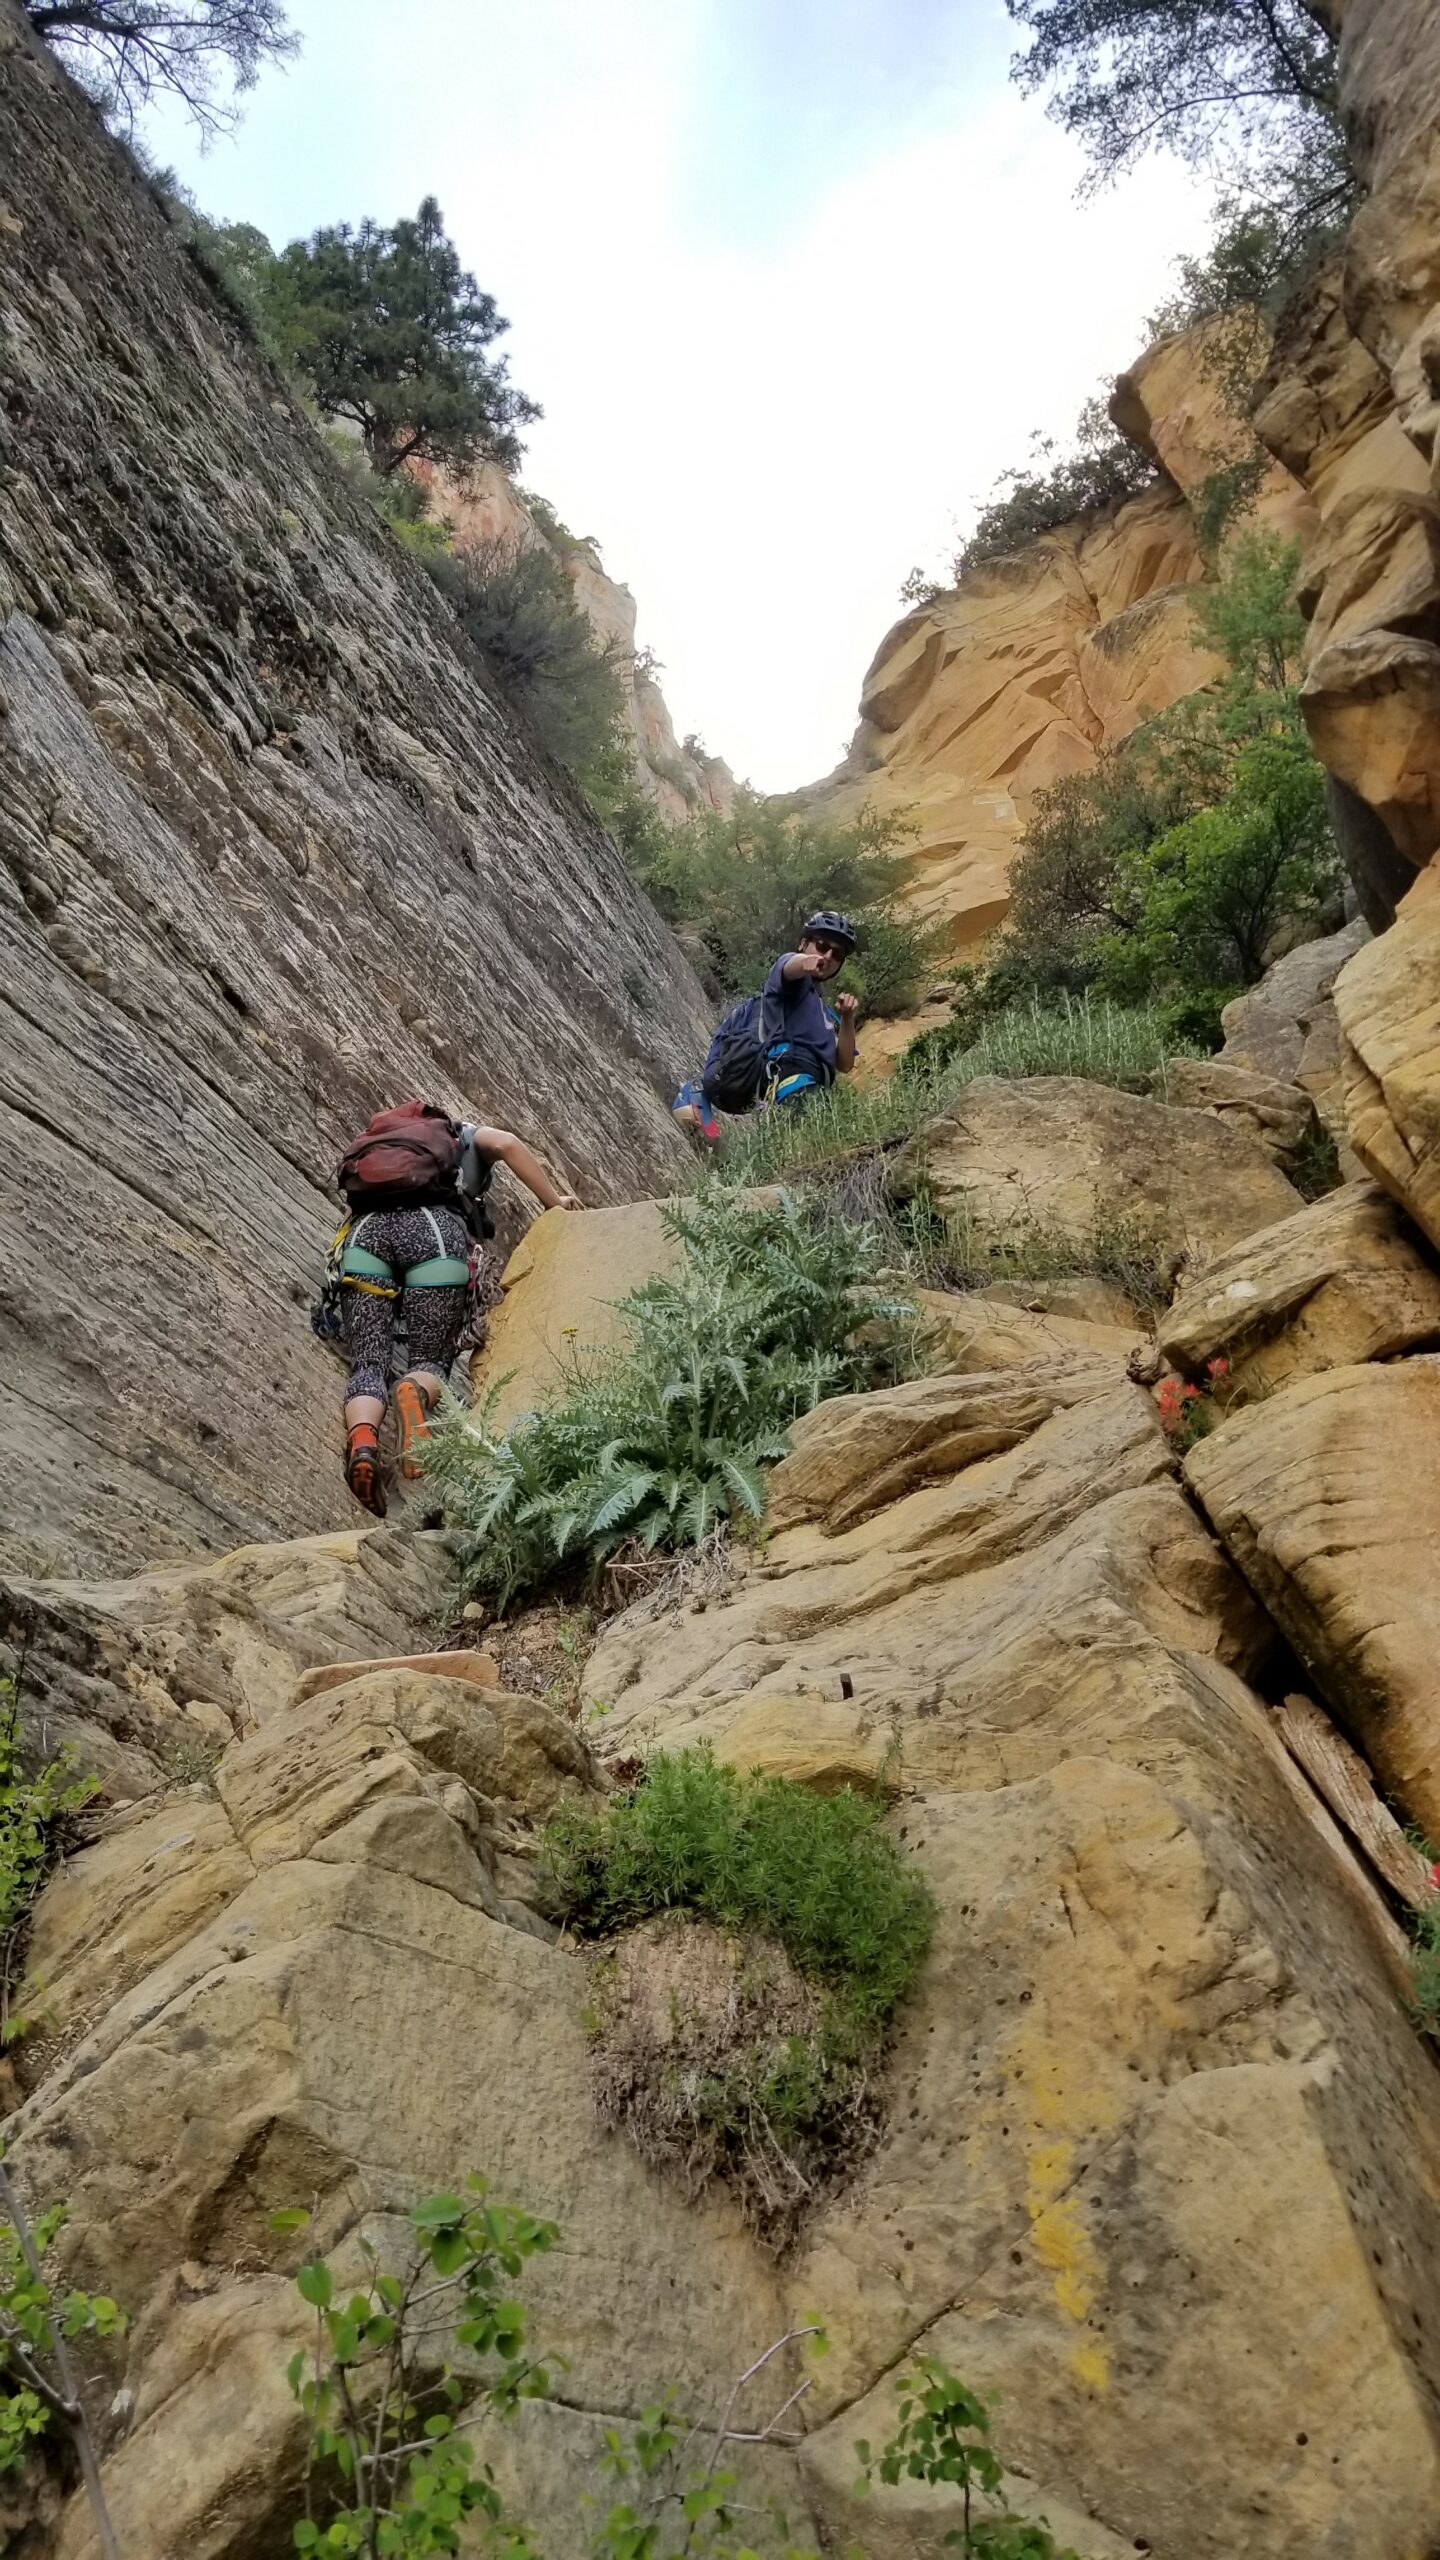
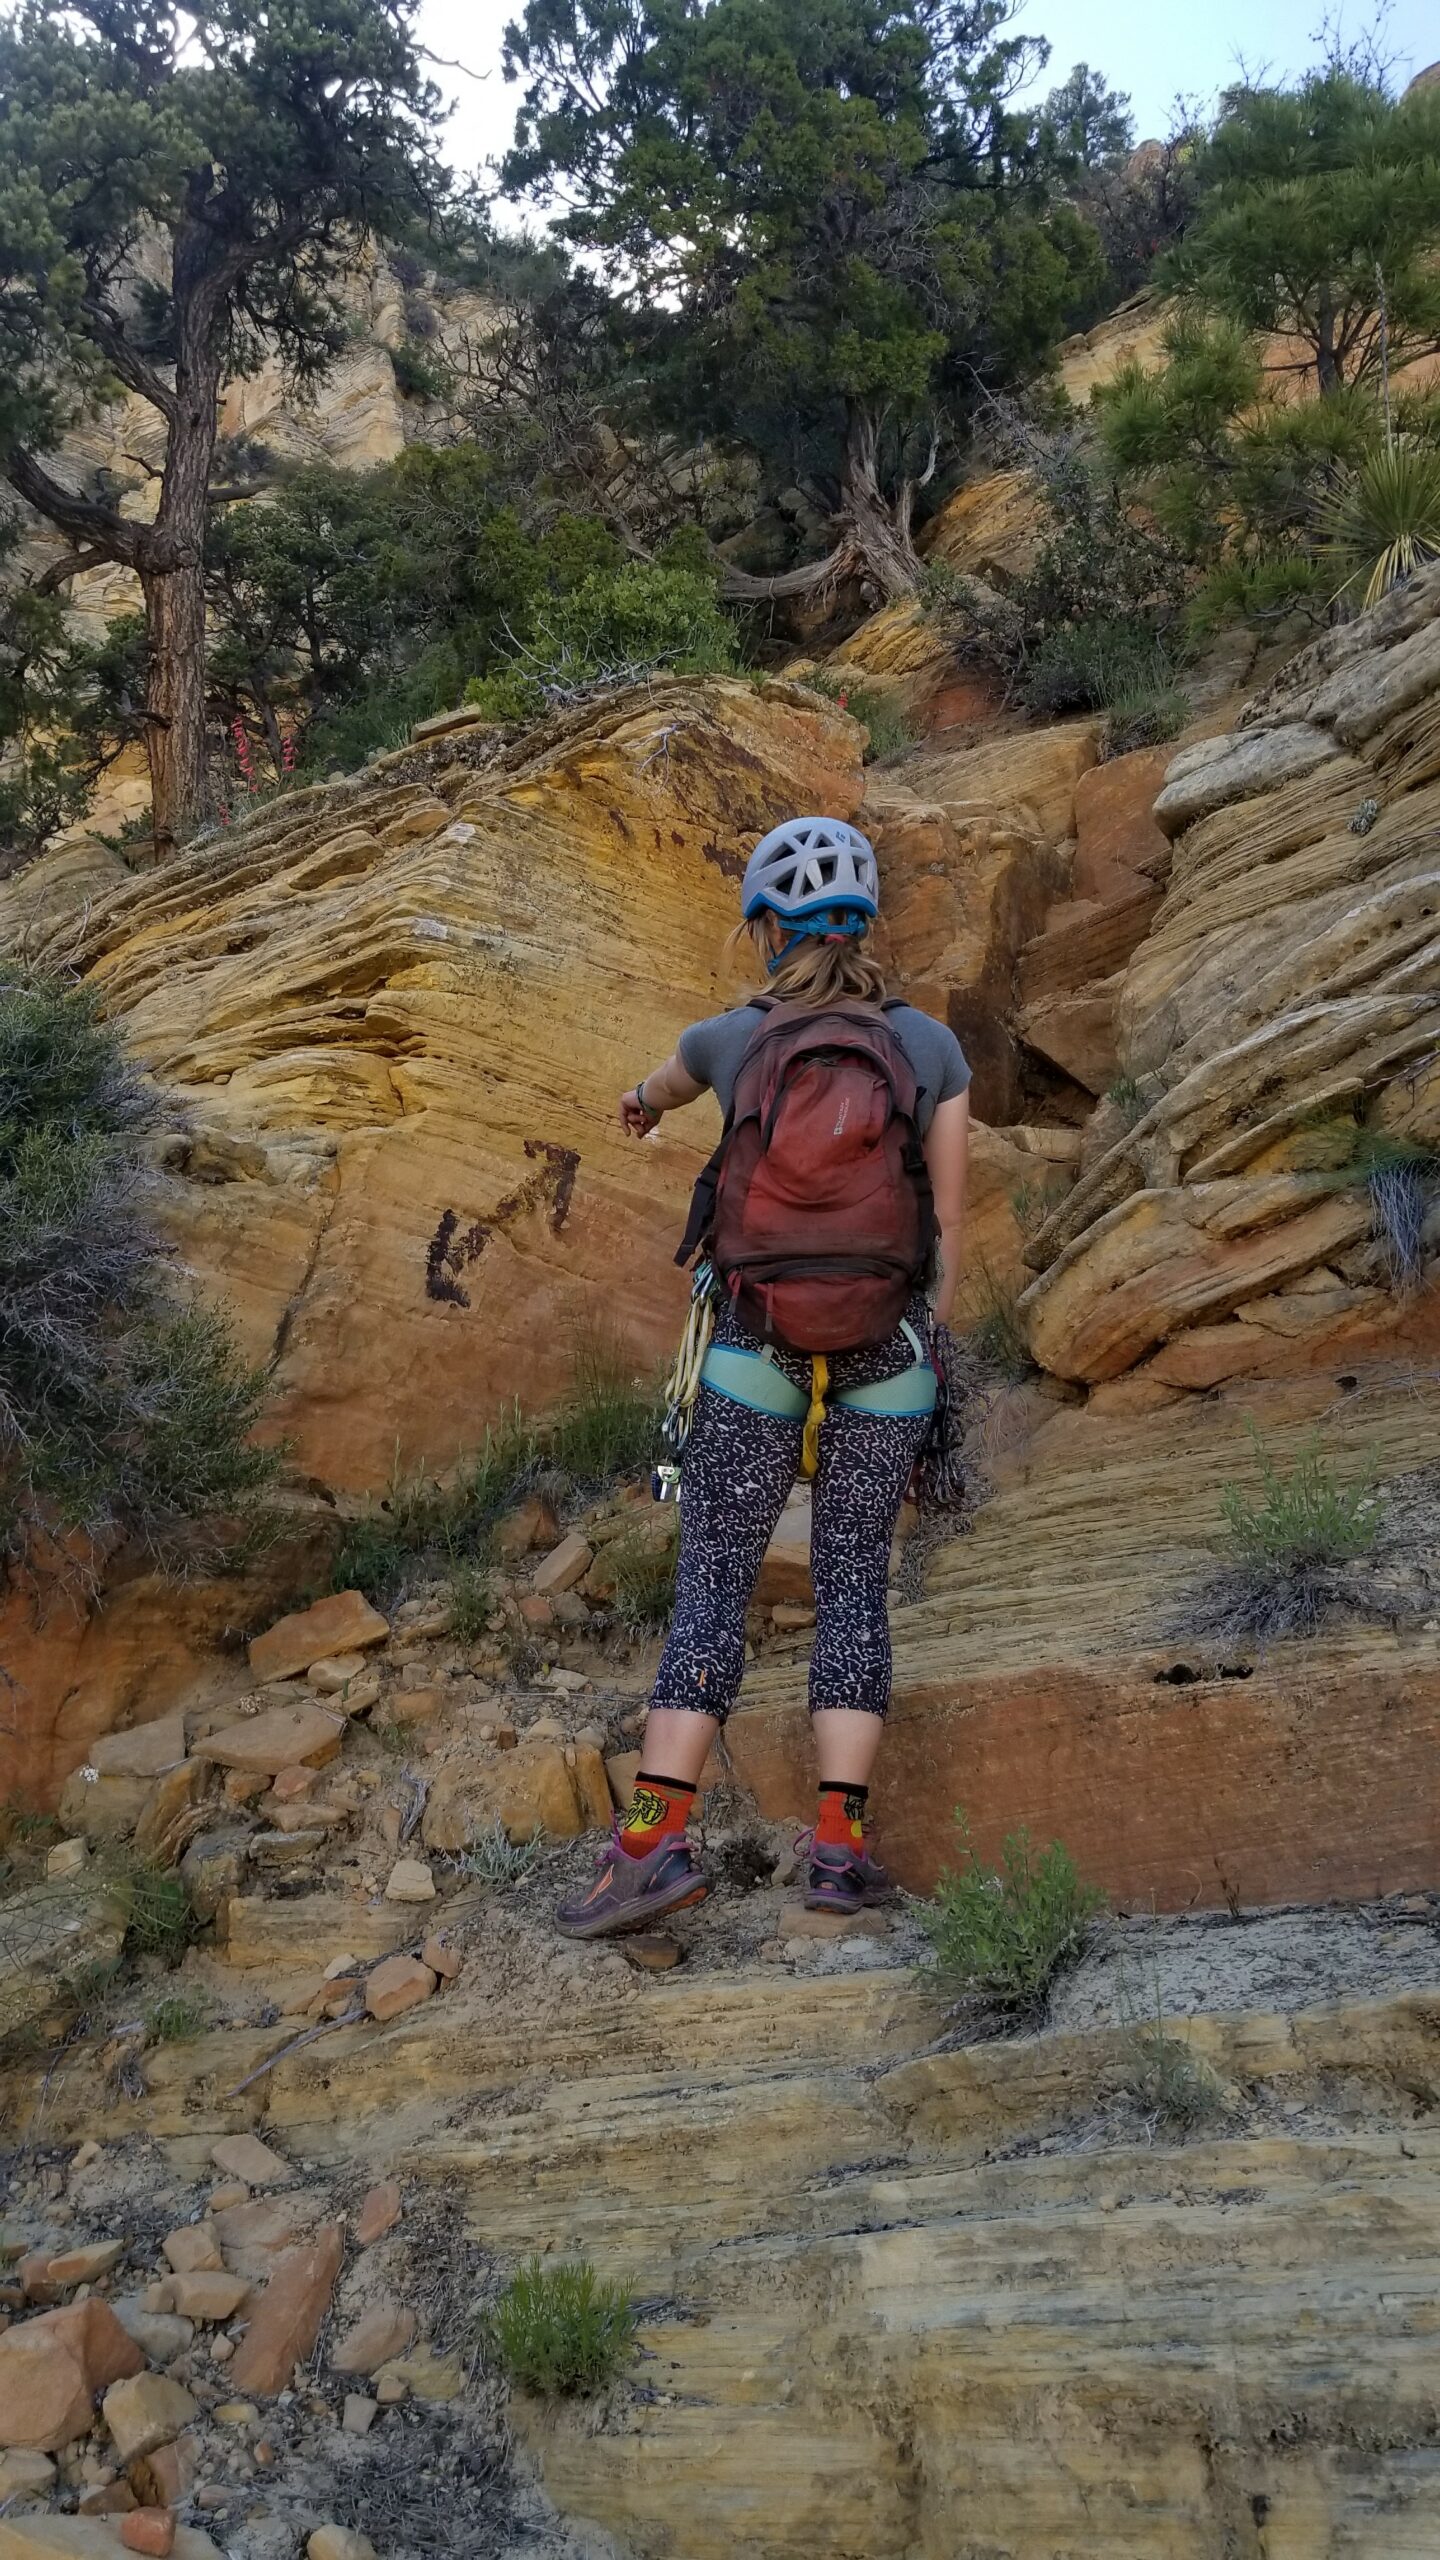
Now walk about 100 ft and find the climbers trail (it’s actually well beaten and thecairns makring its departure from the main trail may or may not be still there) on your left, hike up, trekking on, switchback after switchback, until finally you find a vertical rock face. There will be a yellow bubble with a spray painted arrow pointing up marking the start of your ascent. Take the class 3/4 up before taking a switchback to an exposed face with moki steps cut in. Scramble on (or rope up if you’re nervous), but it soon turns back to class 2/3 as it continues going up and up. Just follow the trail marked with spray paint and a few faint footprints until finally you find a short low class 5 section heading into a chimney. Rope up and place a couple of cams to protect your ascent from a 60’ drop below. It’s pretty mellow, I led it all with my tennis shoes. You can protect your second from an old but sturdy Via Ferrata bolt at the top, making for an easy belay.


Hike on up a bit until faced with a couple of slopey Moki steps. It’s a weird start but the Moki steps get better as you go up. From here it’s a pretty easy-to-follow hike up to incredible views of the canyon. Some may want to rope up here, your choice. You’ll soon be skirting a small ledge westward following a footpath until finally needing to ascend north again. Up and on you go on a sandy slim ledge, it’s the only way to go that isn’t class 5. Soon you’ll come to a bulging sandstone face with a bolt at the bottom. This is your second class 5 rope-up point. Sure you can solo it, but who wants to make a small mistake in tennis shoes only half way to your goal?! After belaying your second over this short 20’ climb let the hiking continue. Switchbacking, scrambling, and finally you get spat into the final chute. You’ll know it when you get there!
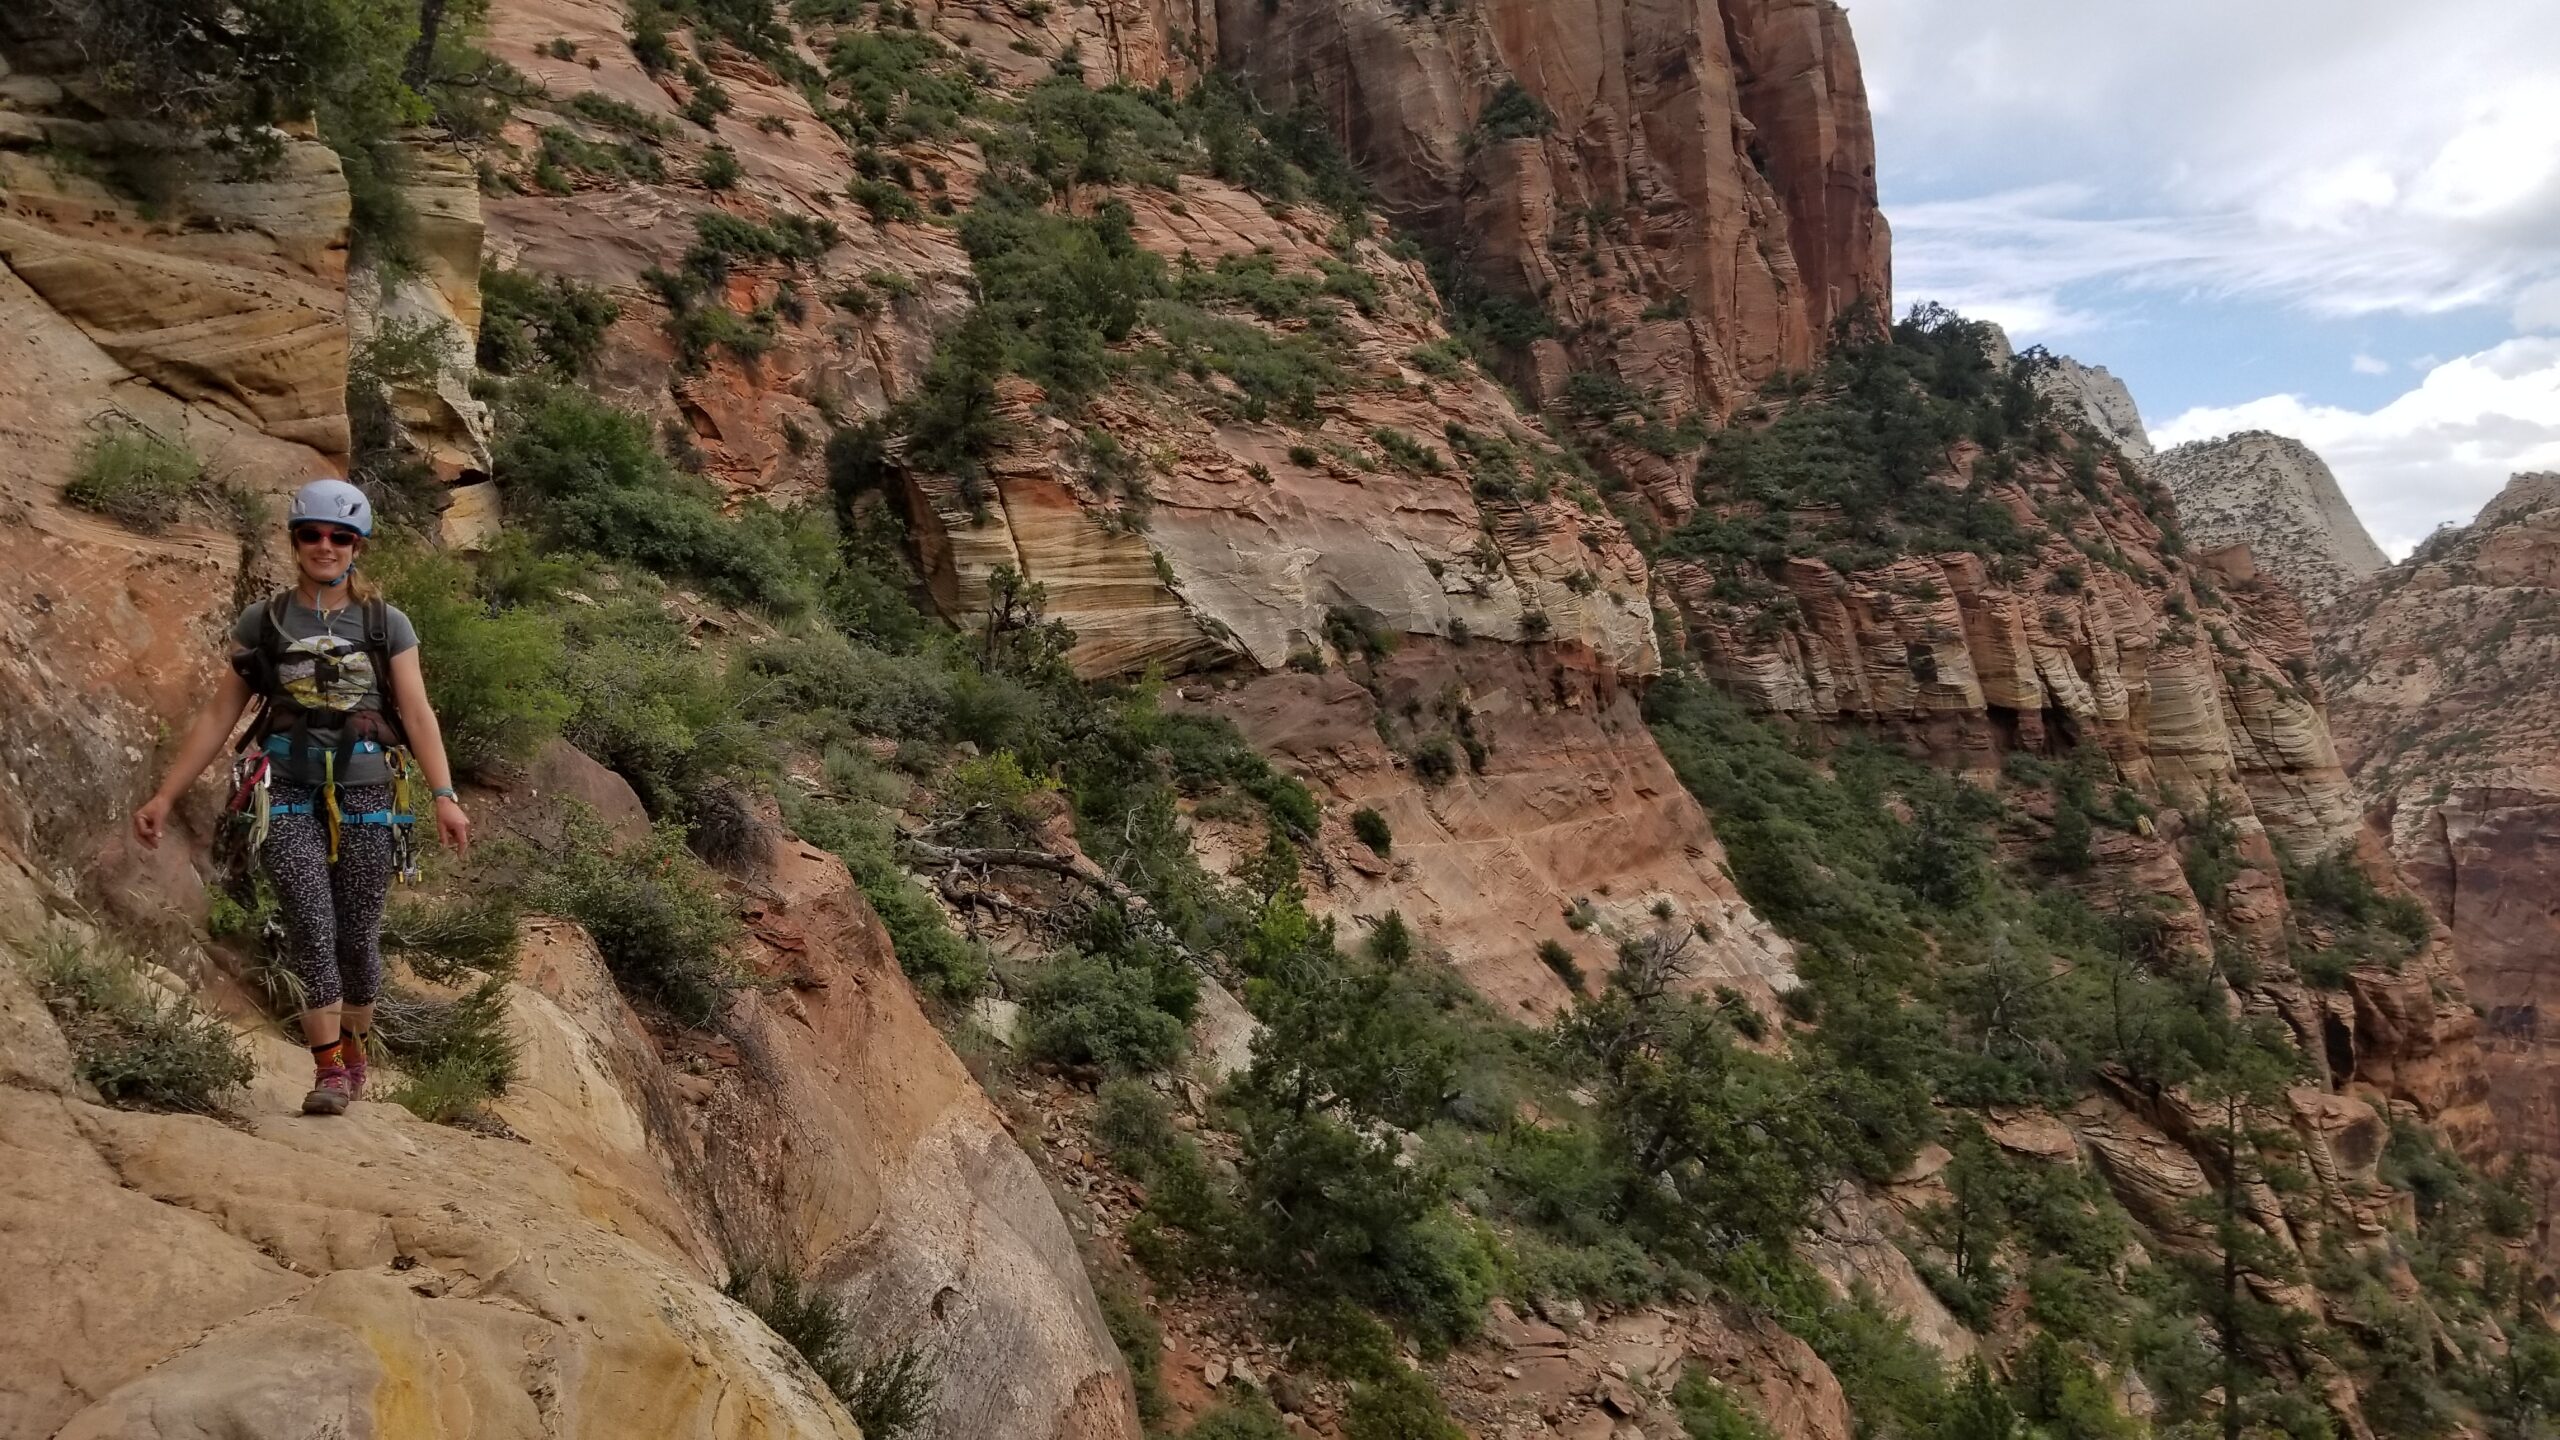

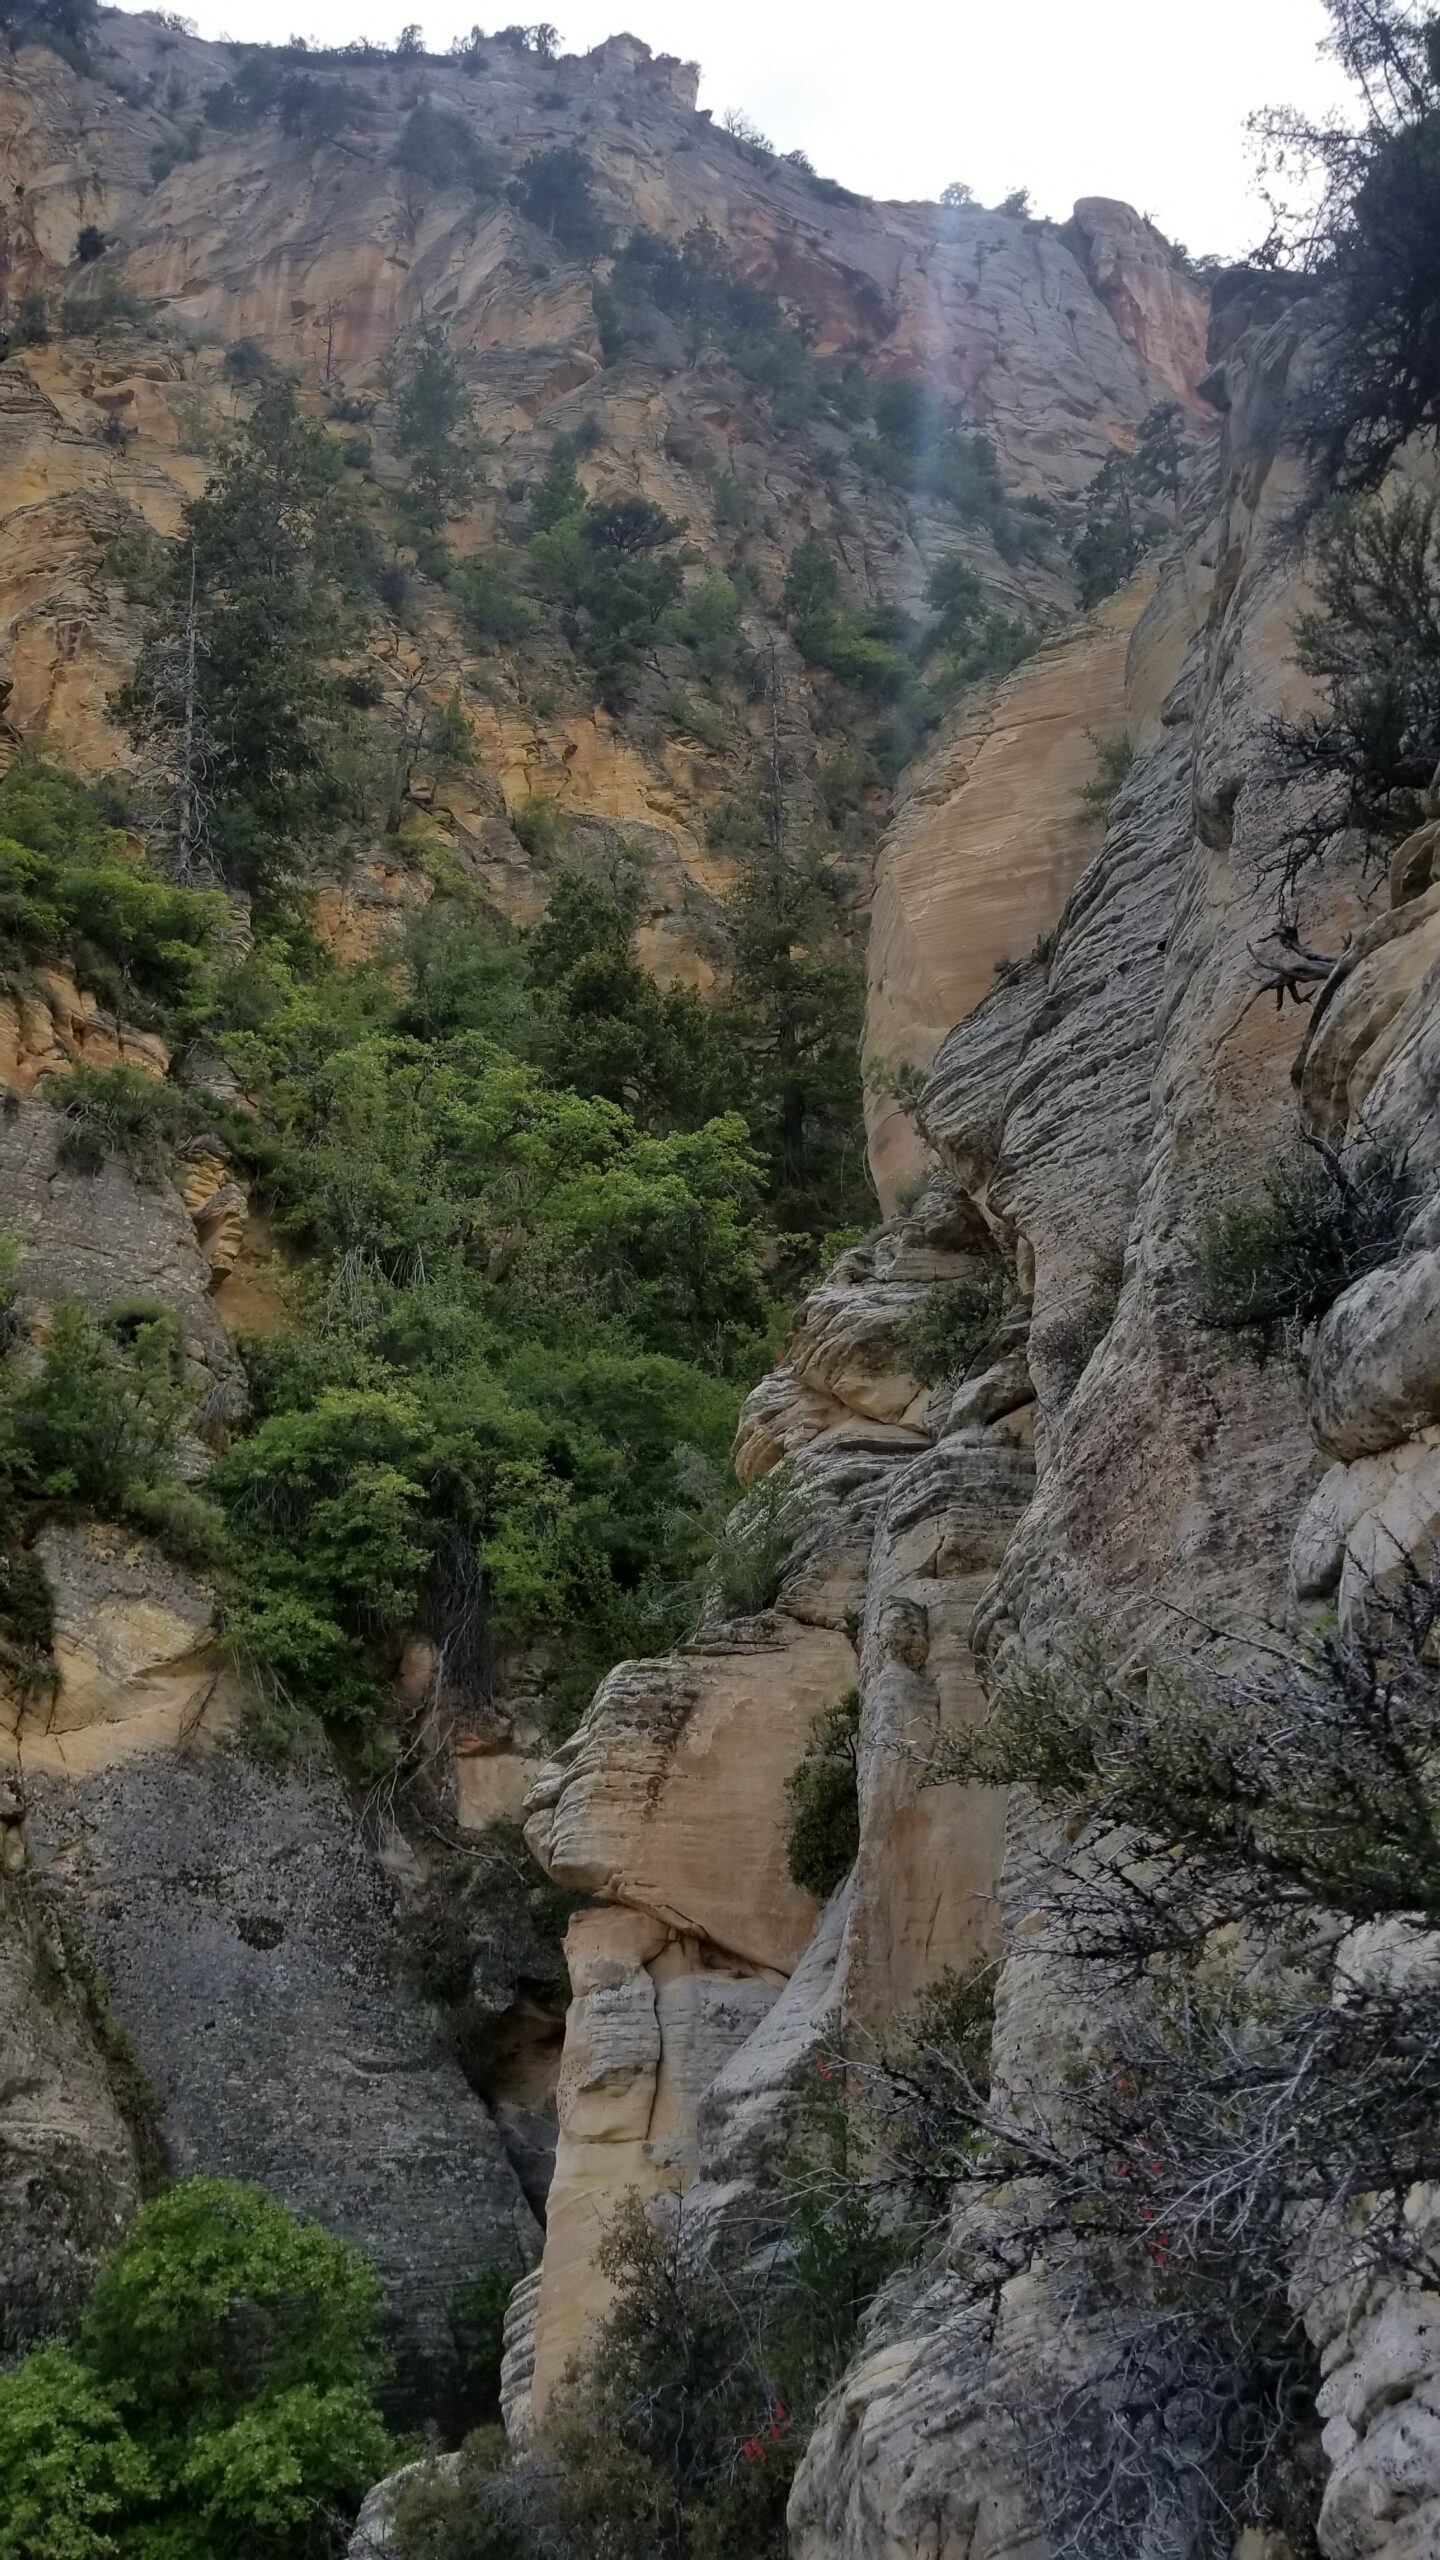
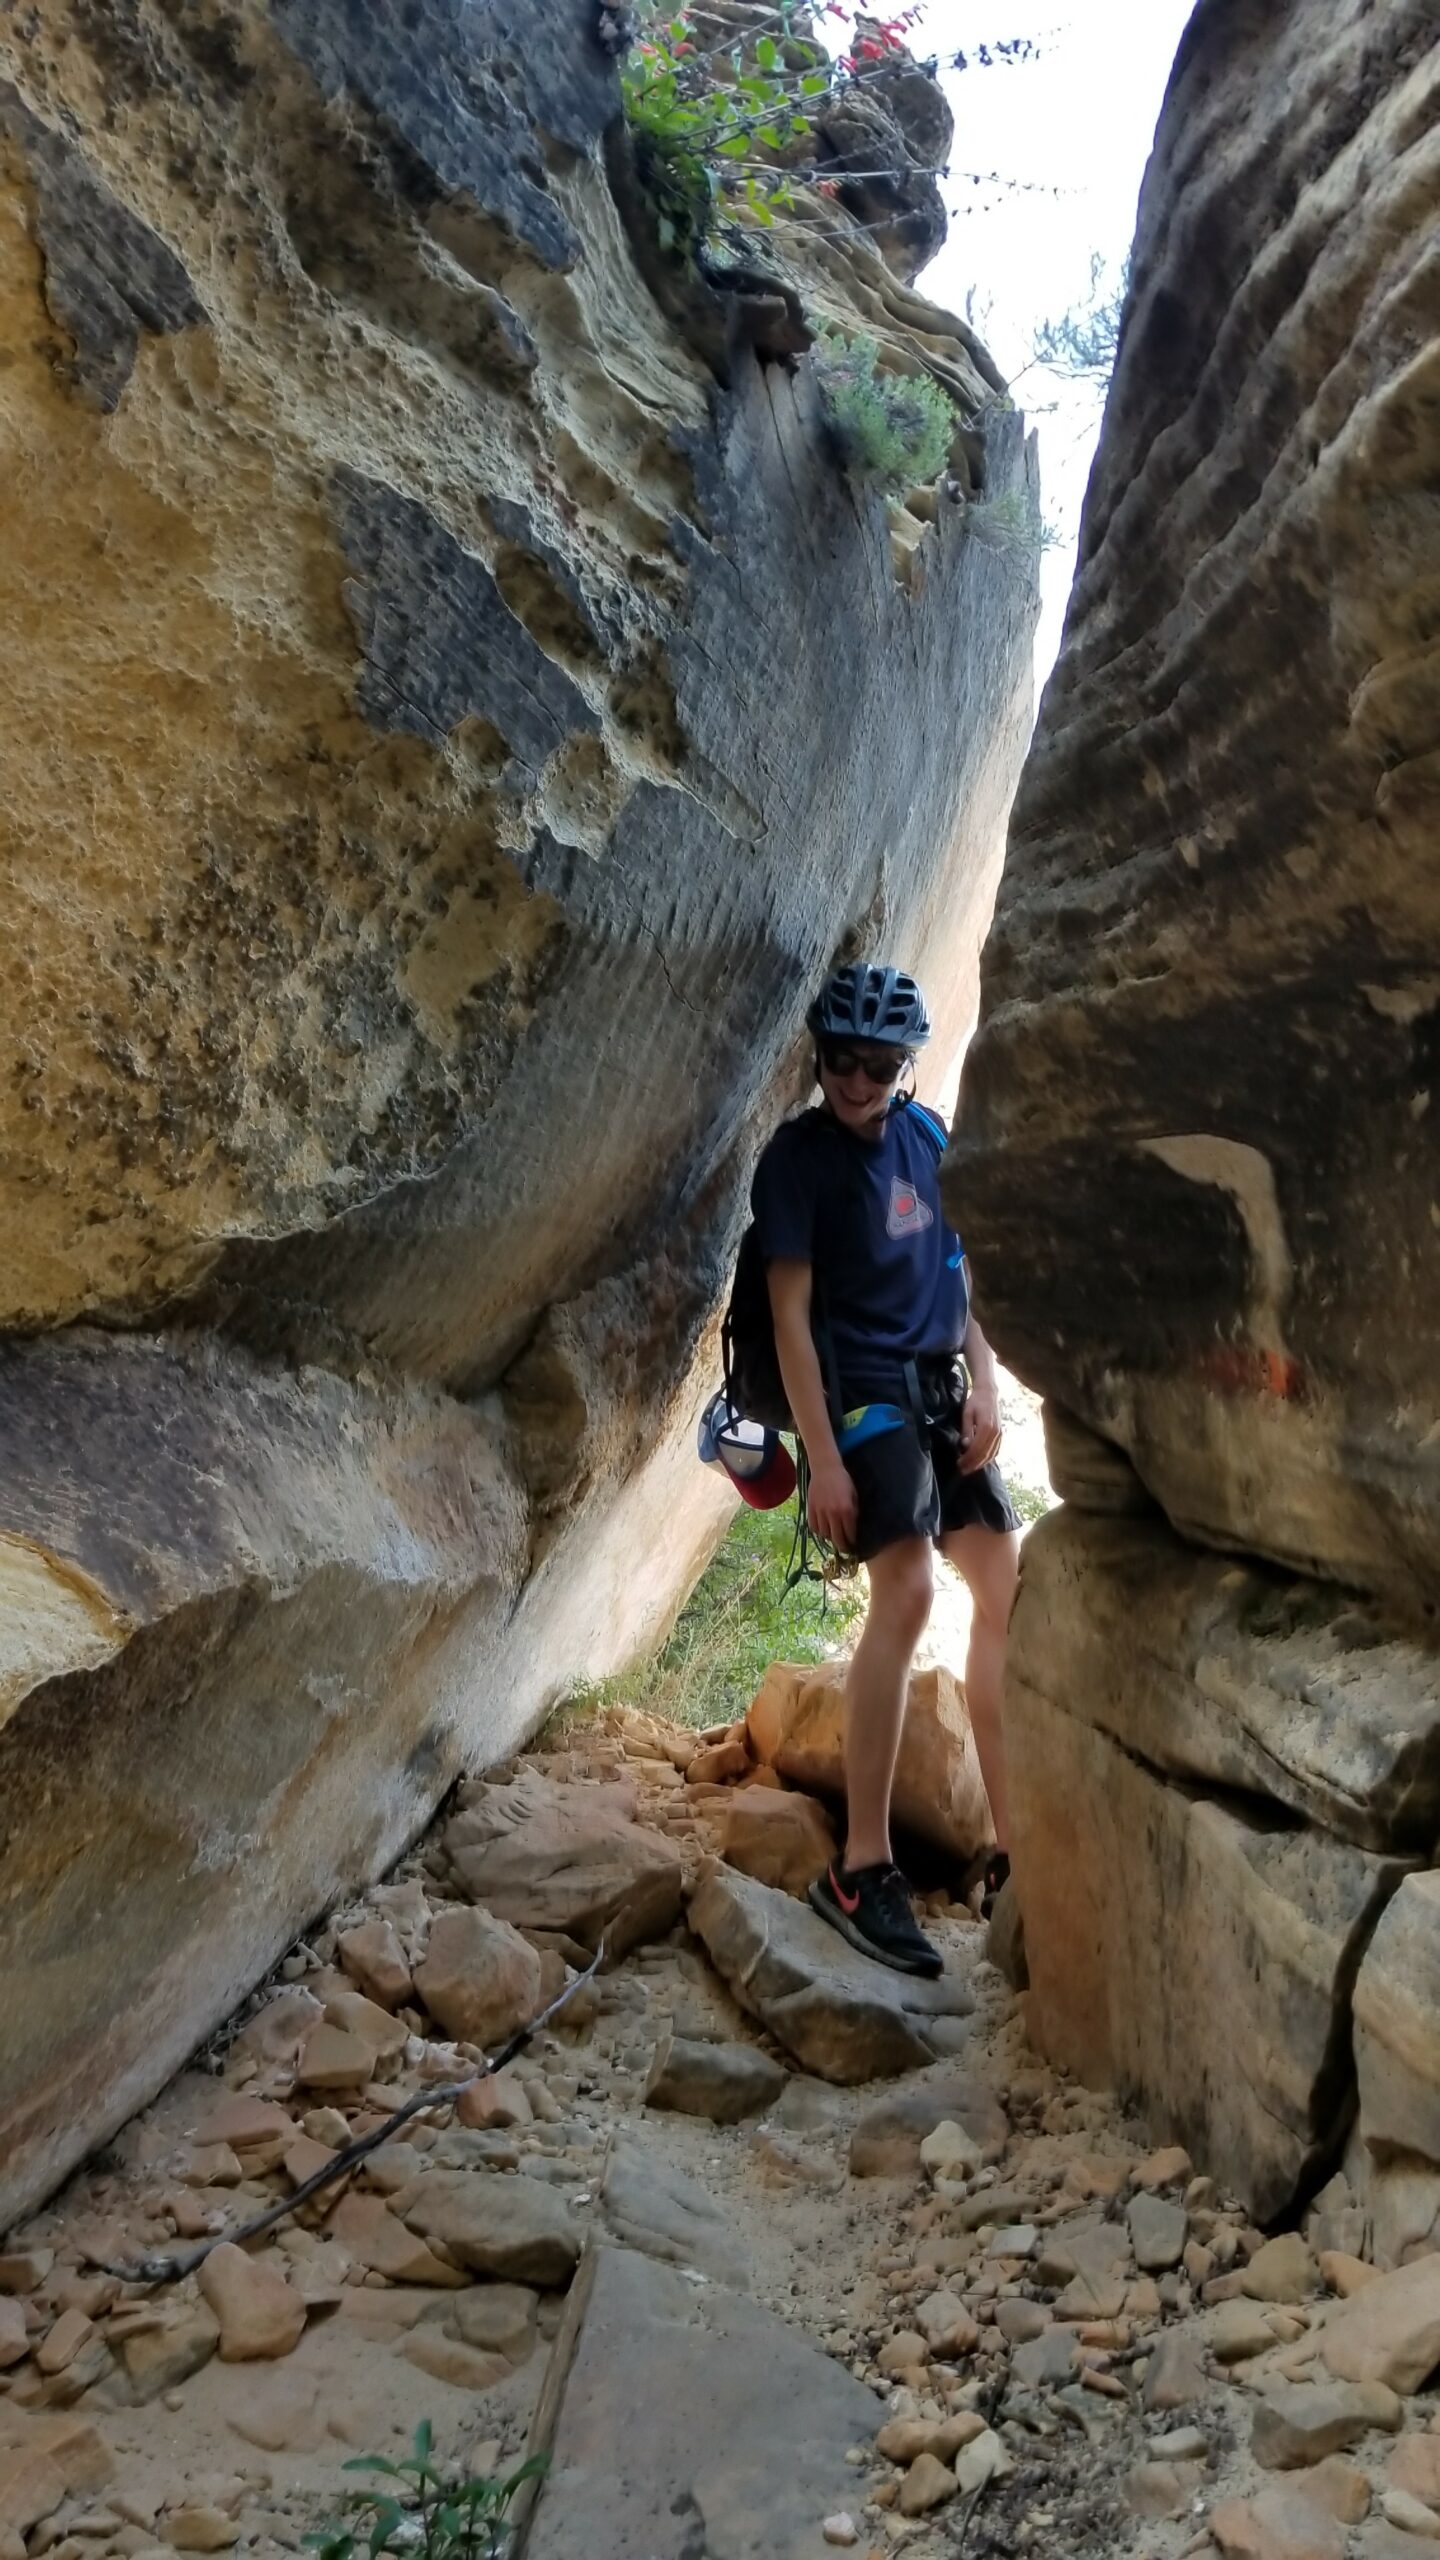
Start climbing into the chute, after about 20’ look to your left and find a small hidden climbers’ trail that ascends the left side of the canyon near some tree roots. Do not stay in the bottom of obvious chute get on the wall on climbers left. Without this trail you’ll get off route and have to do some weird sloped traversing from a tree belay to get back on (I speak from experience, we found the easier trail on our way down). Once past this obstacle, youll find a few via Ferratta bolts bent over on your left side. Just keep on up the canyon past a growing tree and a fallen dead tree until finally exiting climbers’ right on a sandy short scramble.
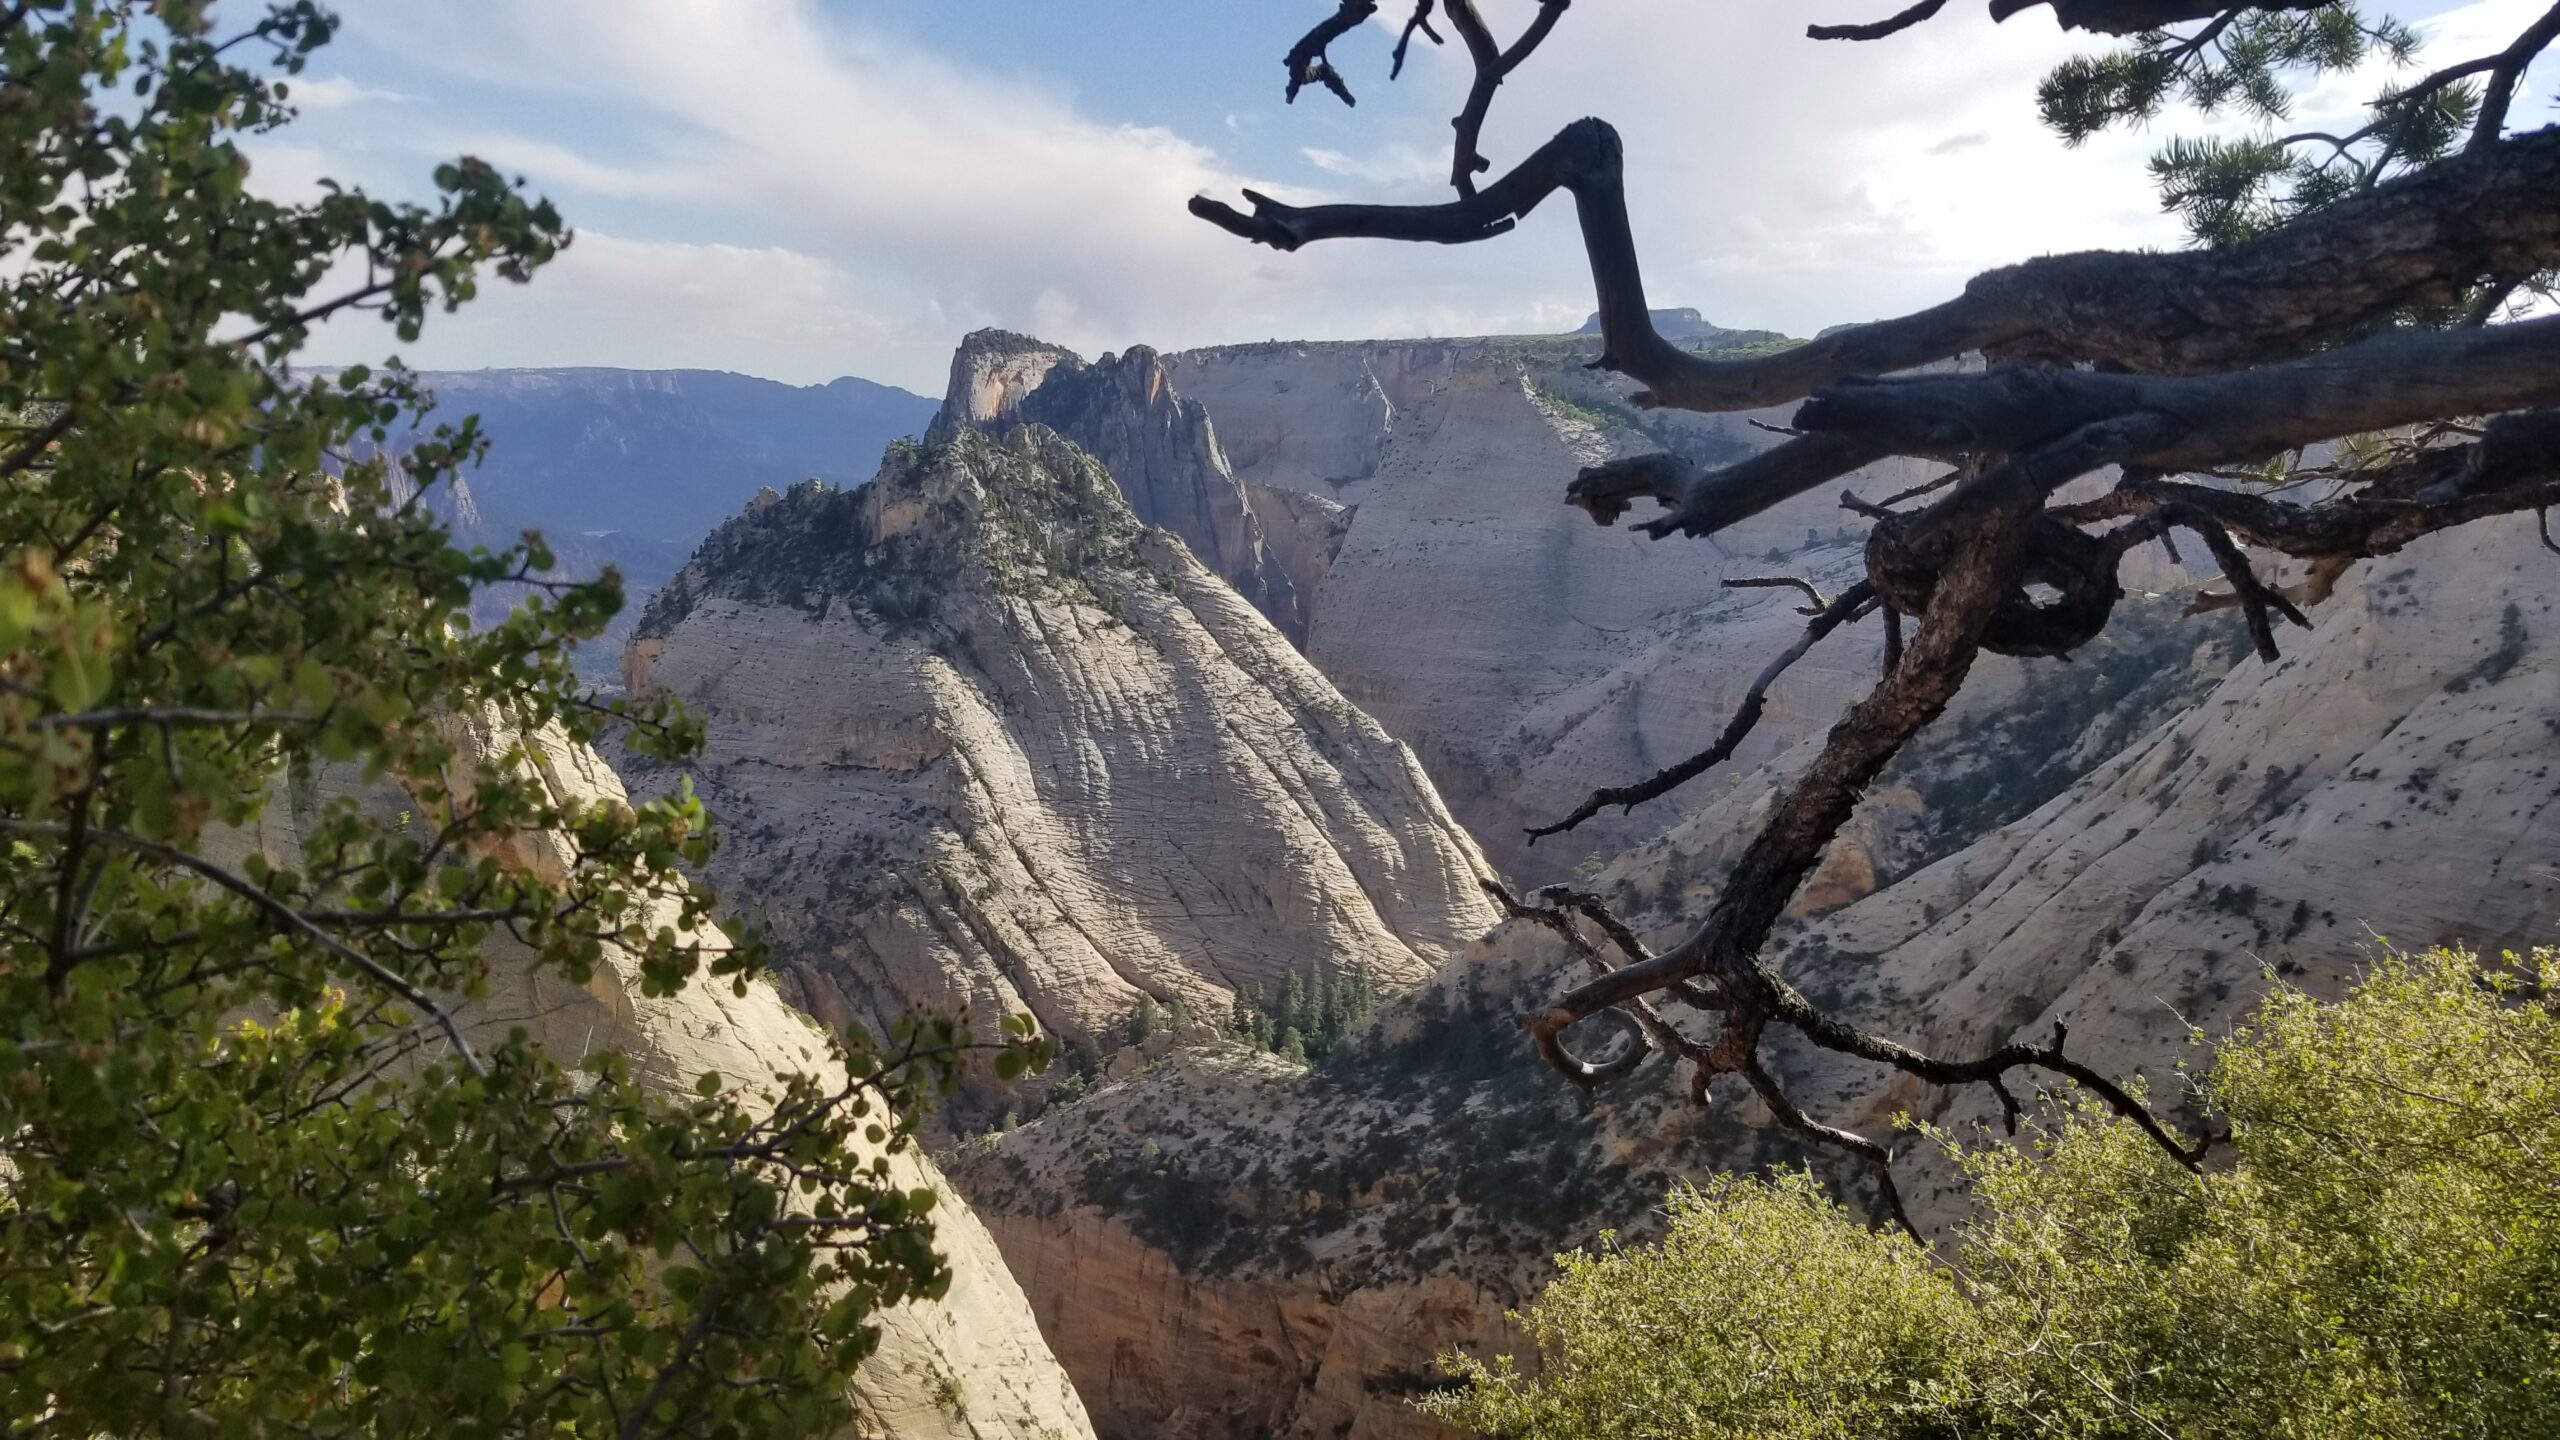
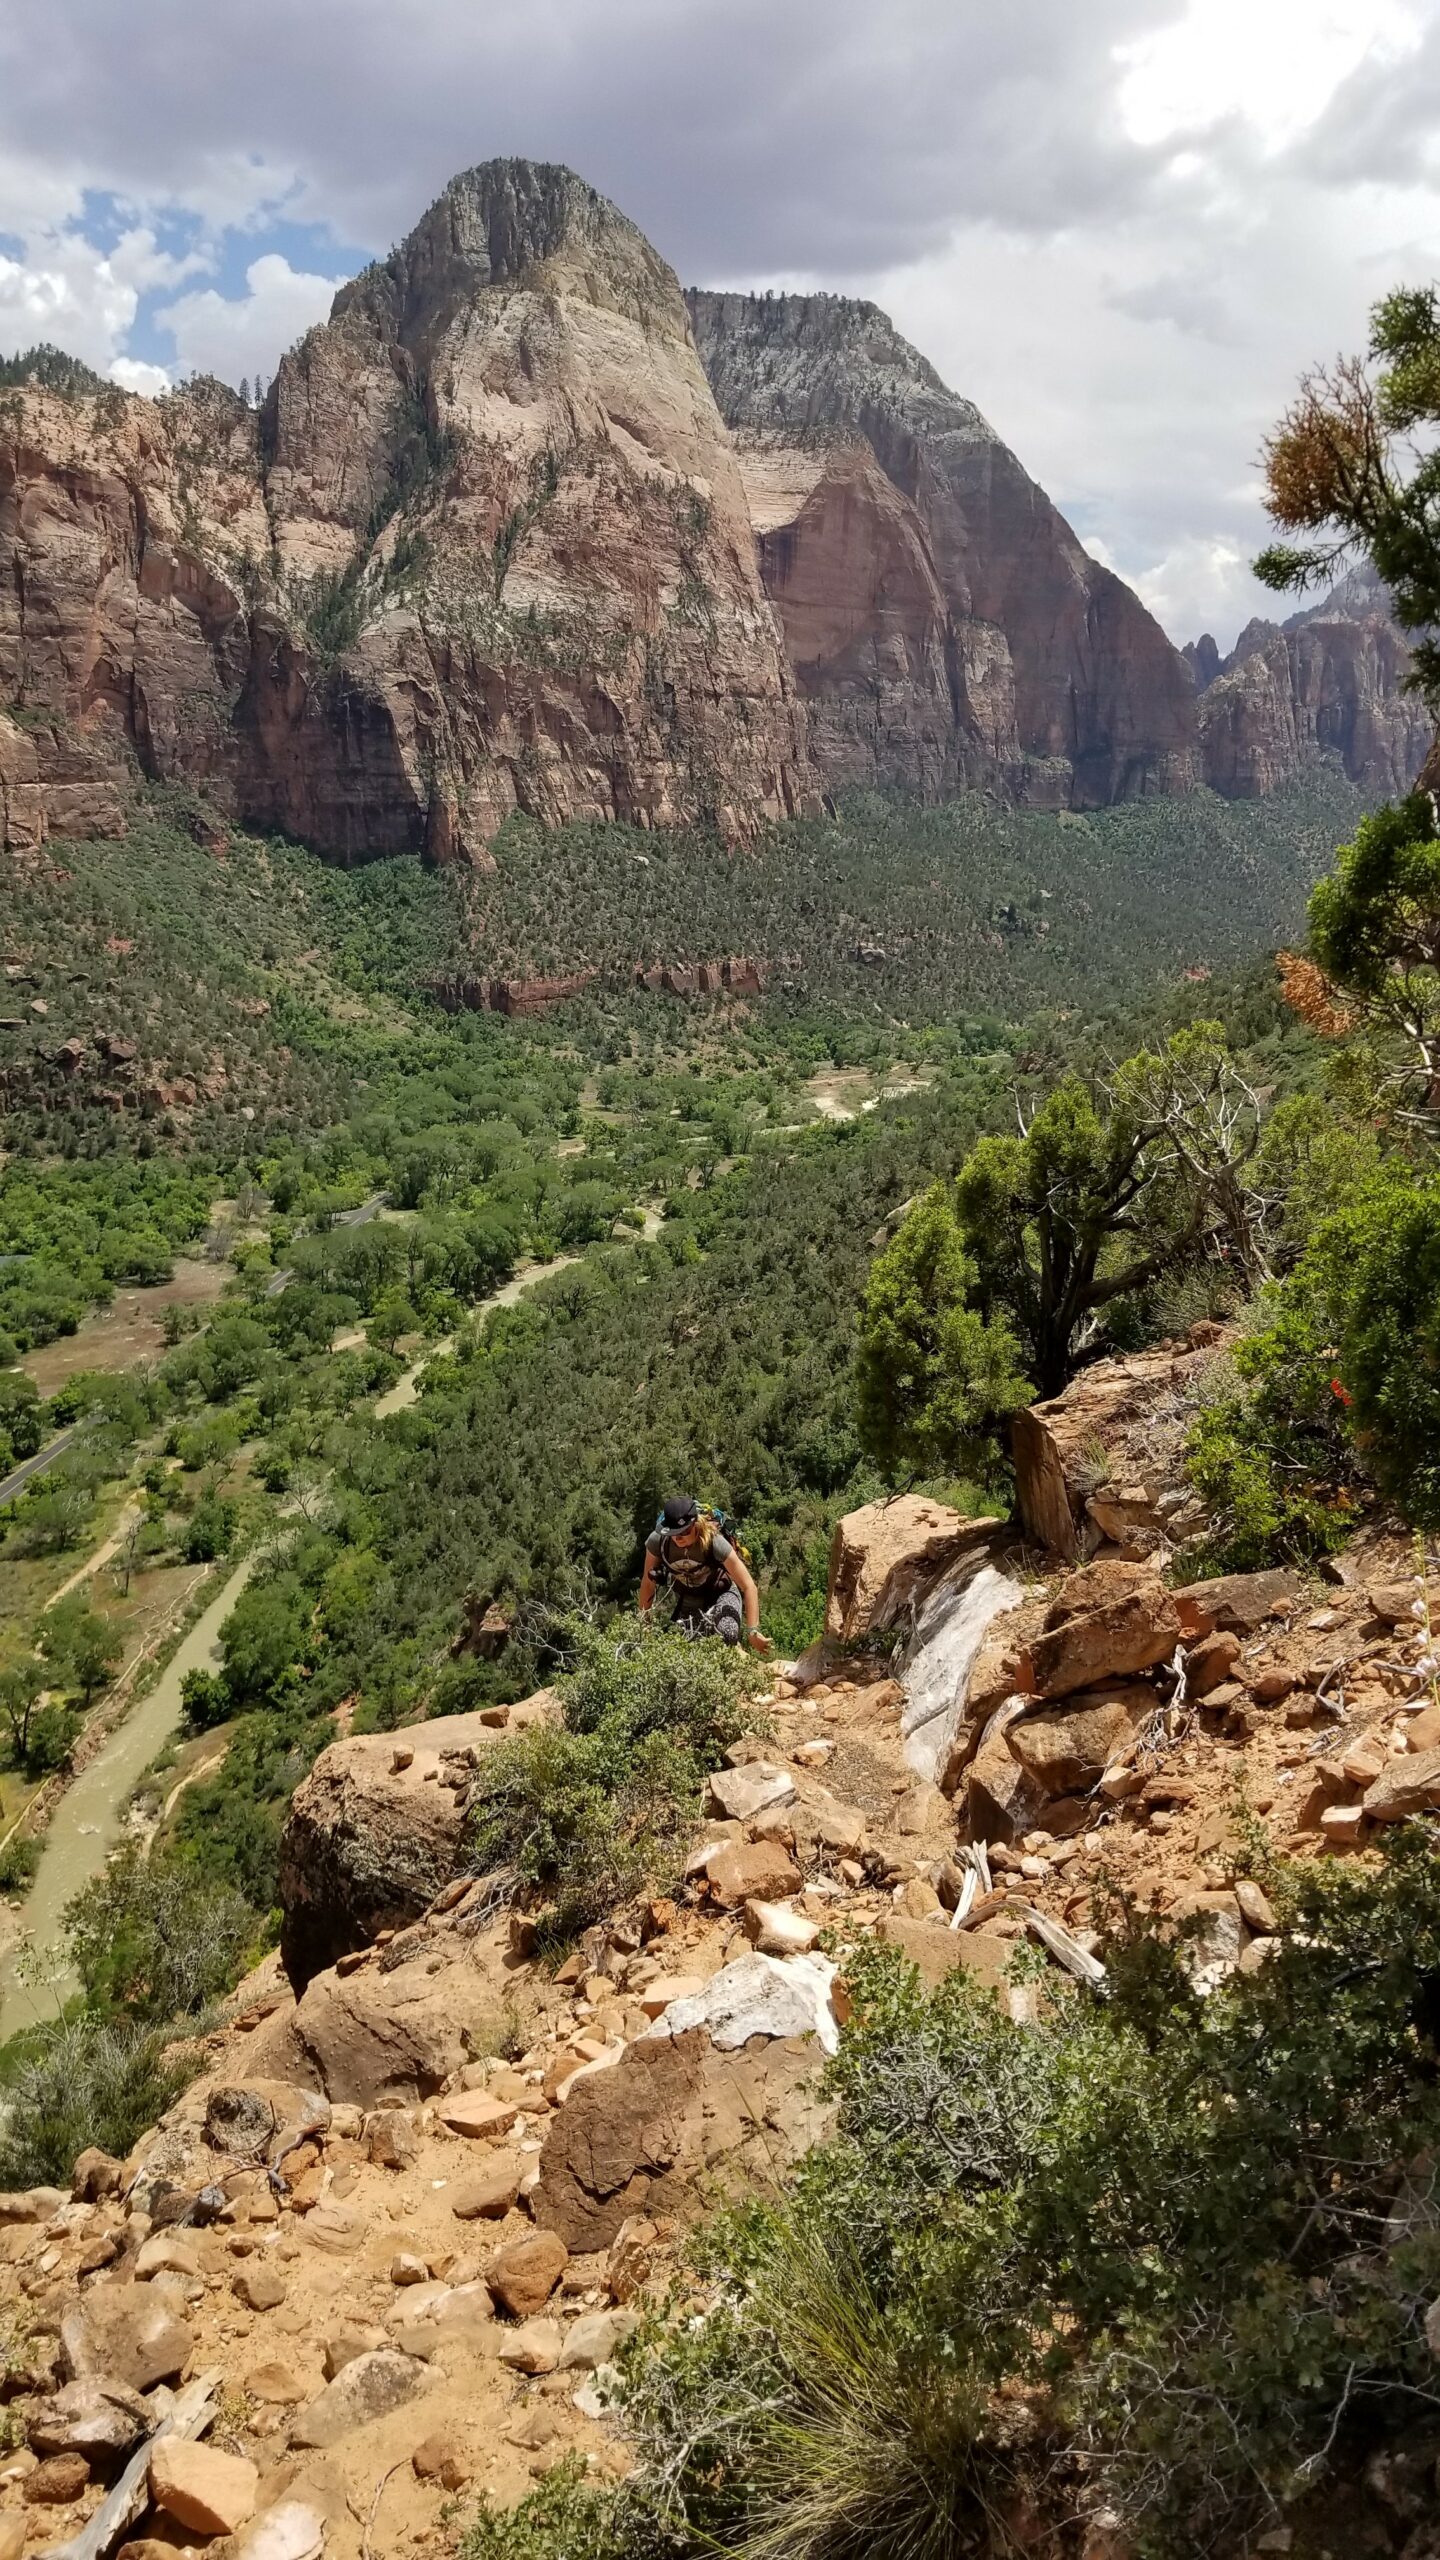
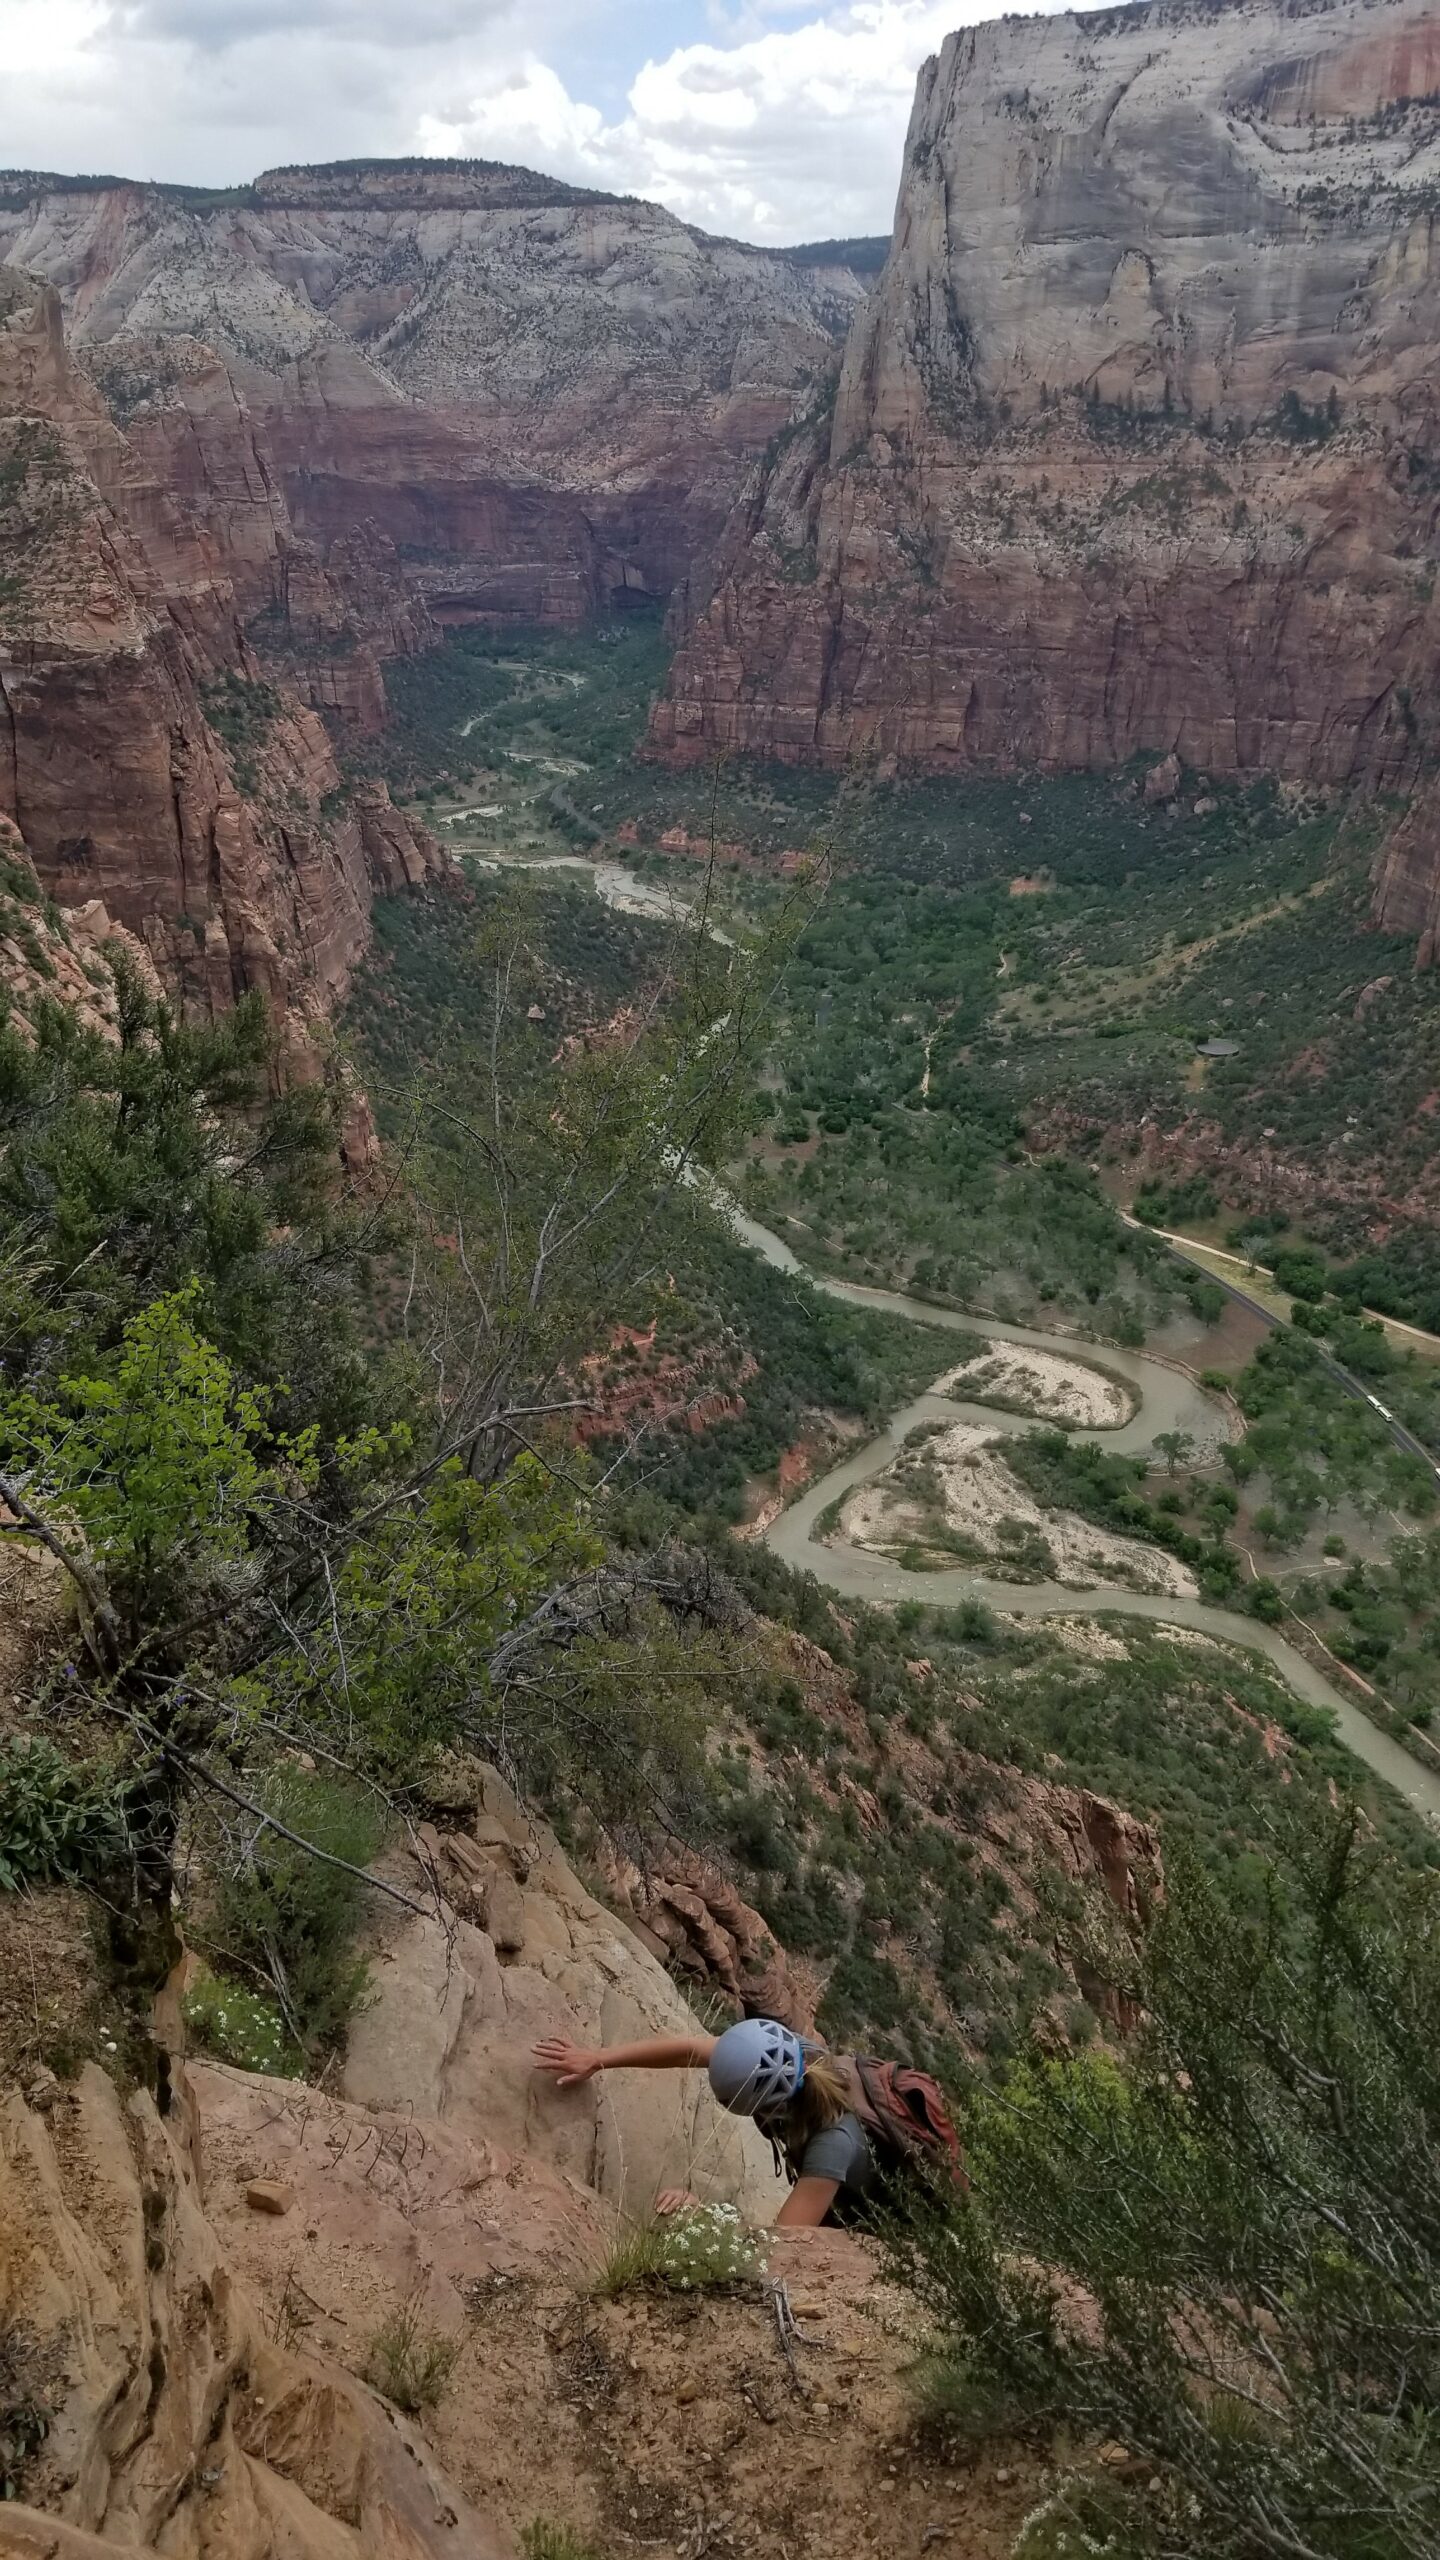
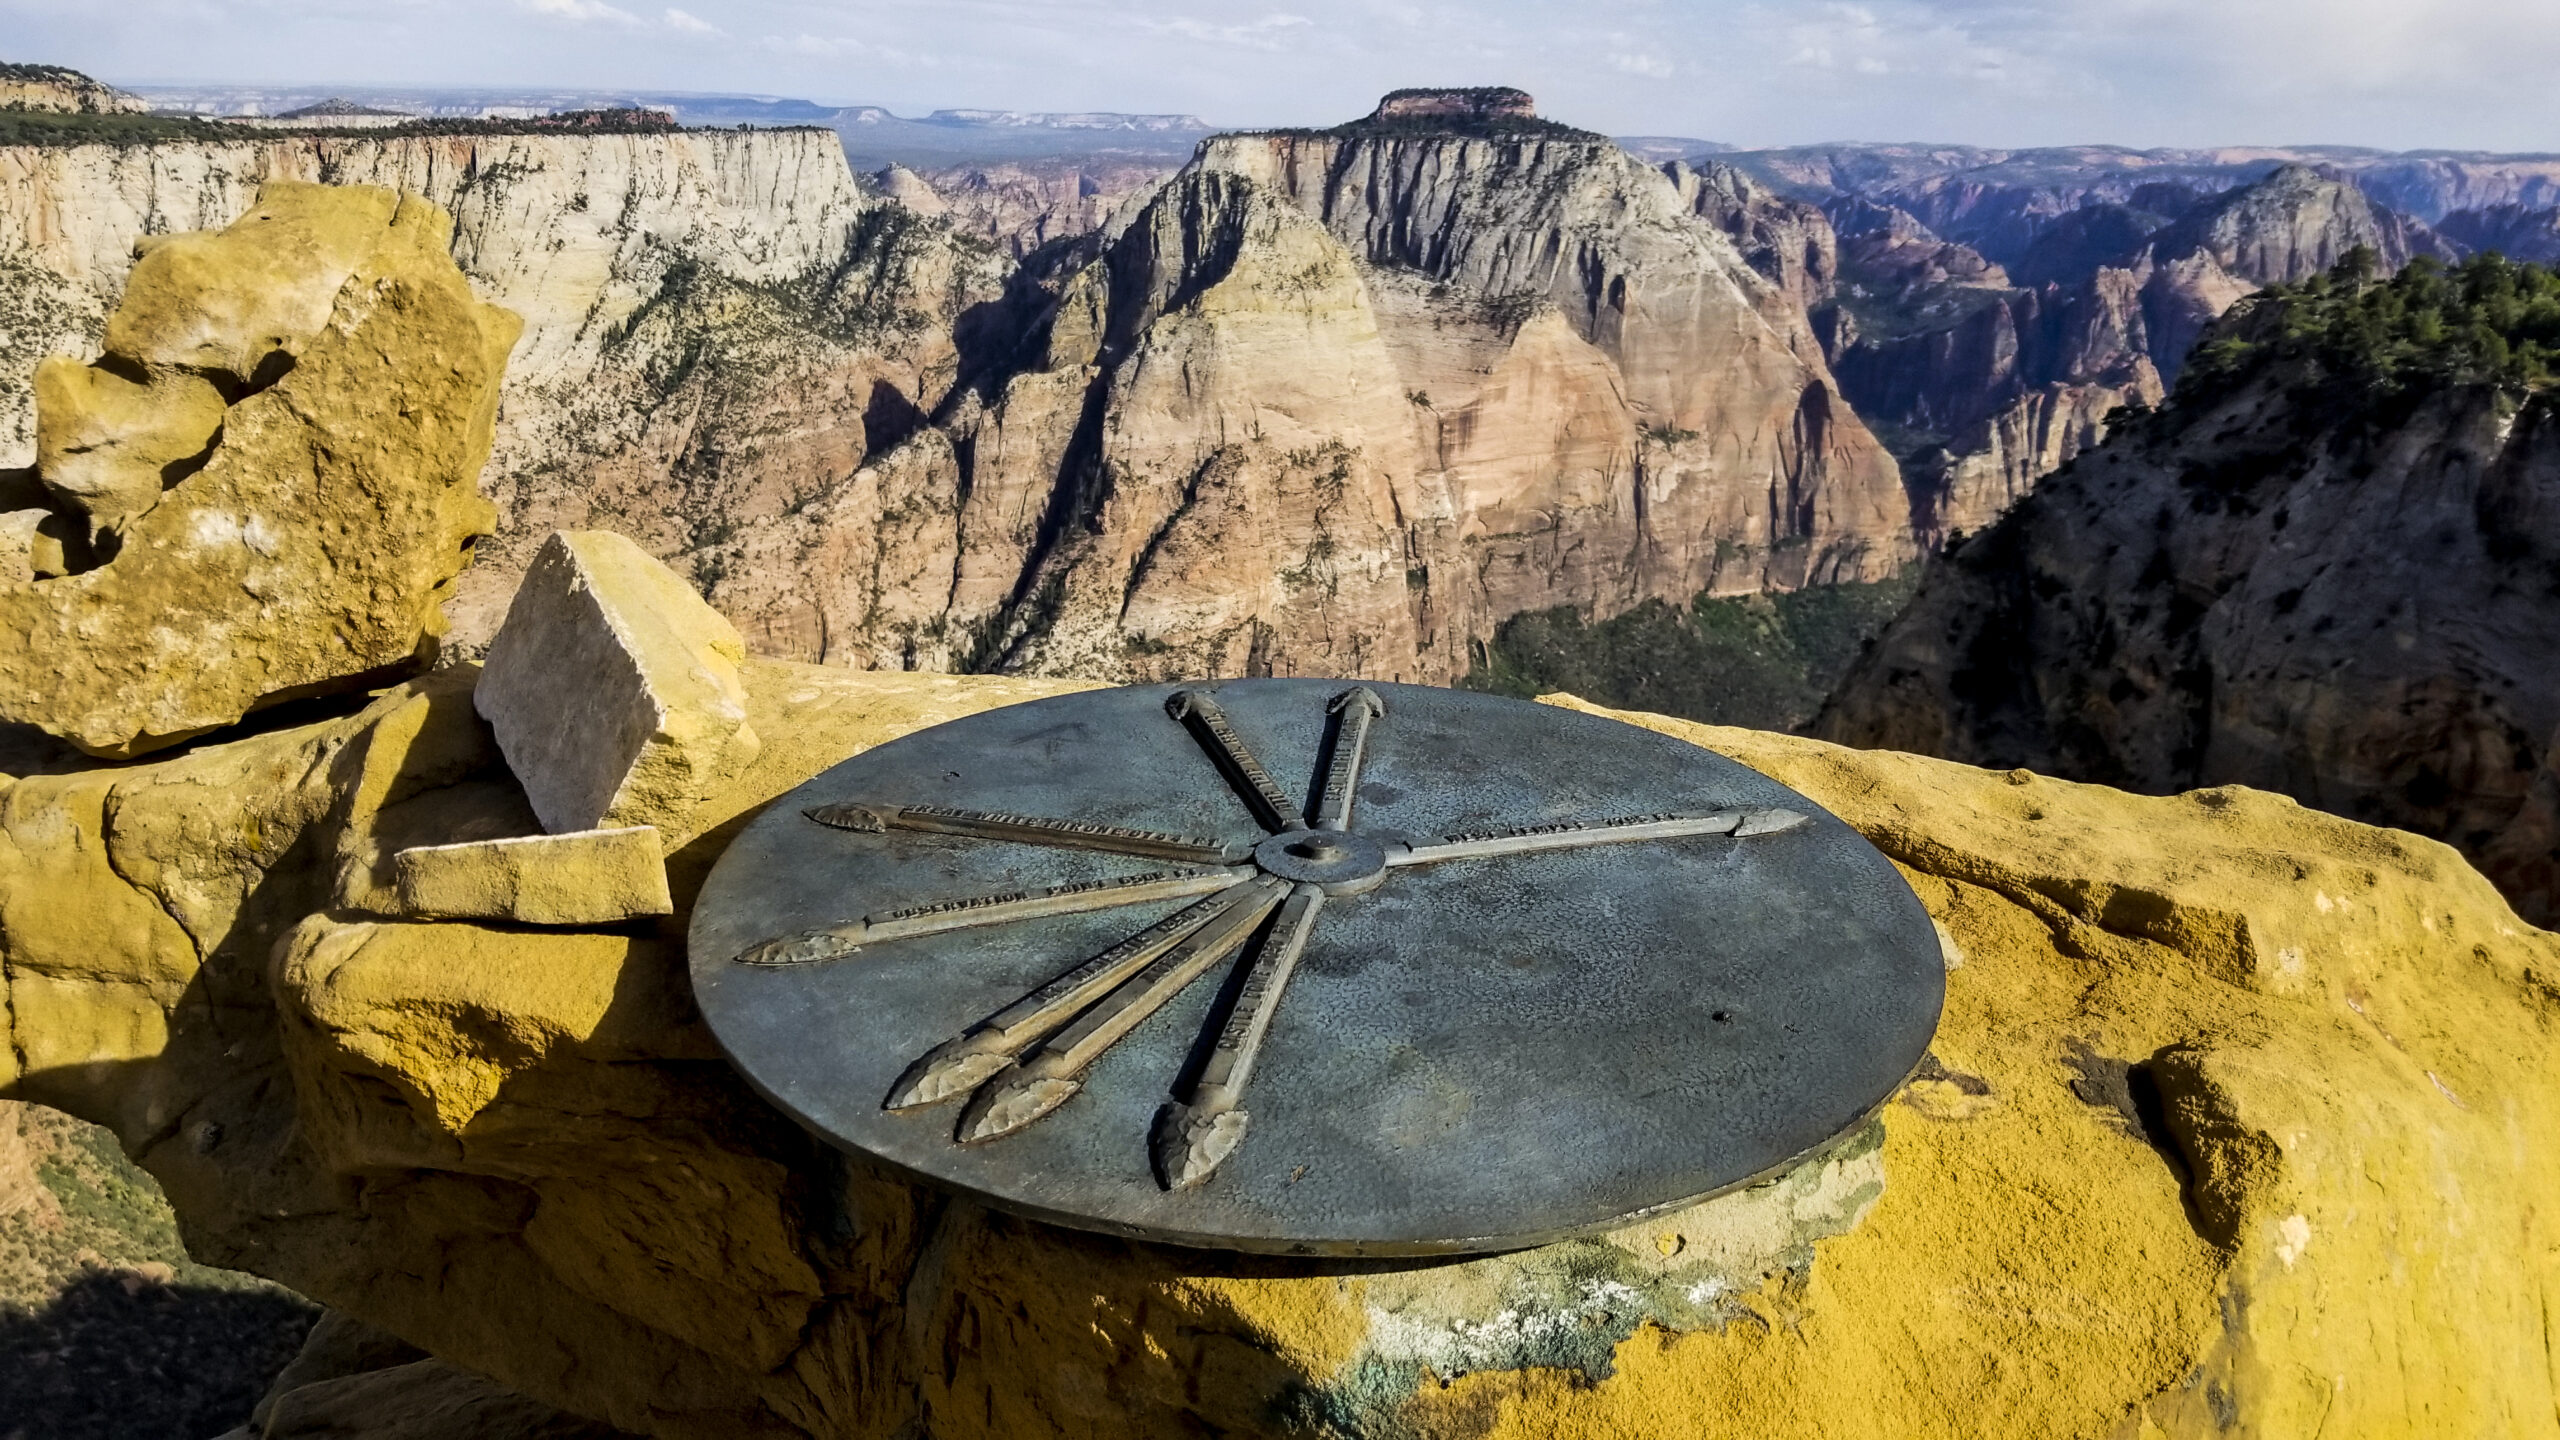
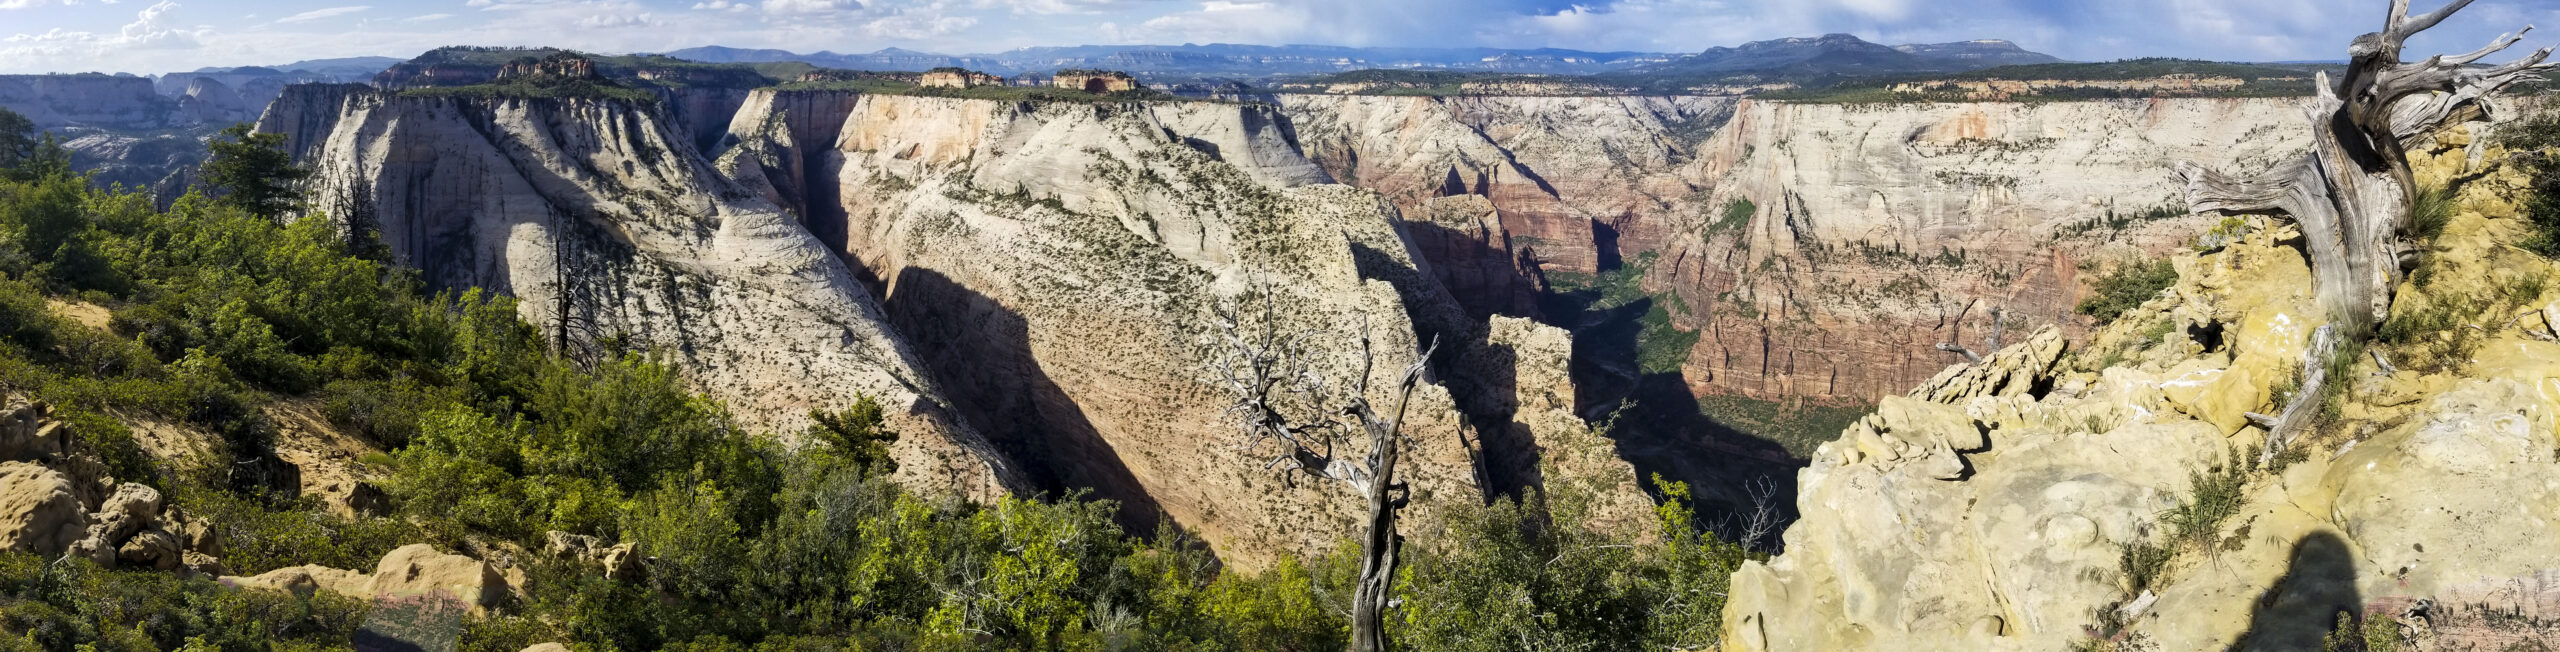
From here use your route finding skills up and through the short scrub and sandy scrambles until finally popping out on the ridgeline. The views are absolutely incredible. You realize the left cliffs of Zion Canyon are only a sliver of land that divides the canyon to the north. Keep following the trail to the north east until finally the true summit comes into sight across a ravine. Just follow the trail headed northward until finally scrambling up some easy class 3 short moves to the summit plateau. A short walk will soon blast you with incredible 360° views and a little taste of accomplishment after your fun 3 hour ascent (we took our time). Enjoy the summit and the copper plate pointing out the buttes in the distance. Take it all in along with your lunch before heading back down the trail you ascended back to the shuttle.

We rappelled in 4 places:
1) Down the final chute at a bent over Via Ferrata Bolt
2) Down the 2nd class 5 sandy bulge
3) Down the 2nd set (if counting from the bottom up) of Moki Steps
4) Down the 5th class chimney.
HIKE/CLIMB INFORMATION:
- Lady Mountain Route: https://www.citrusmilo.com/zionguide/ladymountain.cfm
CLIMB/HIKE STATS:
- Weather: Hi 60s, Low 40s, Partially Sunny
- Water: 3 liters
- Food: PB&J, 1 protein bar, 2 Nature Valley granola bar, bag of salt & vinegar, gummy worms, apple
- Time: 6 hours
- Distance: 3.6 miles
- Accumulated Gain: 2,800 feet
- Climbing Rating: 5 Easy Trad
- Number of Pitches: 2
GEAR:
- SPOT Gen3 Tracker
- Camelbak 20L Pack
- Black Diamond Helmet
- Petzl Corax Climbing Harness
- 2 Black Diamond screw carabiner
- 4 Phantom DMM screw carabiner
- 6mm Accessory Chord – Anchor
- Black Diamond Camelot C4 Cams – .75, 1, 2
- 4 Alpha Trad DMM quickdraws – Alpine draws
- Black Diaimond ATC Guide
- 60 ft 10.1mm Rope
- Webbing/7mmCord for personal anchor
- 120′ Sling for anchors
- Arc’teryx Chalk Bag
CLOTHING:
- BadHippieCo T Shirt
- Arc’teryx Hoody
- Cotton Handkerchief
- Patagonia shorts
- Darn Tough Medium Wool Sox
- Nike Running Shoes