
From this point forward I will be following the steps of the build with my specific design
My build was in a 2006 Ford E-350 standard length with a 6.0 Turbo Diesel equipped with an Aluminess Rack and Rear bumper and 4×4 Quigley conversion.
Step 3: Strip!
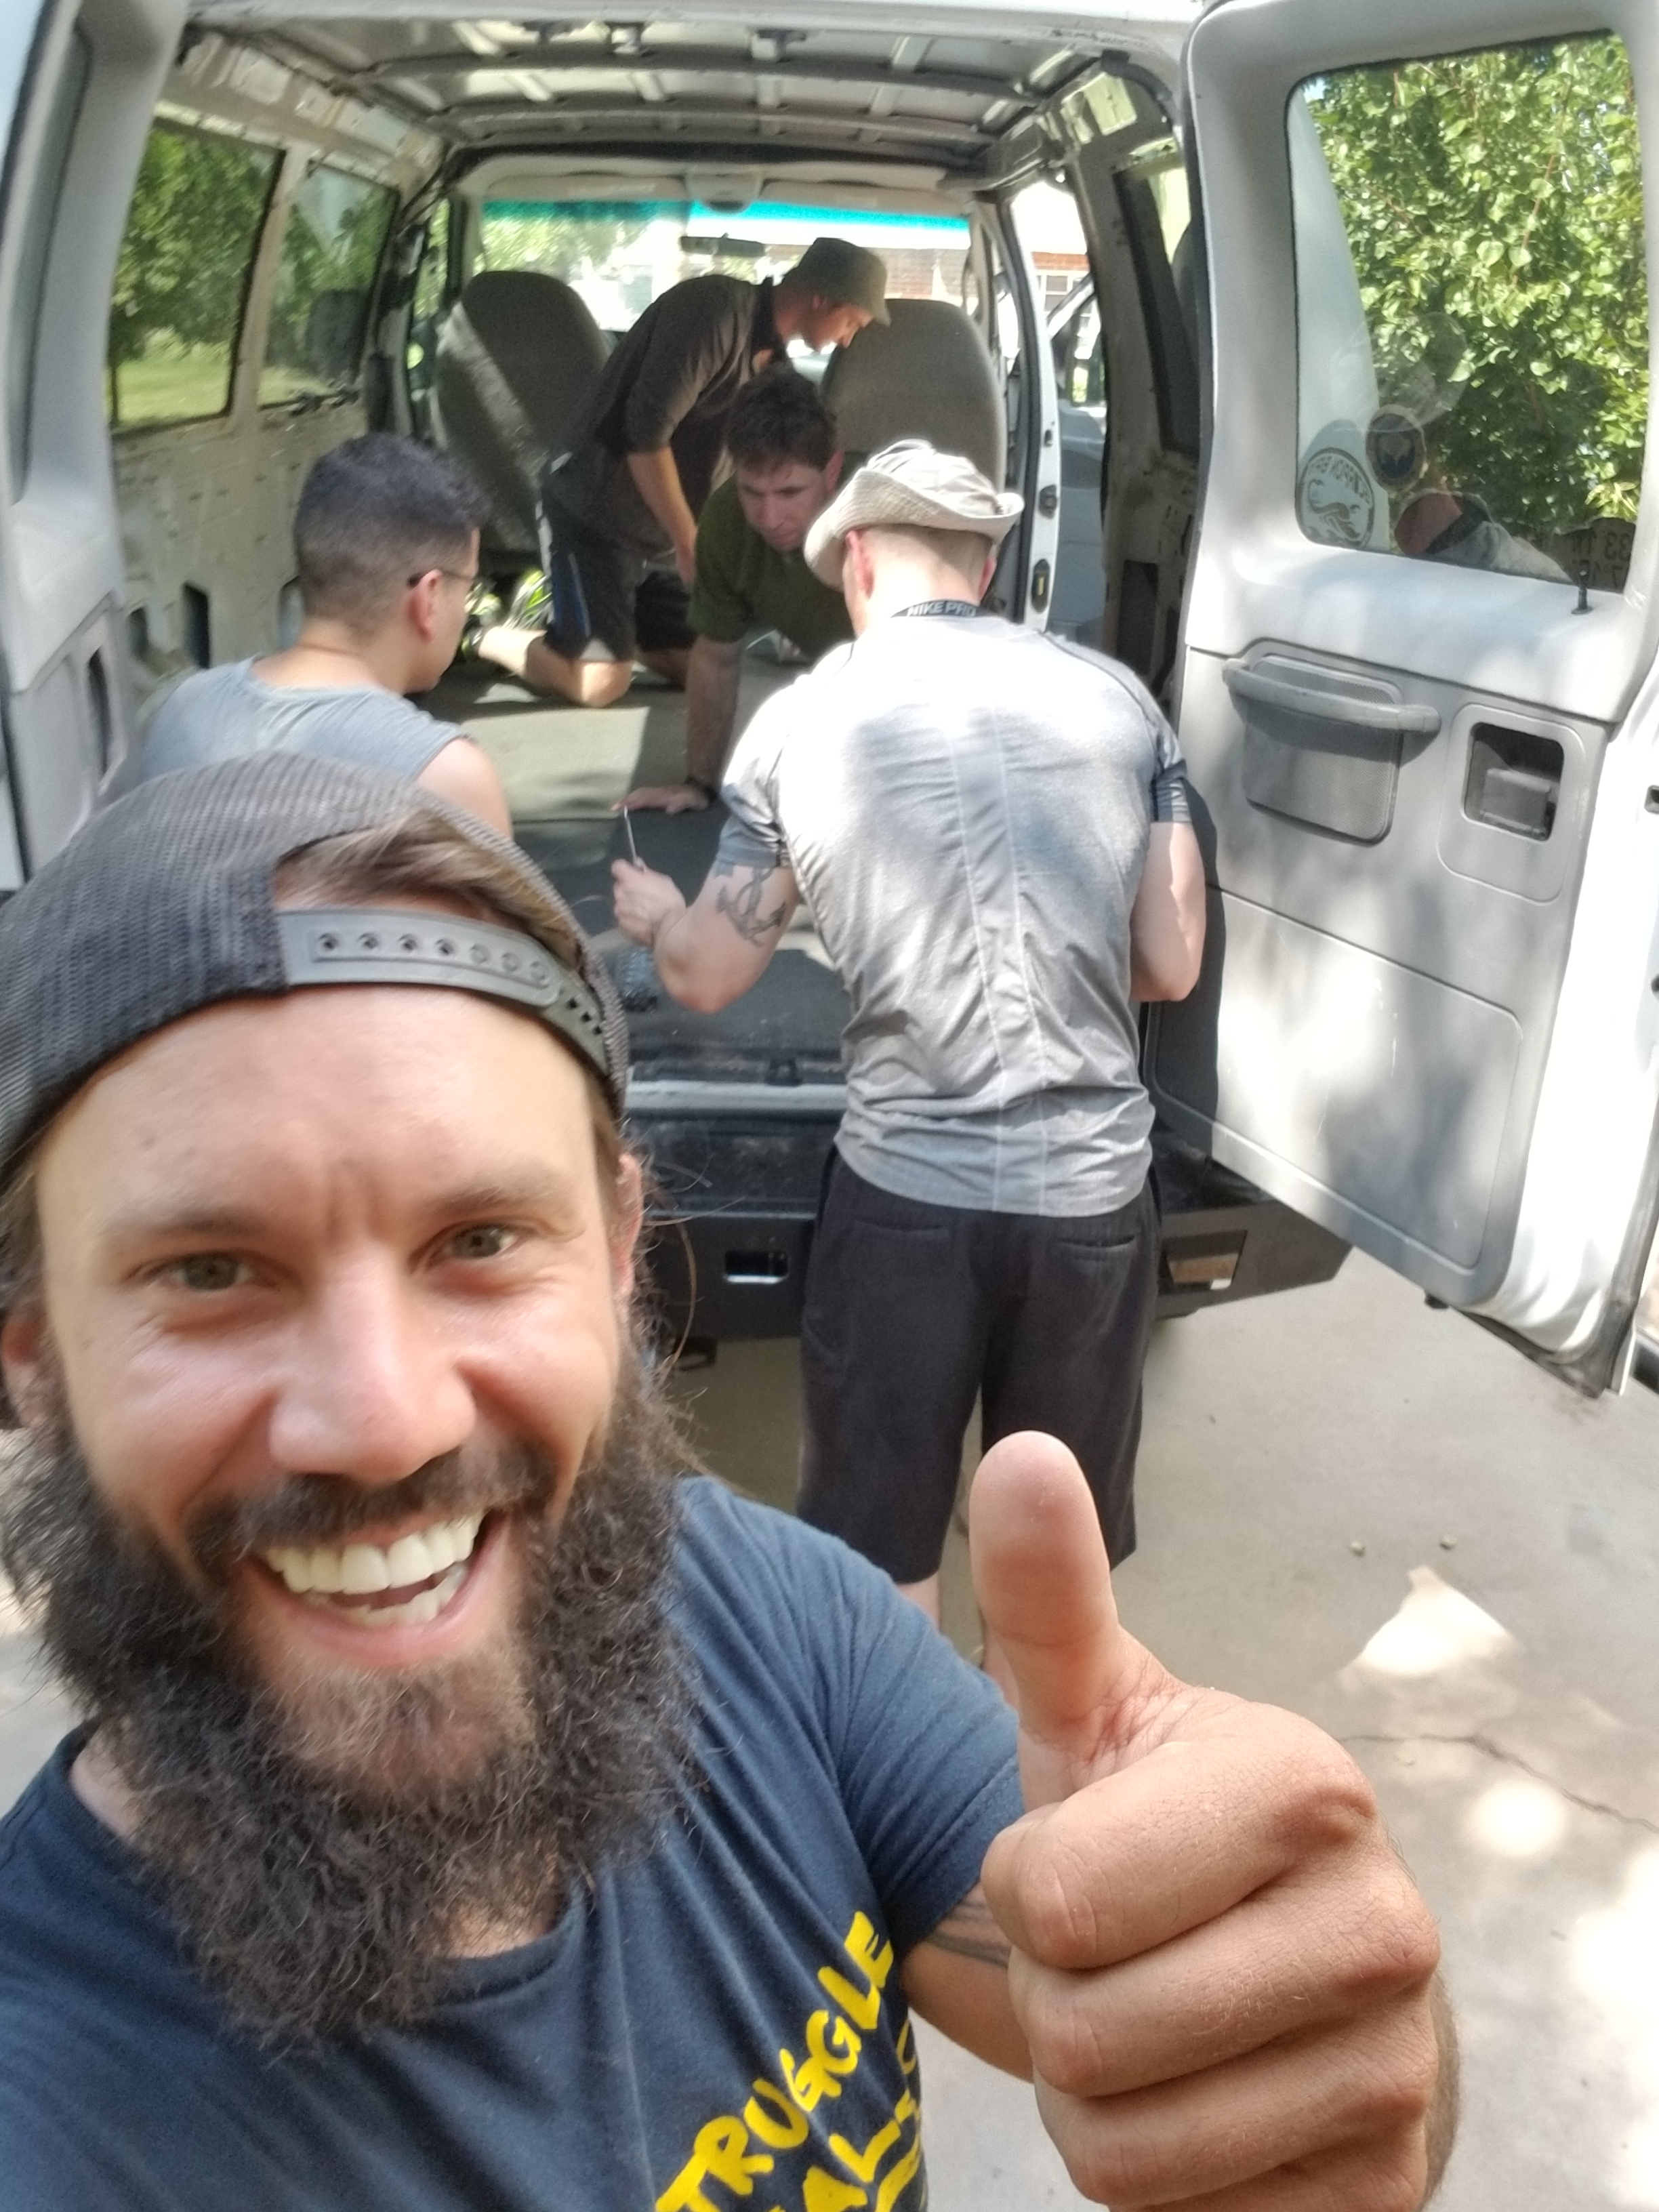
Now that you have your van, this is the point of no return, let’s strip that bad-boy down! This is the one step where it’s very easy to get friends involved.
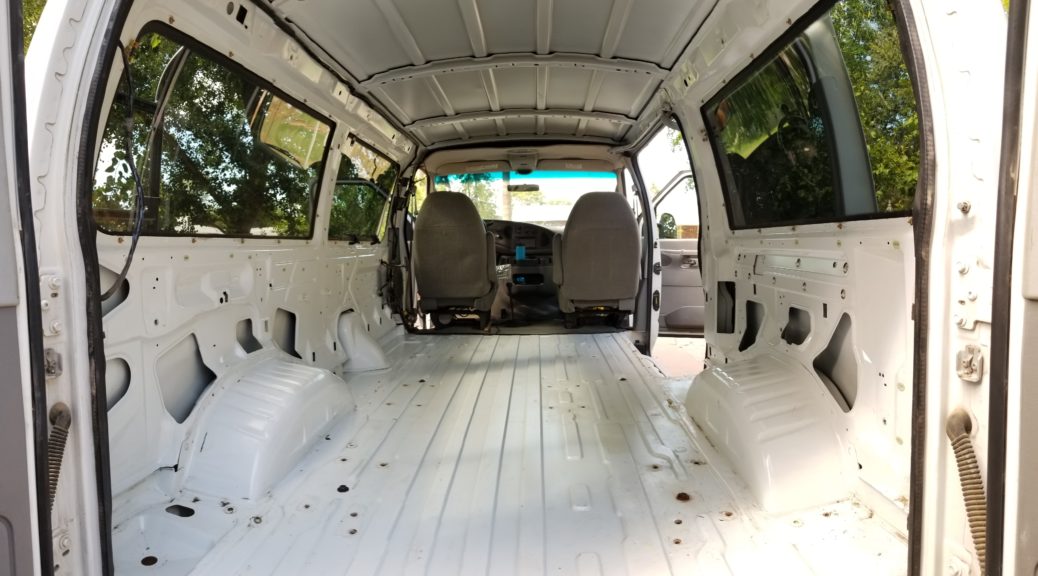
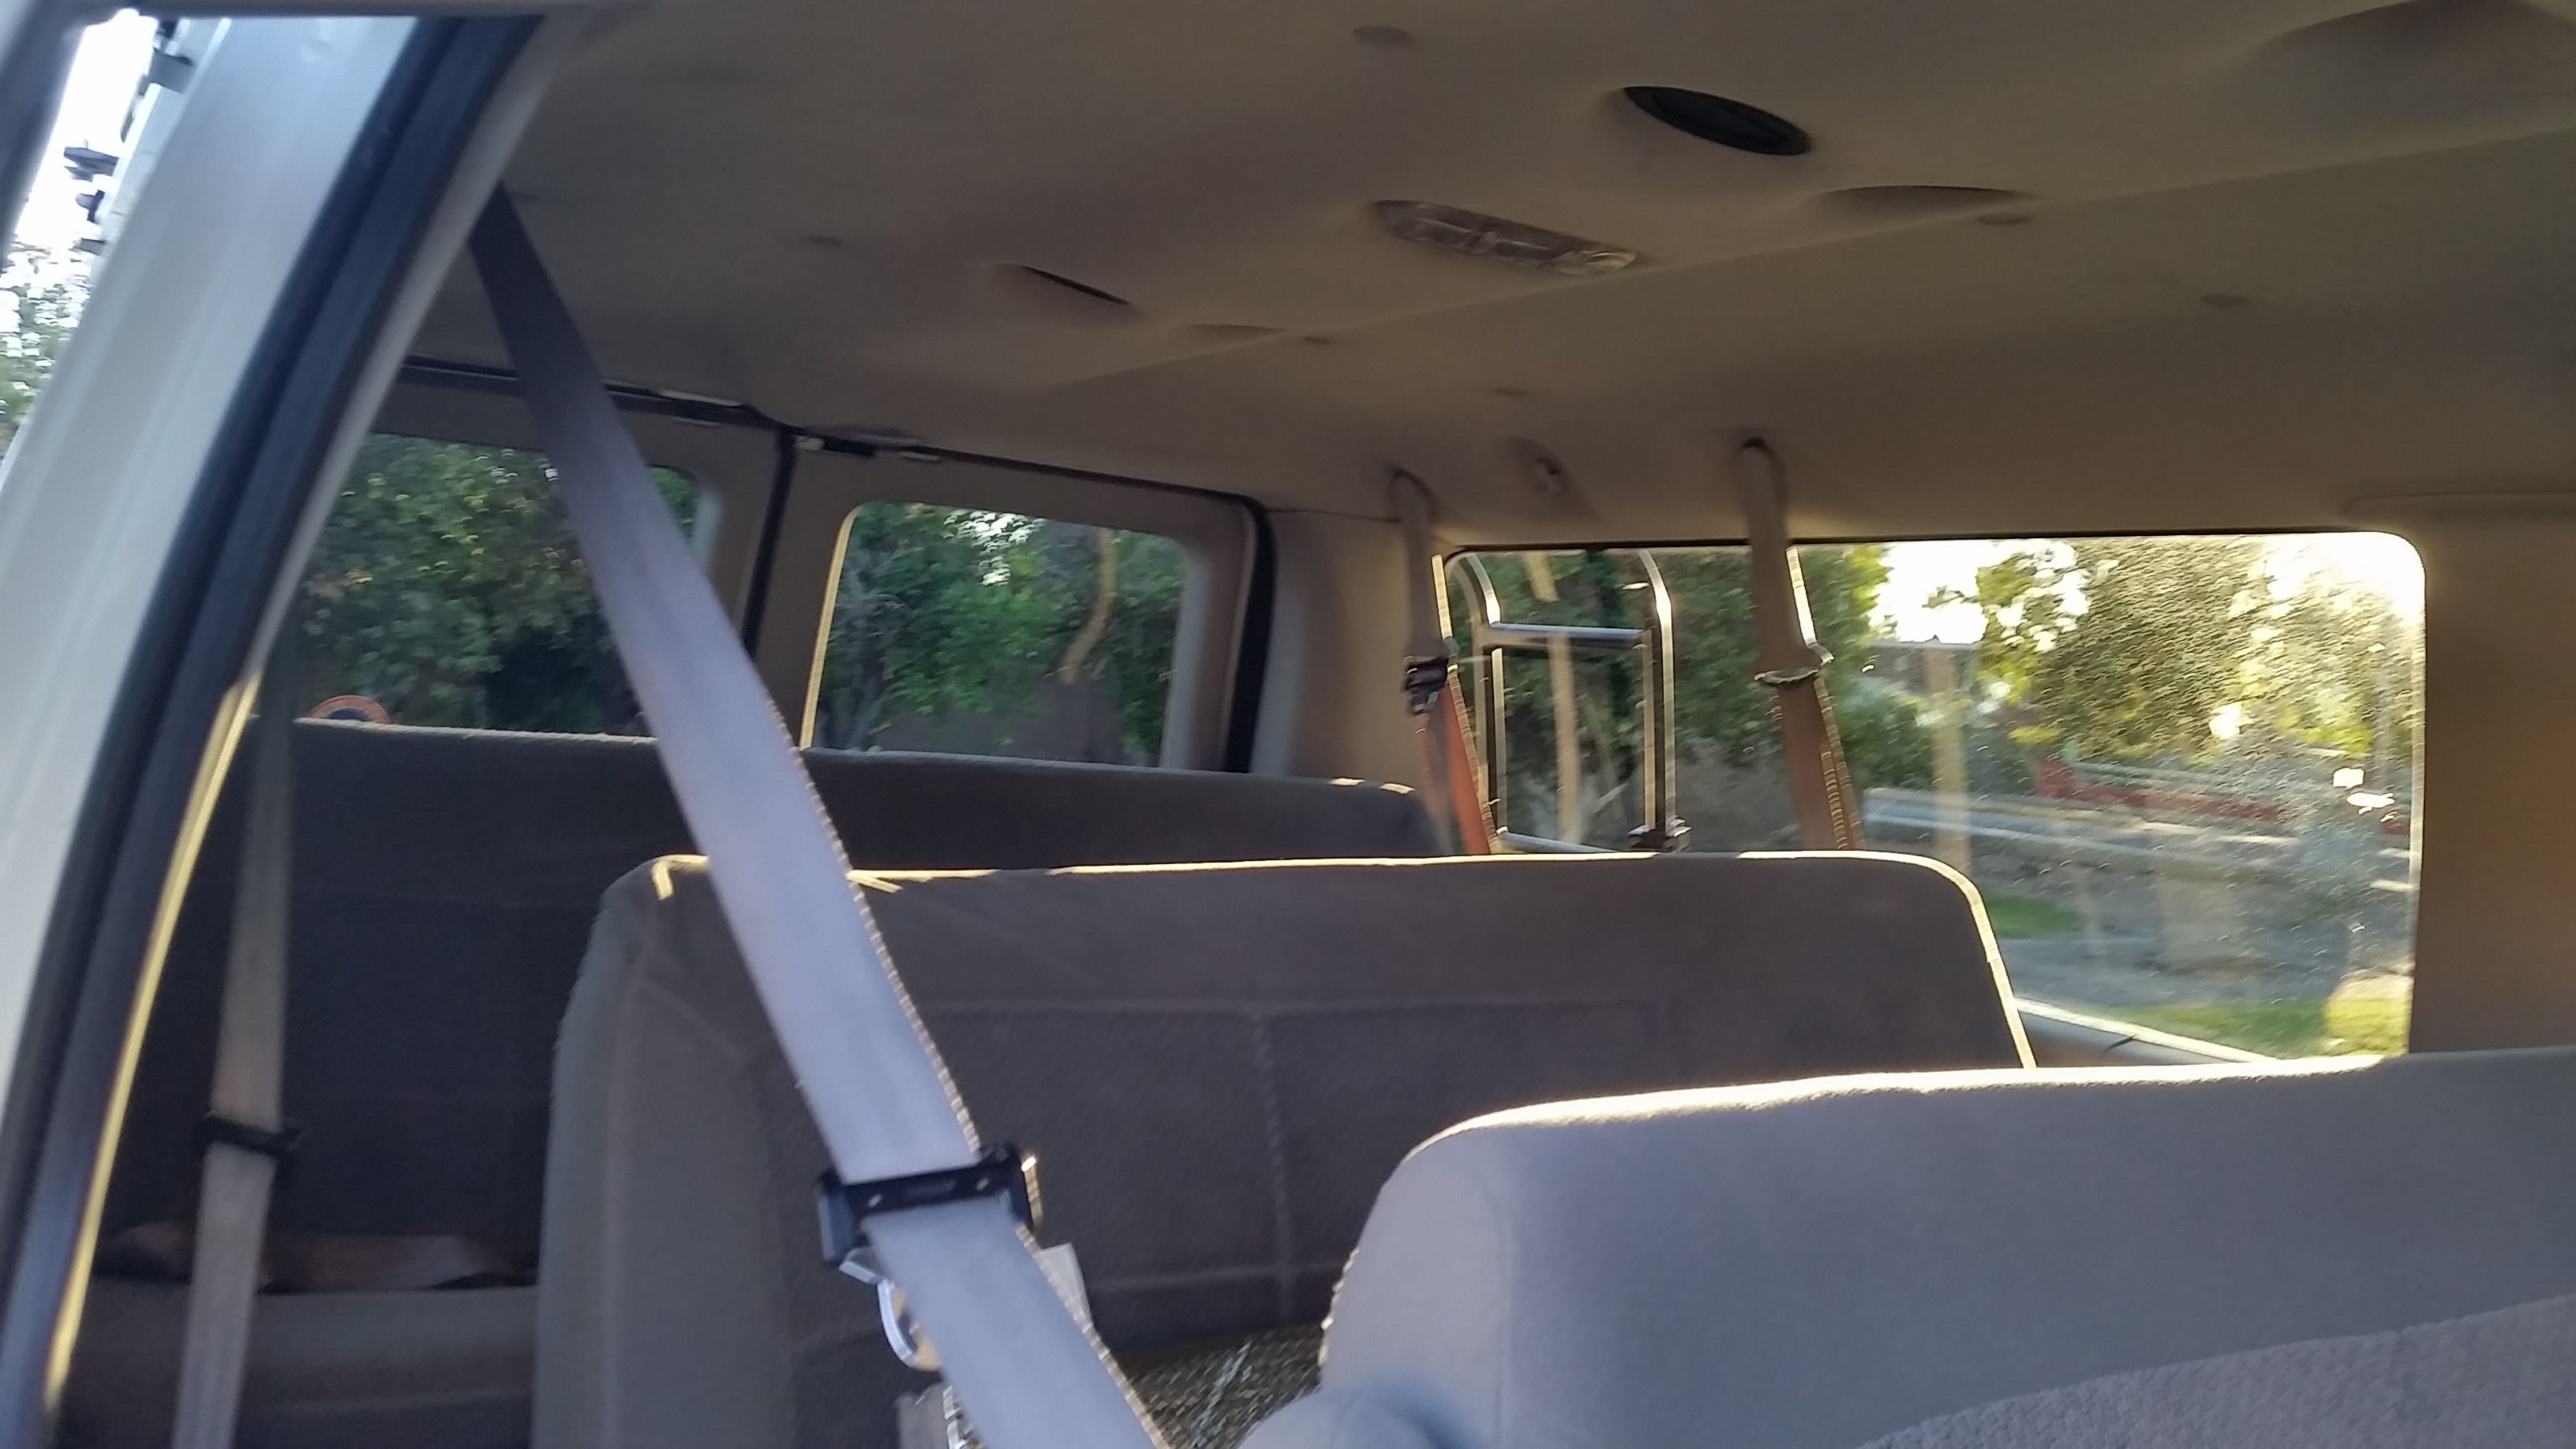
BEFORE PICTURES
Tools/Materials Used:
- Basic Tool Set
- Star Bit (for seat bolts)
- GreenWorks Spray
- Paper Towels
Remove the entire stock interior from the front seats back to have a clean starting surface.
- Rear Seats – Remove and sell on craigslist/ebay.
- Rear headliner – Remove and sell on craigslist/ebay.
- Leave the front cab headliner in, but pull it down so you can slide your wood ceiling in behind it.
- Carpet – keep the carpet for floor templates
- Plastic step to the sliding door – Remove (and keep)
- Rear Plastic lip at the bottom of the rear doors – Remove (and keep)
- Wall paneling – keep the paneling that goes just behind the front seats as you will reinstall this after installing all your wood ceilings/walls – makes it a cleaner look
- Door Panels – Remove and discard/sell (Keep the handles!)
- Seatbelts – Take them out and throw them on craigslist/ebay!
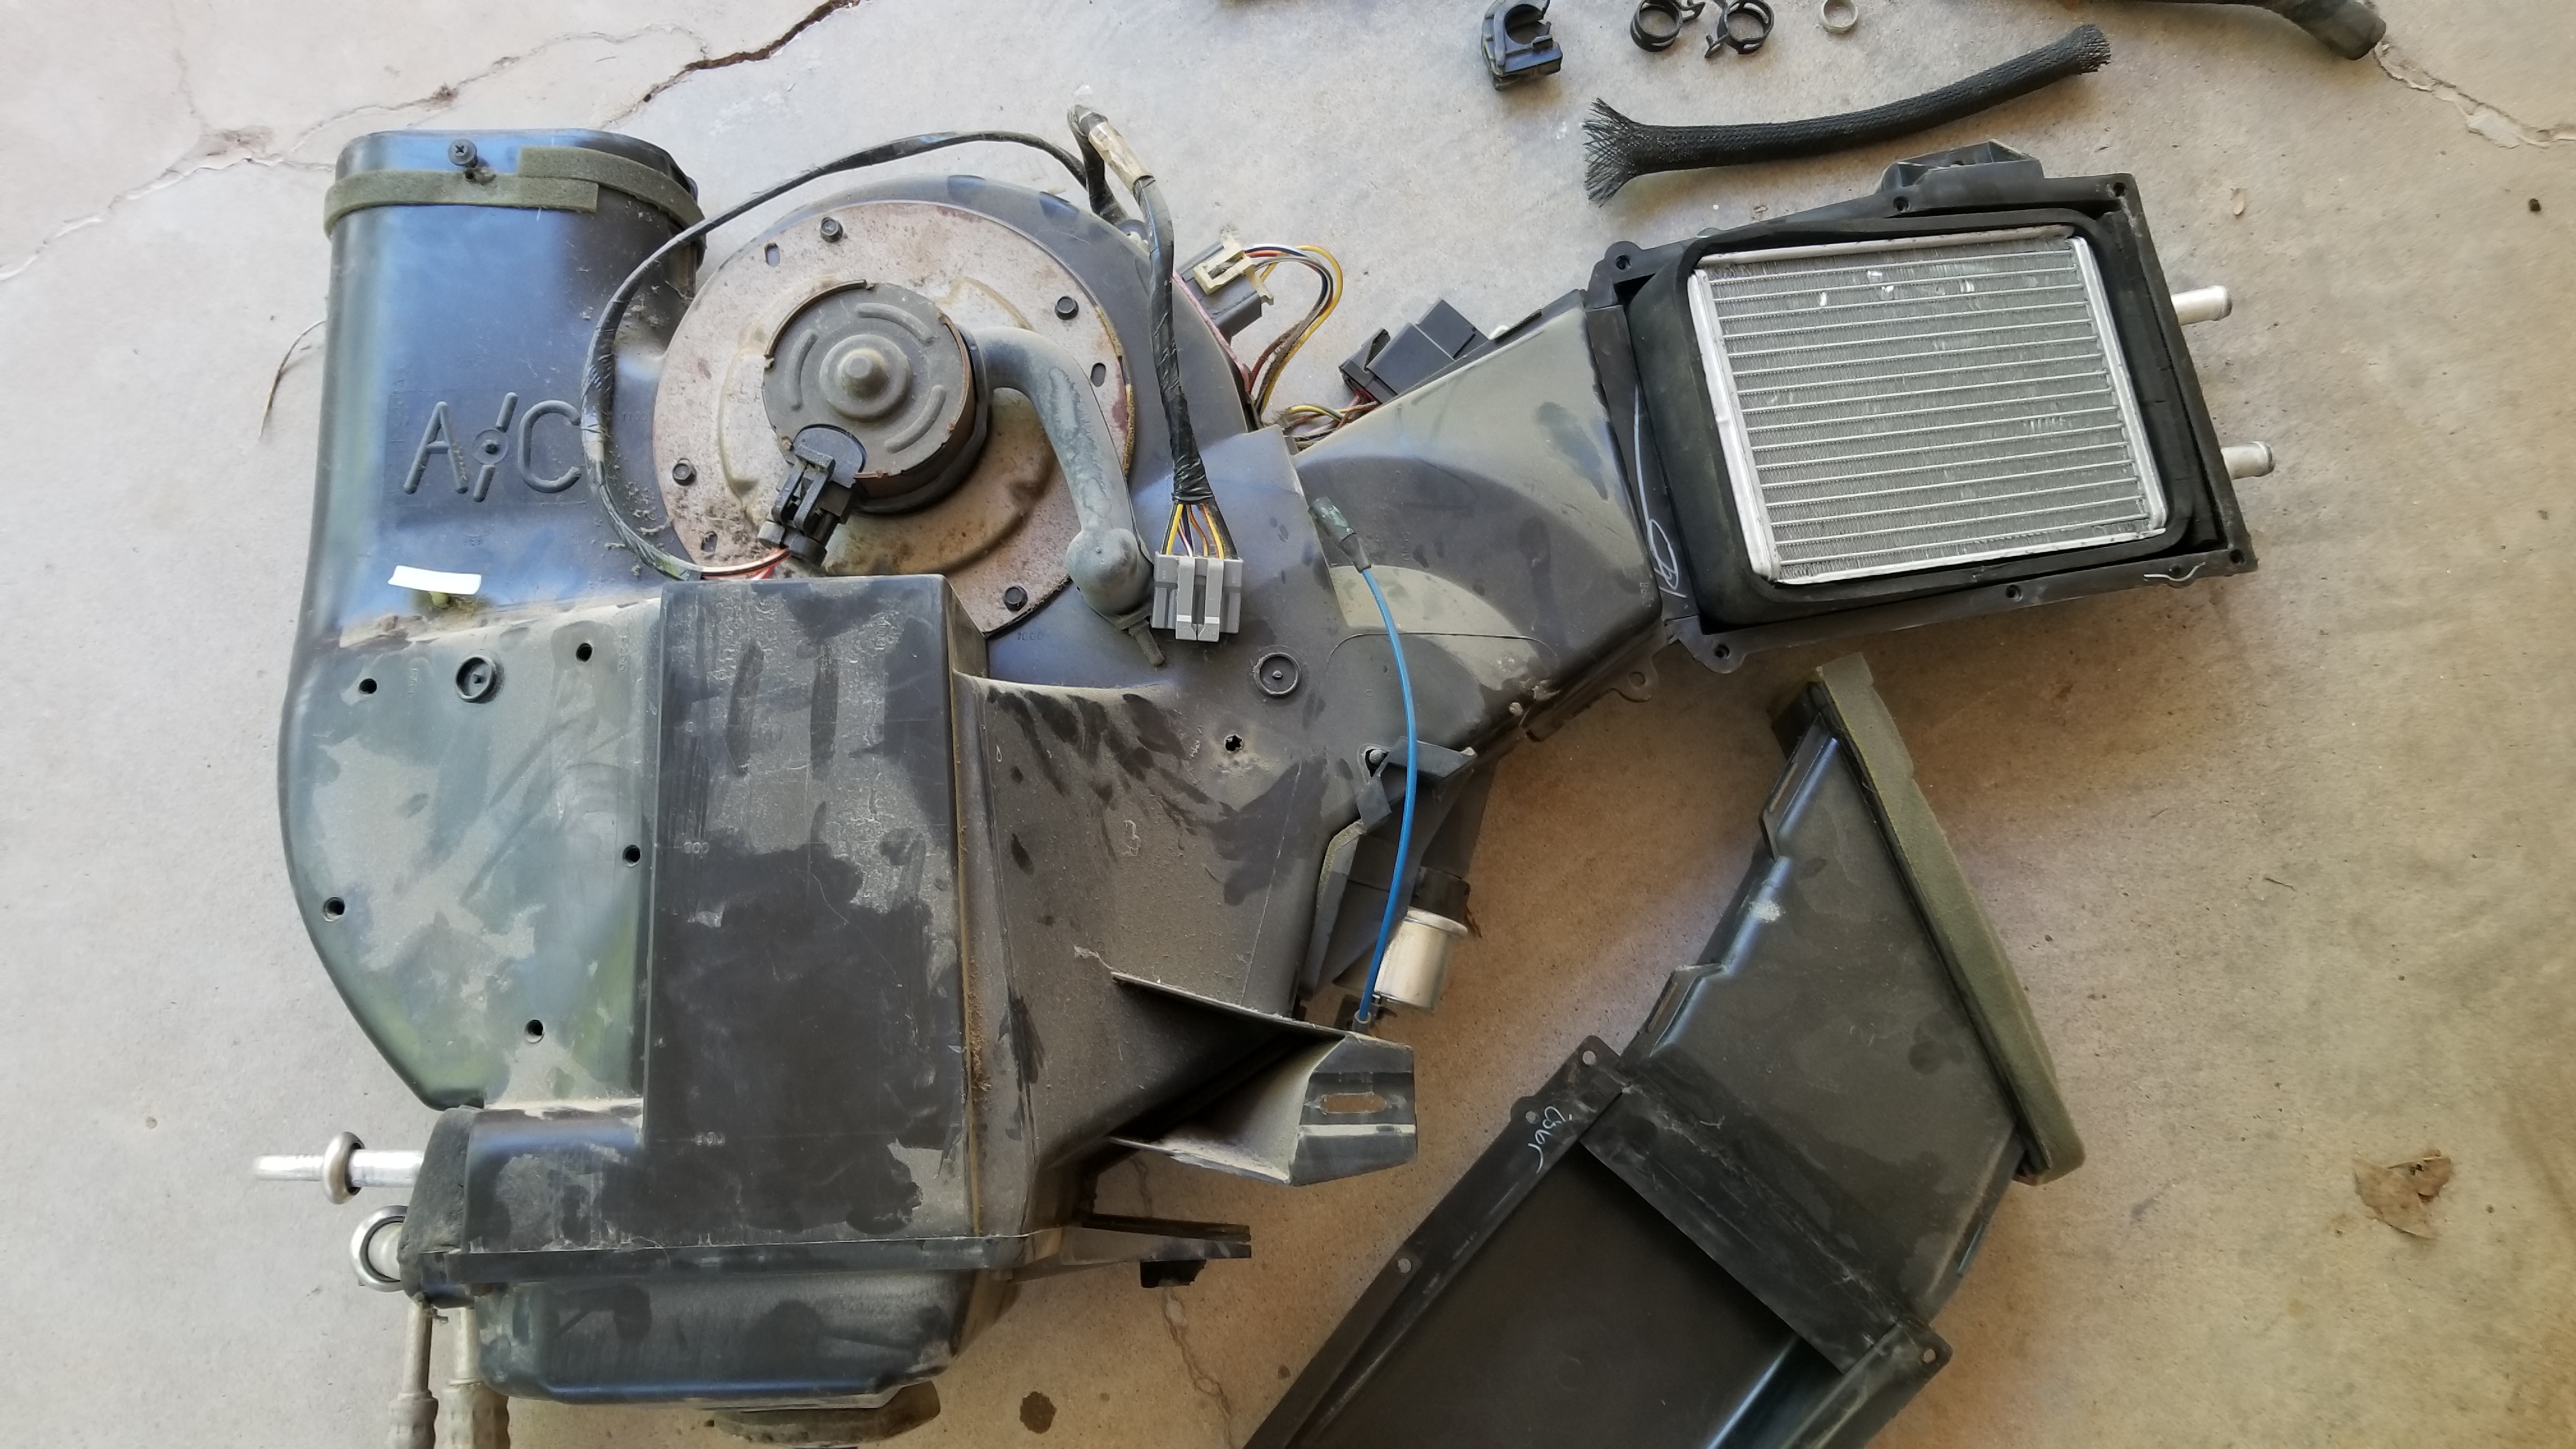
- Rear Heater/AC Unit – My particular van model came with a separate rear heater/cooling unit which I removed in order to make more bed and storage space. To do this you will have to purchase a blank-off kit for the AC lines and make a ‘U’ from hose for recirculating the radiator feed and return lines. Make sure you have the AC lines properly evacuated before disconnecting them. Drain your radiator before disconnecting the rear heater core to minimize the amount of coolant you lose. Have everything you need ON HAND before doing this so you can get your vehicle running the same day. Pop off the heater core lines (have a bucket handy for remaining coolant in the heater core lines), U joint the heat core lines, use hose clamps to secure the ‘U’ in place. Separate the AC lines below the van body with a special AC line tool (you can buy this at any automotive shop), cap the AC lines with your blank-off kit. Remove the rear heater/cooling unit. Refill your AC refrigerant, refill your radiator, and go on with life.
- Part 1: https://youtu.be/RFmbniWLAAA
- Part 2: https://youtu.be/tZPn5QlRN-o
- Part 3: https://youtu.be/XyyKpkdnWZ8
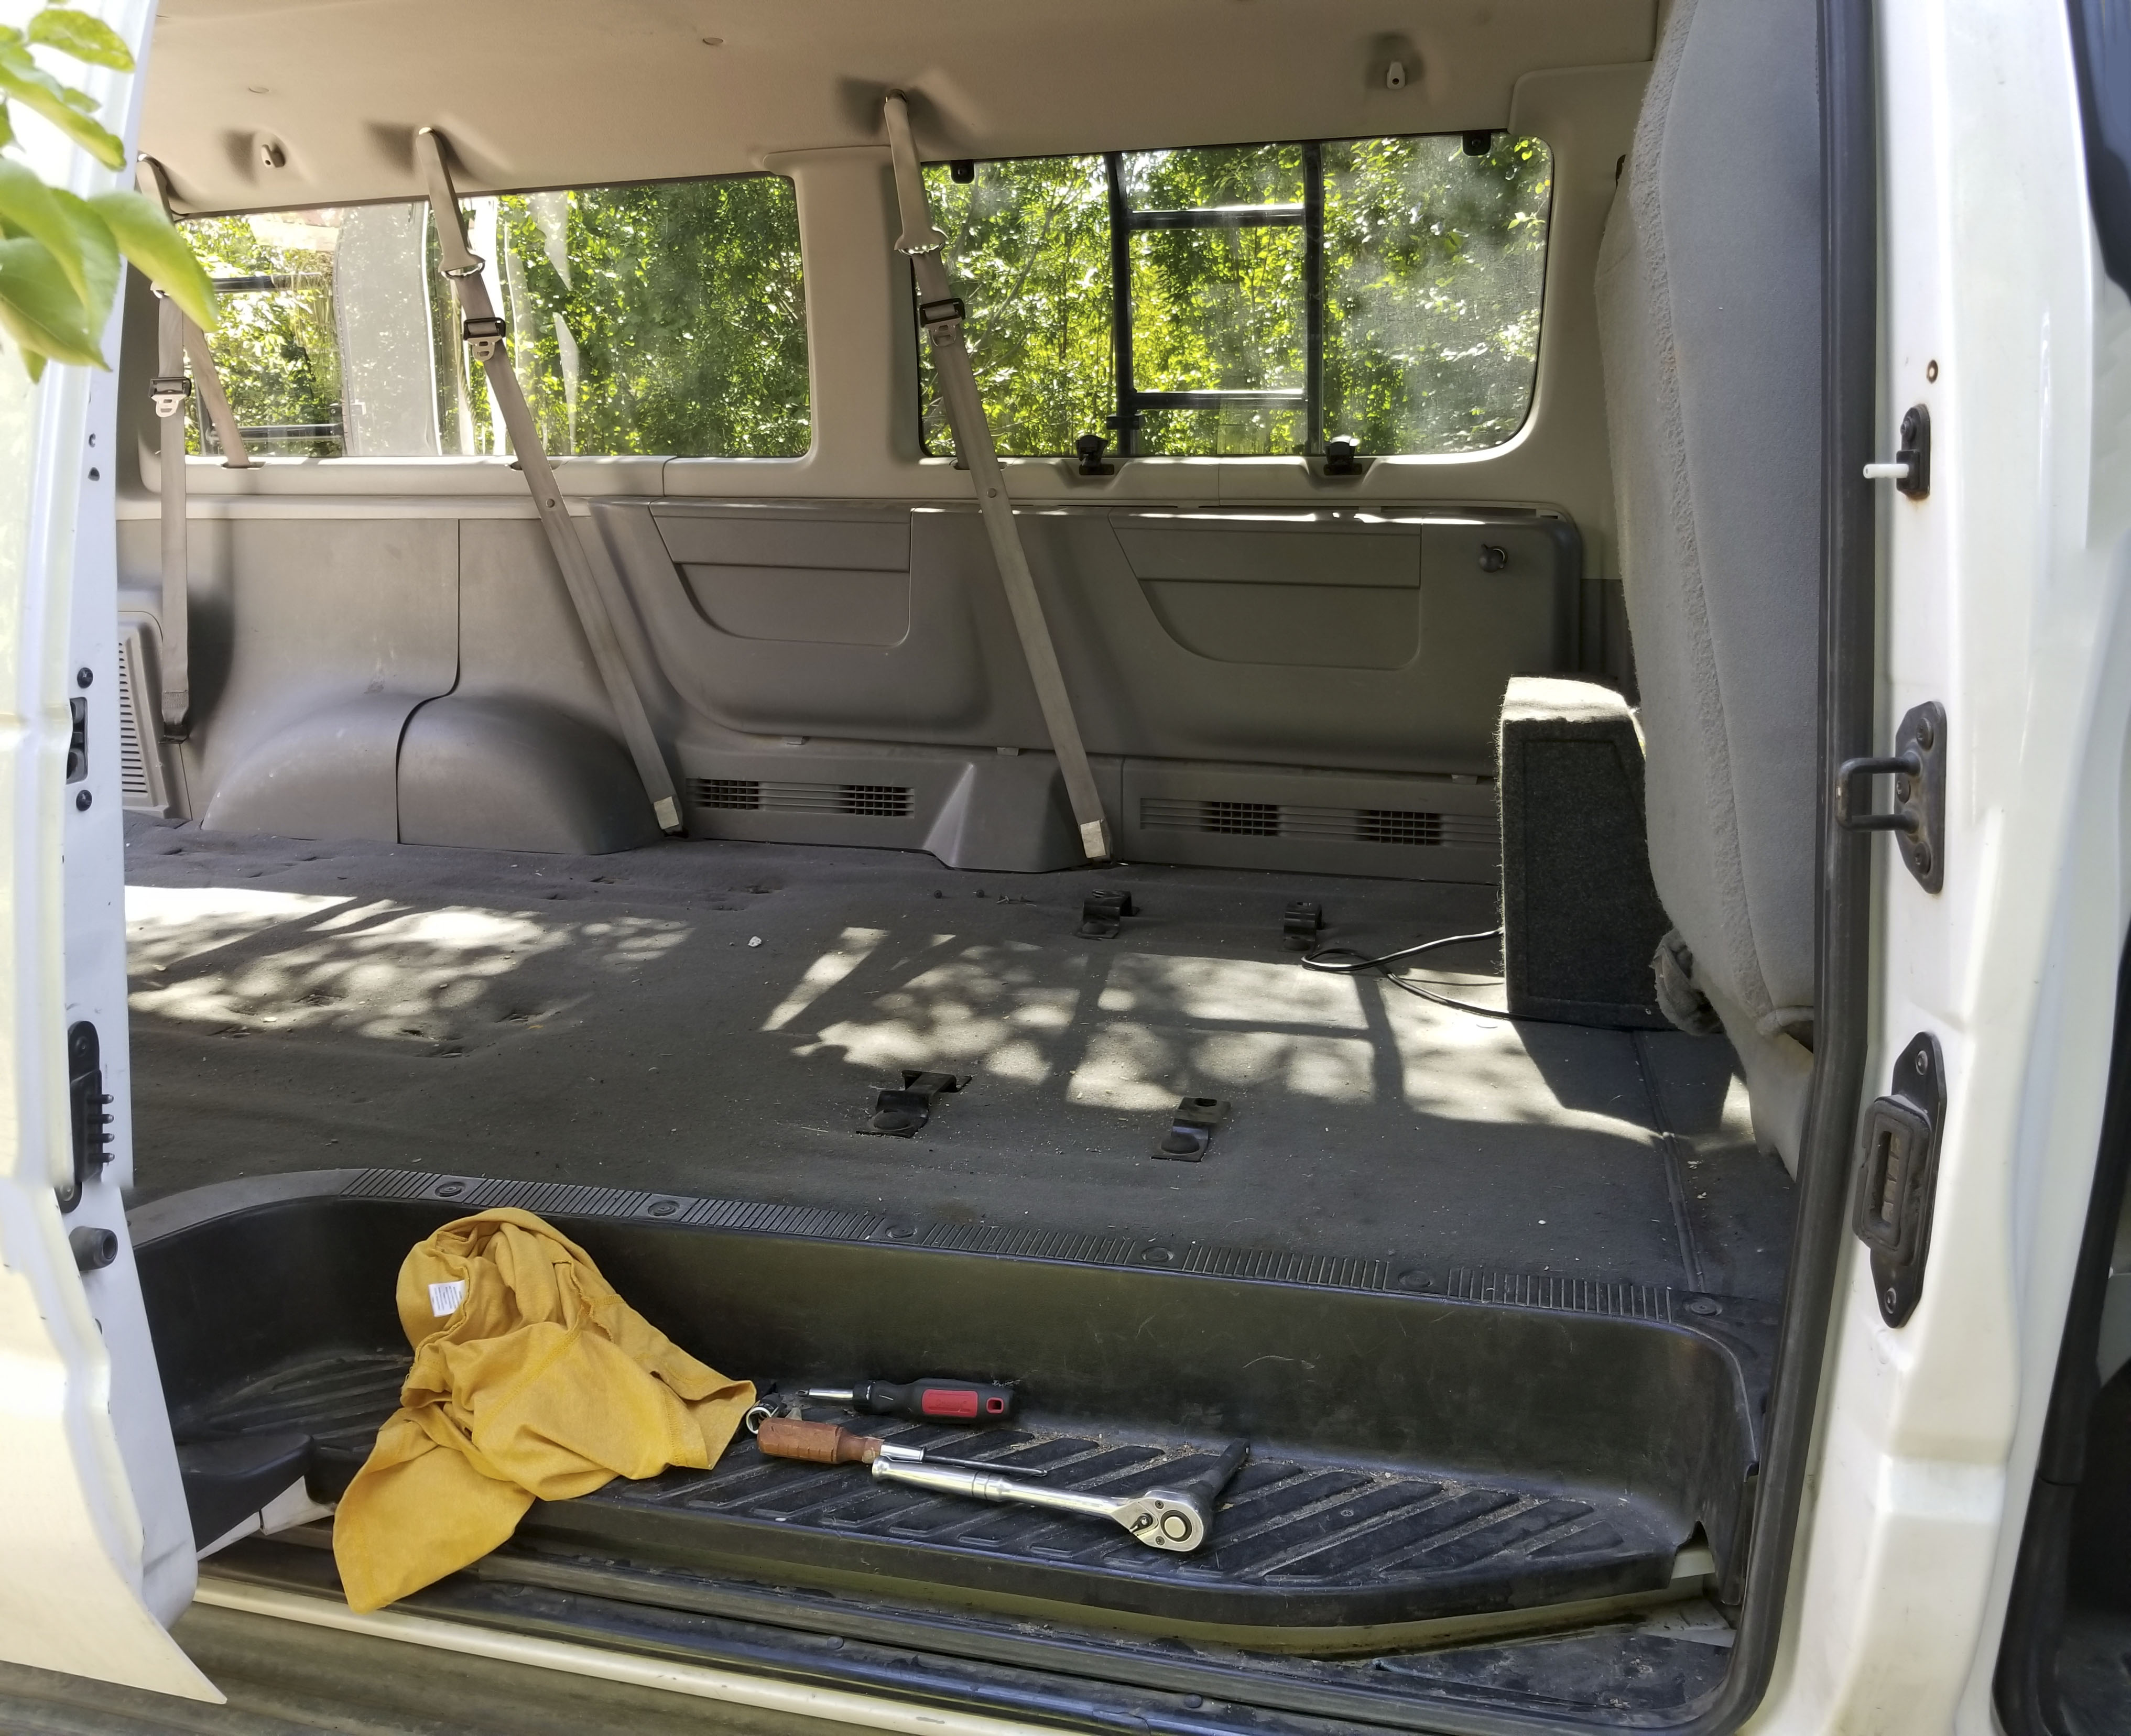
Now you want to clean everything! If you encounter rust, you’ll want to sand it down to clean bare metal and then spray it with a rust prevention primer/paint. You don’t want your foundation rotting out beneath you!
AFTER PICTURE

If you discover your body is riddled with rust, this is the point where you should really debate on reinstalling everything and selling your van in hopes to find a better one. If you decide to keep it anyway, you’re in for a world of bodywork and sheet metal cutout/repair. Just know when to fold ‘em!