

Step 8: Build Storage/Sink Area
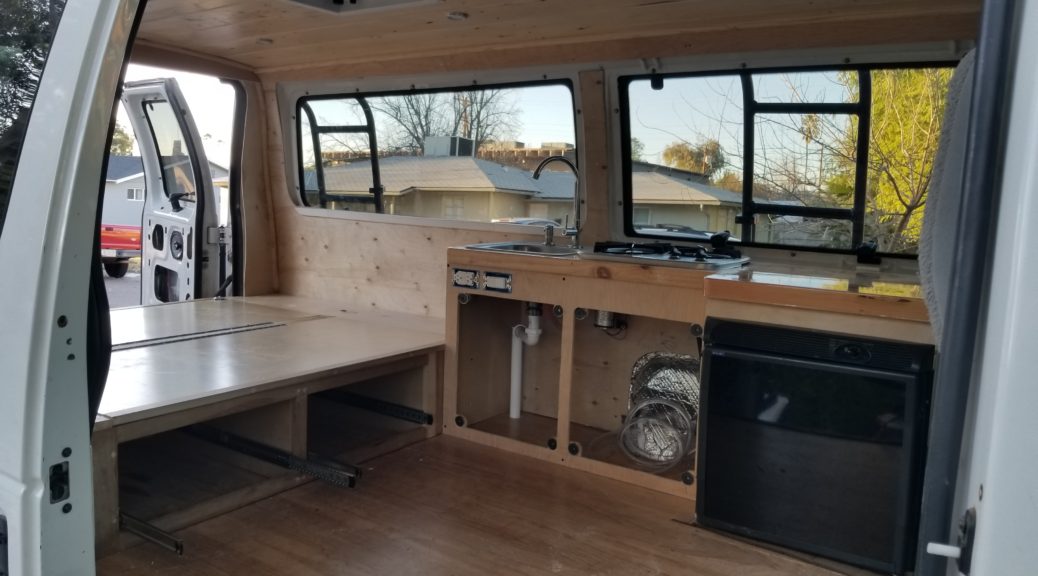
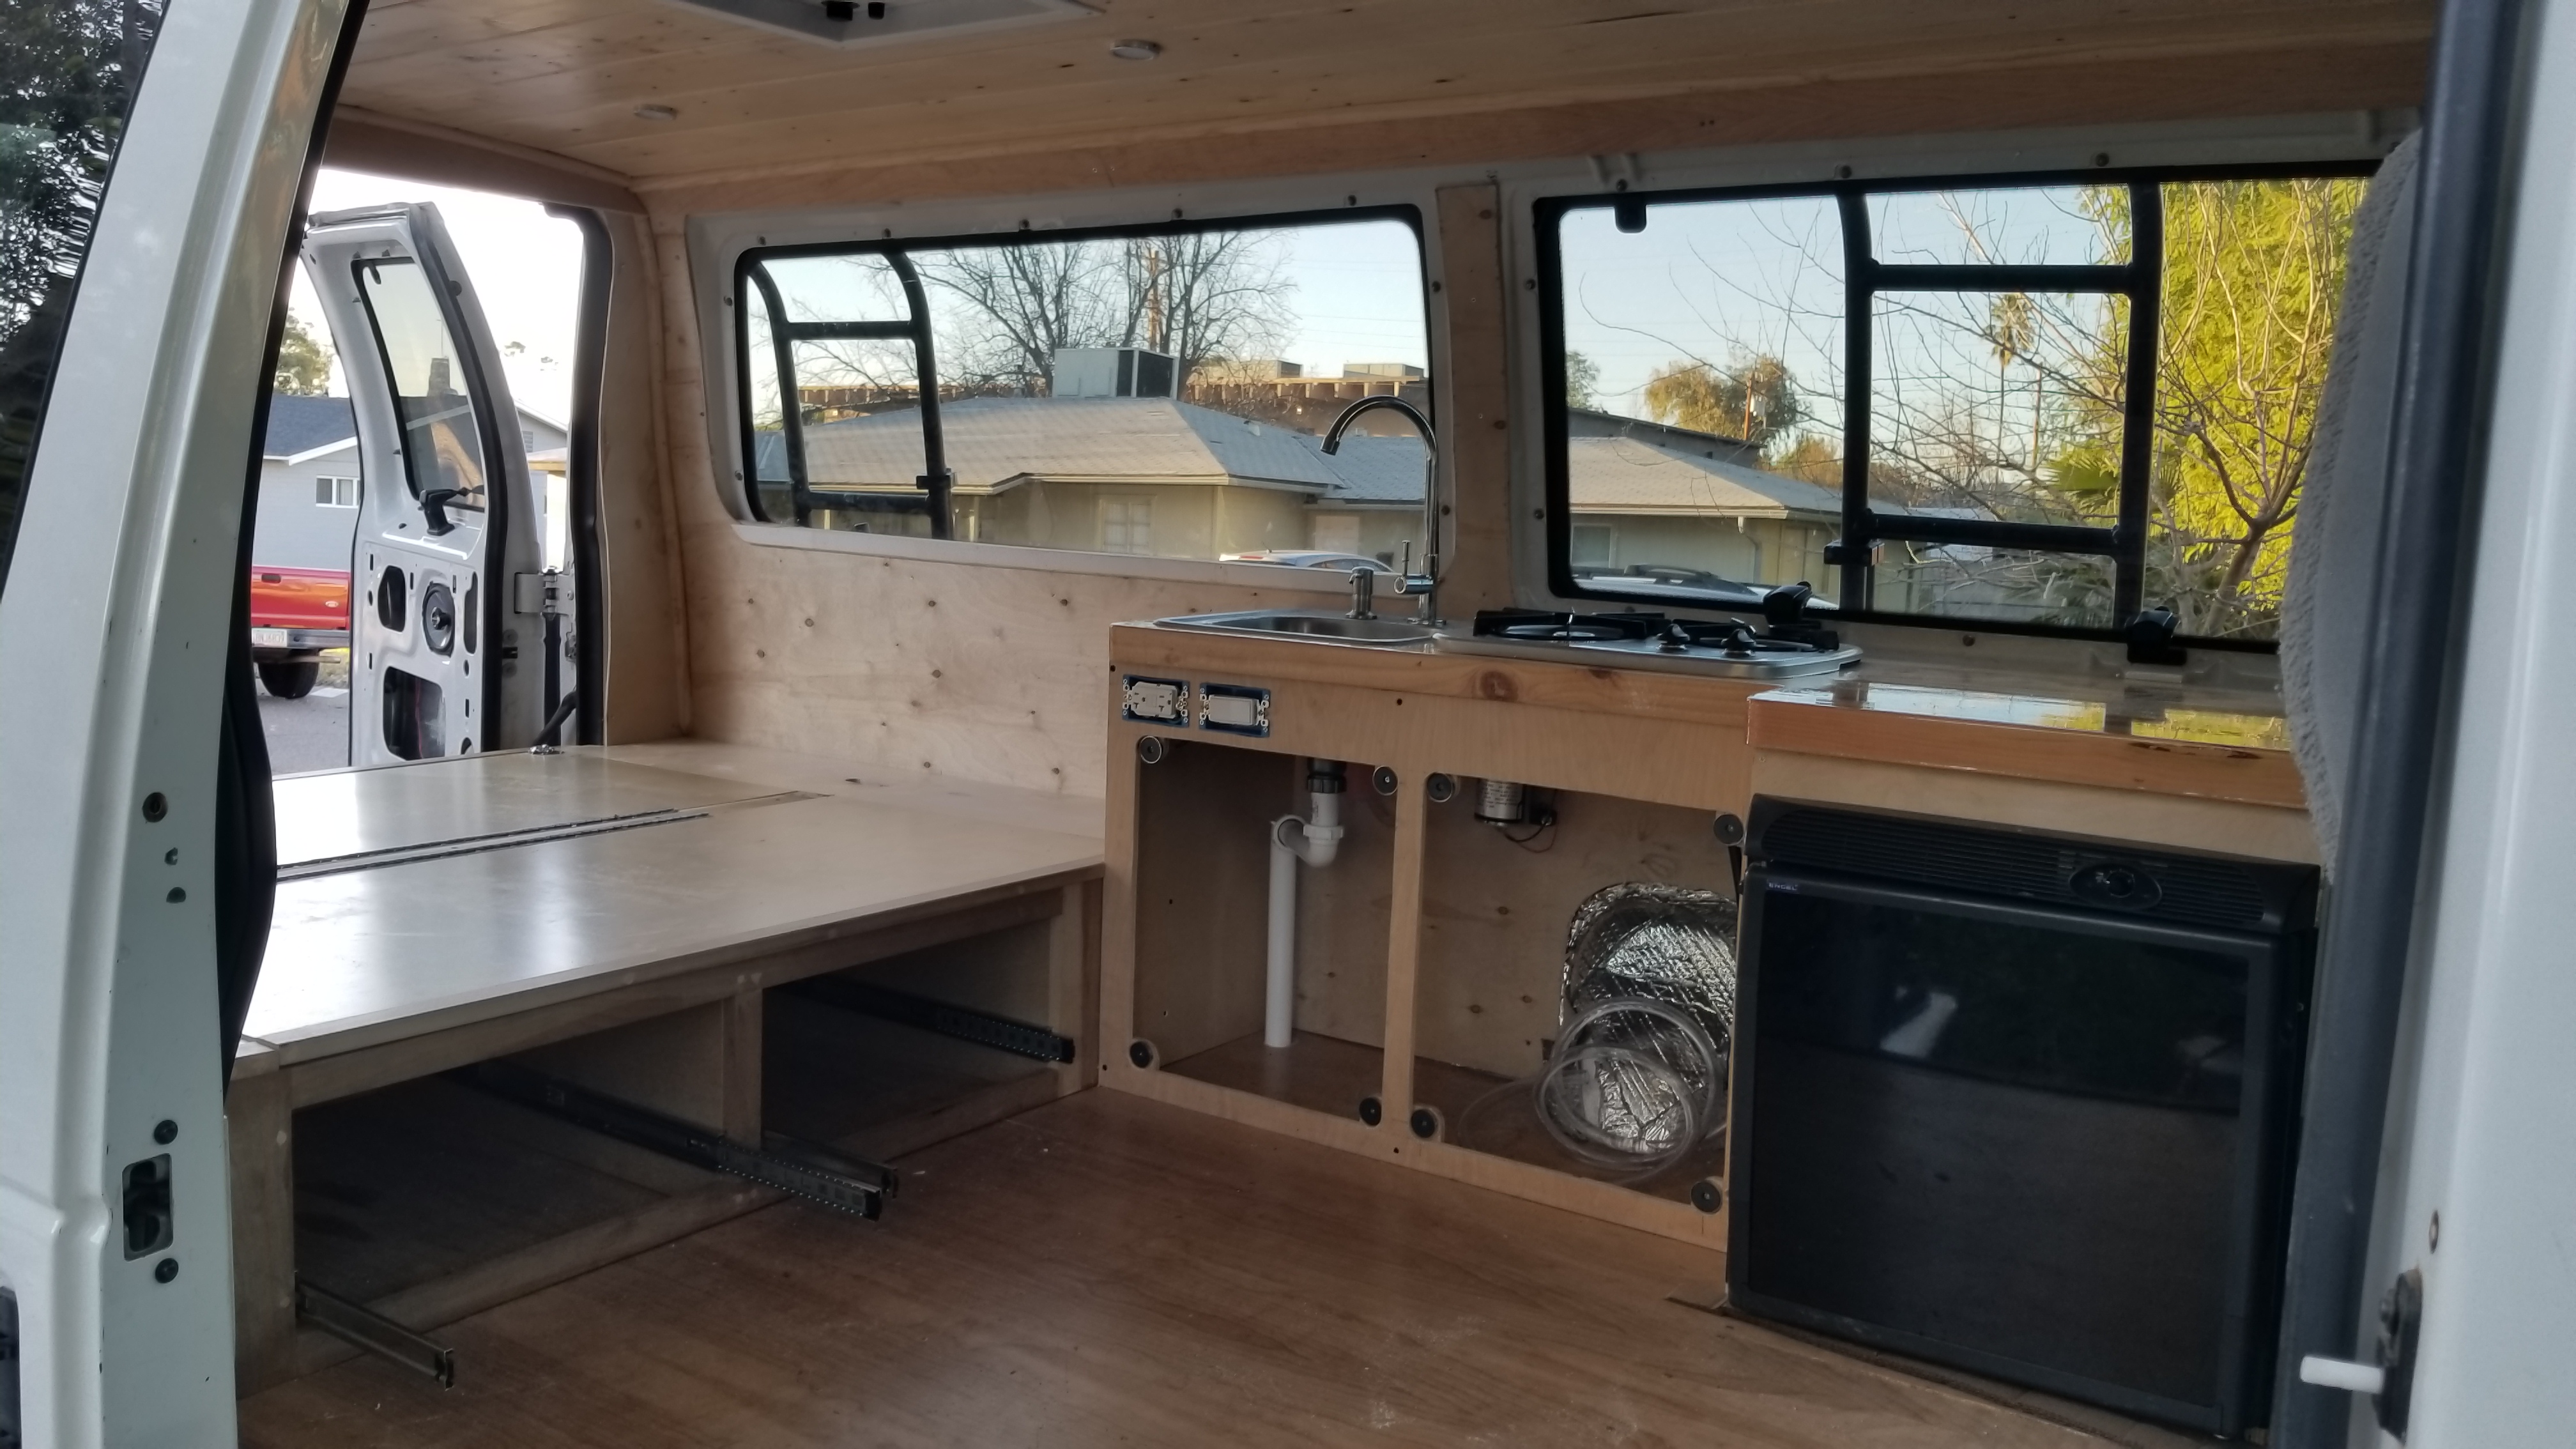
Endless options and different ways of doing this part; so I am just going to stick to what I did. I built everything around my appliances. The sink, stove, and fridge were allotted to this area. I wanted the counter to cover the top of the fridge and be big enough for my sink and stove. Of all the areas of the van, you will be using this the most when you cook your meals. I opted to have the sink closest to the bed (makes for lazy teeth brushing at night/morning), then the stove in the middle (dimensionally it was close to the sink size (front to back) and I wanted it farther from the bed for safety), and lastly I placed the fridge furthest right (just behind the driver’s seat). I built the countertop around the appliances, then the cabinet to hold it up, cabinet doors were last of course.
NOTE: All appliance installs (including fridge, sink, stove pictured in this Step) will be Covered in Step 9: Install Appliances.
Tools/Materials used:
- Table Saw – Ridgid 15amp Portable 10″ Saw
- Sheet Sander – Makita 1.7 amp Sander
- Sand Paper – Grit: 100, 150, 220
- Dewalt Drill 20V Cordless
- Dewalt Drill Bits
- Drill bit with CounterSink (This thing was a huge time saver)
- Screws – Black square head wood screws 2″
- Measuring Tape
- Drafting Compass – Compass (Marking – saved the guesswork)
- Basic Tool Set
- JigSaw – Makita corded JigSaw
- JigSaw Blades – 3 Pack – I used a few different blades, found that the fine tooth took longer but made smoother cuts.
- Router – 8.5 Amp Ryobi Hand Router – Used this to make smooth edges on corners
- Router Bit – 1/2 Inch corner bit
- Bartop Sealer – SuperGlaze Gloss Kit
- Propane Torch – Worthington Trigger Start Torch
- Most of the items below are leftovers from Step 6: Install Floors, Ceiling, and Walls)
- Cabinet Body – Birch Plywood – 3/4 in X 4 ft X 8 ft plywood
- Cabinet Doors and Face: Birch Plywood 1/2in. x 2 ft x 4 ft
- Fridge Cover: Birch 5mm Plywood – 0.196 in. X 48 in. X 96 in
- Screws – #6 x 1/2″ Philips Screws
- Qty: 200
- Screws – #6 x 1″ Philips Screws
- Qty: 100
- Stain – Natural 209 MinWax Wood Finish Stain
- Qty: Quart
- Magnets – 10lb Magnets – 1 set for each corner of cabinet doors
- Qty: 16 (8 sets)
Procedure:
- Make a template (I made mine from cardboard), I can’t stress this enough, this will help you so much in not only in the design of your counter, but it will also help you decide what appliances to purchase by understanding the workspace you have to deal with.
-

Cardboard template! Lifesaver
-
- Get your appliances in hand (or just pull dimension from online) and cut your template to the final dimensions making sure everything fits where you want it.
- Video: https://youtu.be/lFOKREjklBk
- Use the template to take measurements and cut your final countertop. I outsourced this to a guy with a CNC shop who happened to have a chunk of glued together hardwood that was messed up for a customer (and was going to be scrapped). It was the right dimensions for my build so I snagged it at a deal and got the CNC cutting done for free 😉 Right place, right time kind of thing. The countertop was made from strips of pine, glued together, jointed, planed, then cut to size.
-
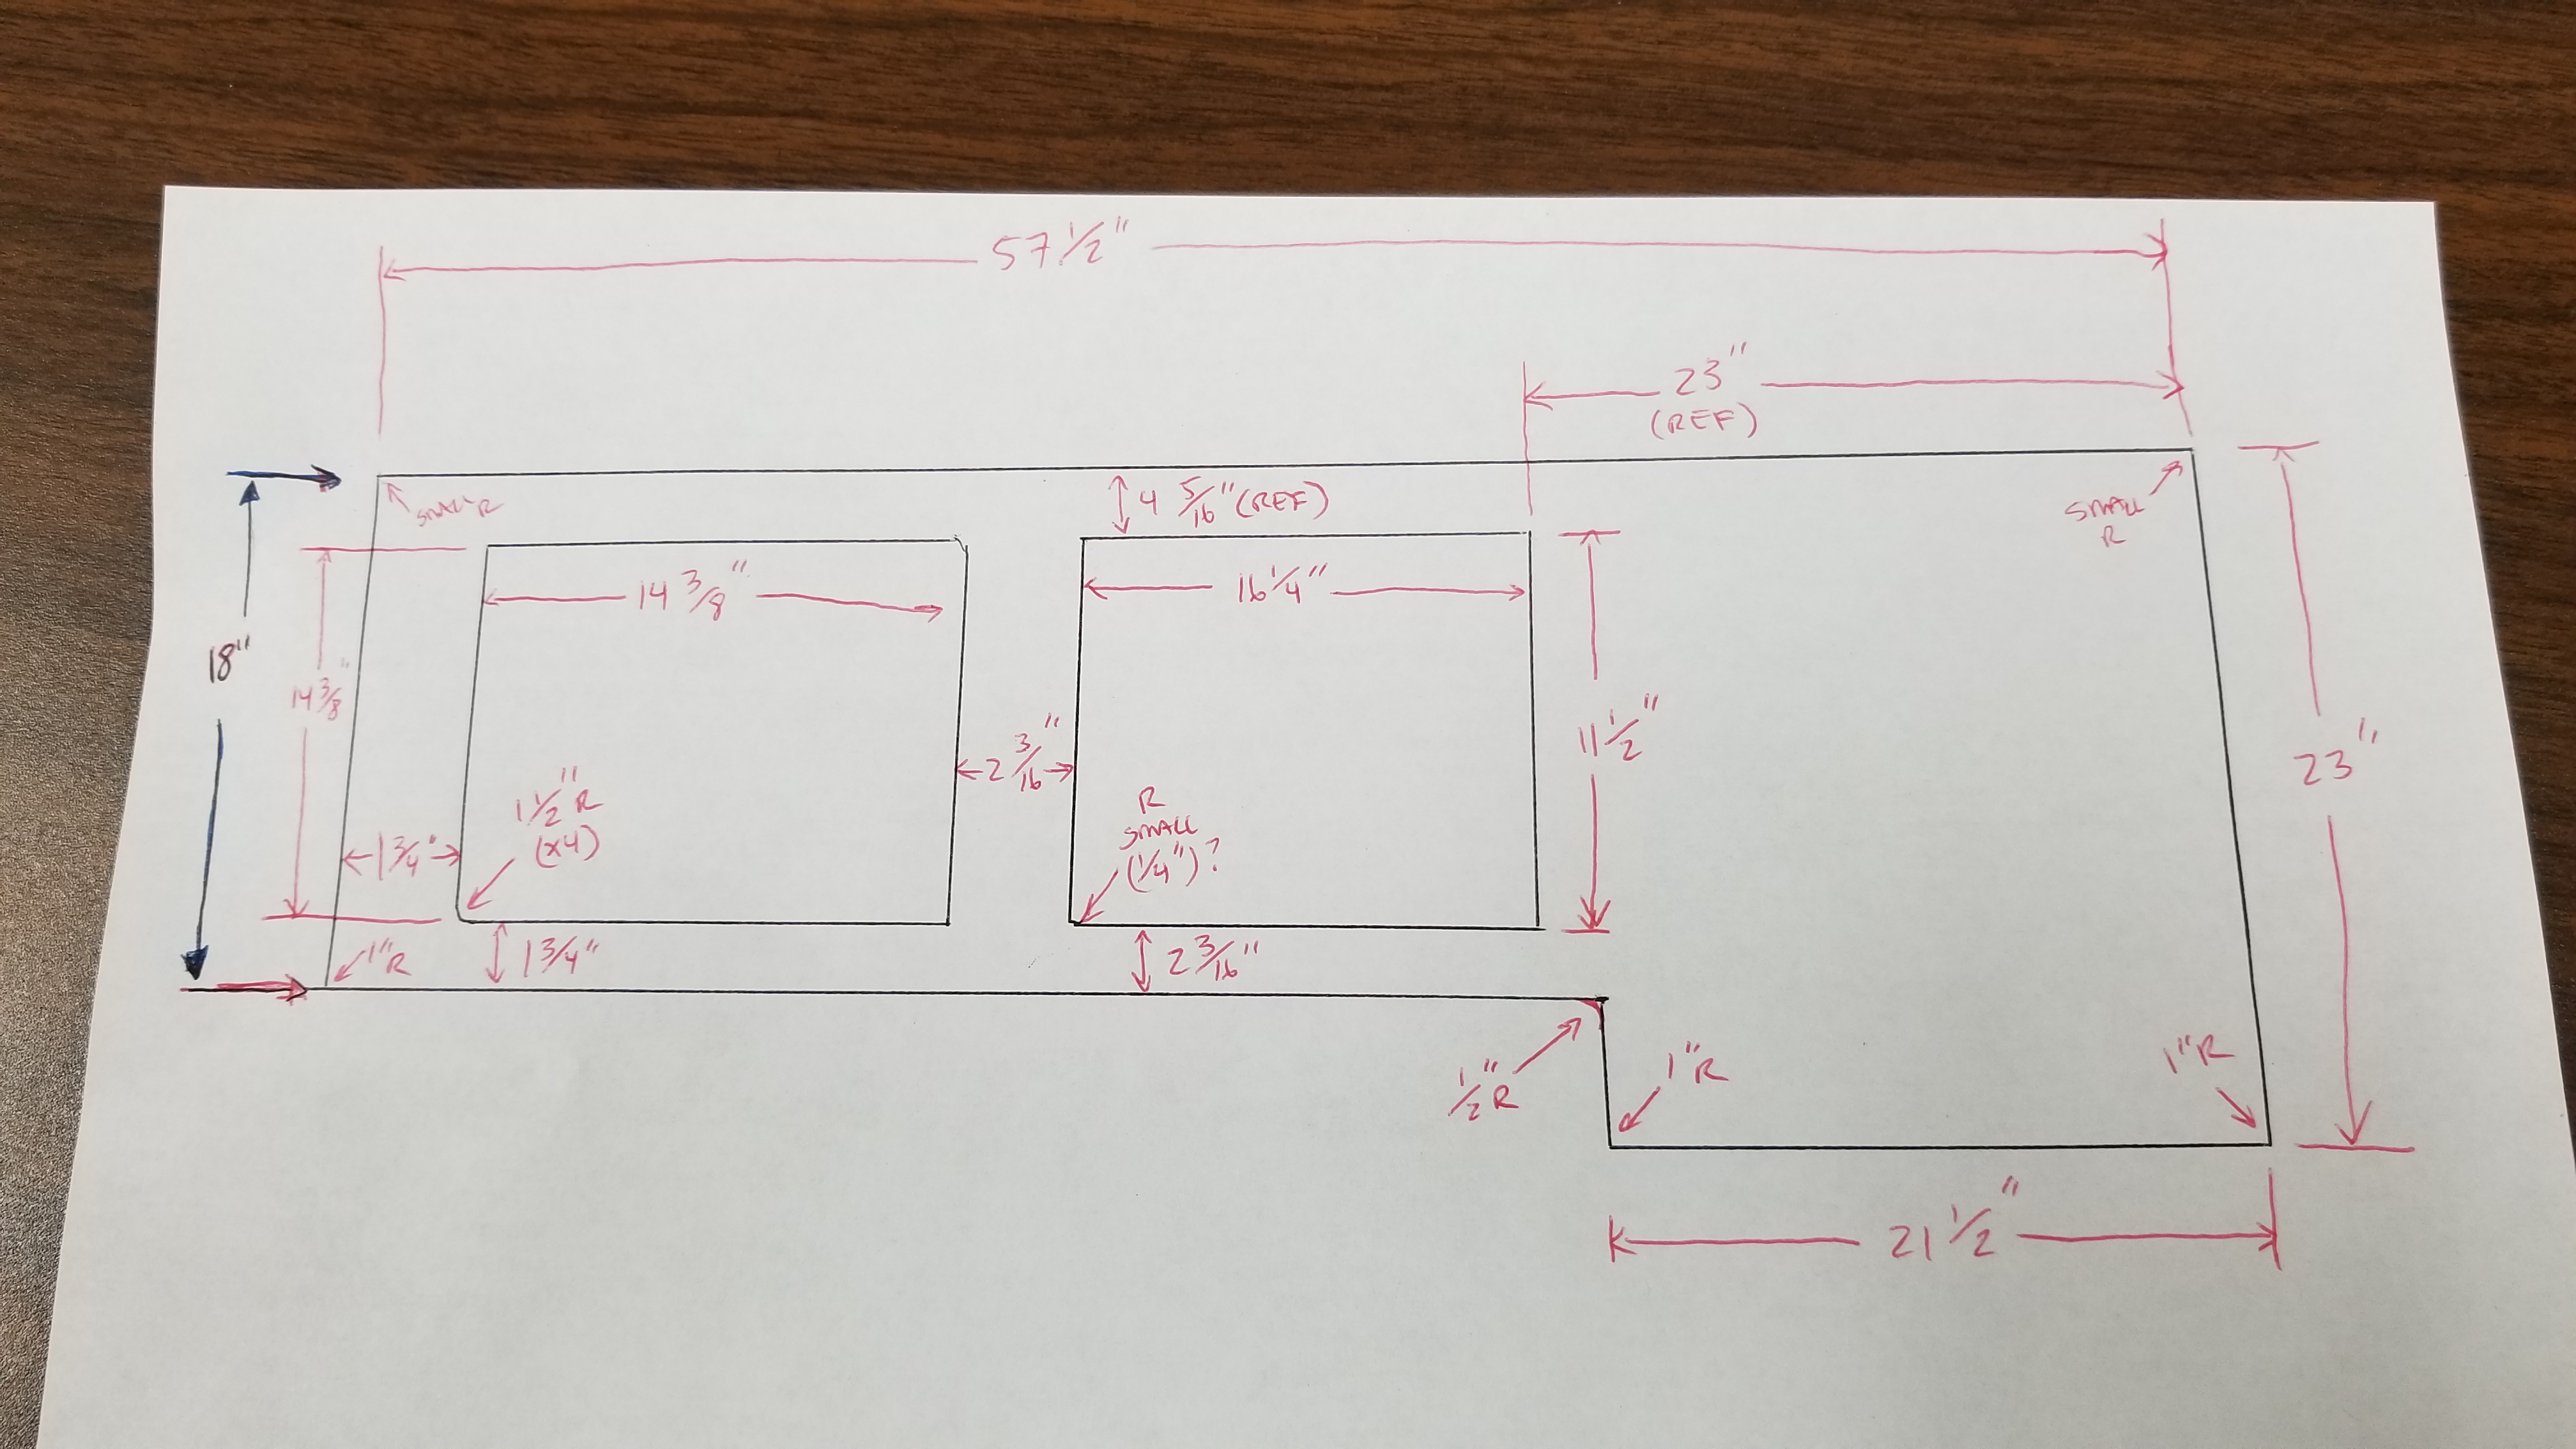
Final dimensions from template -
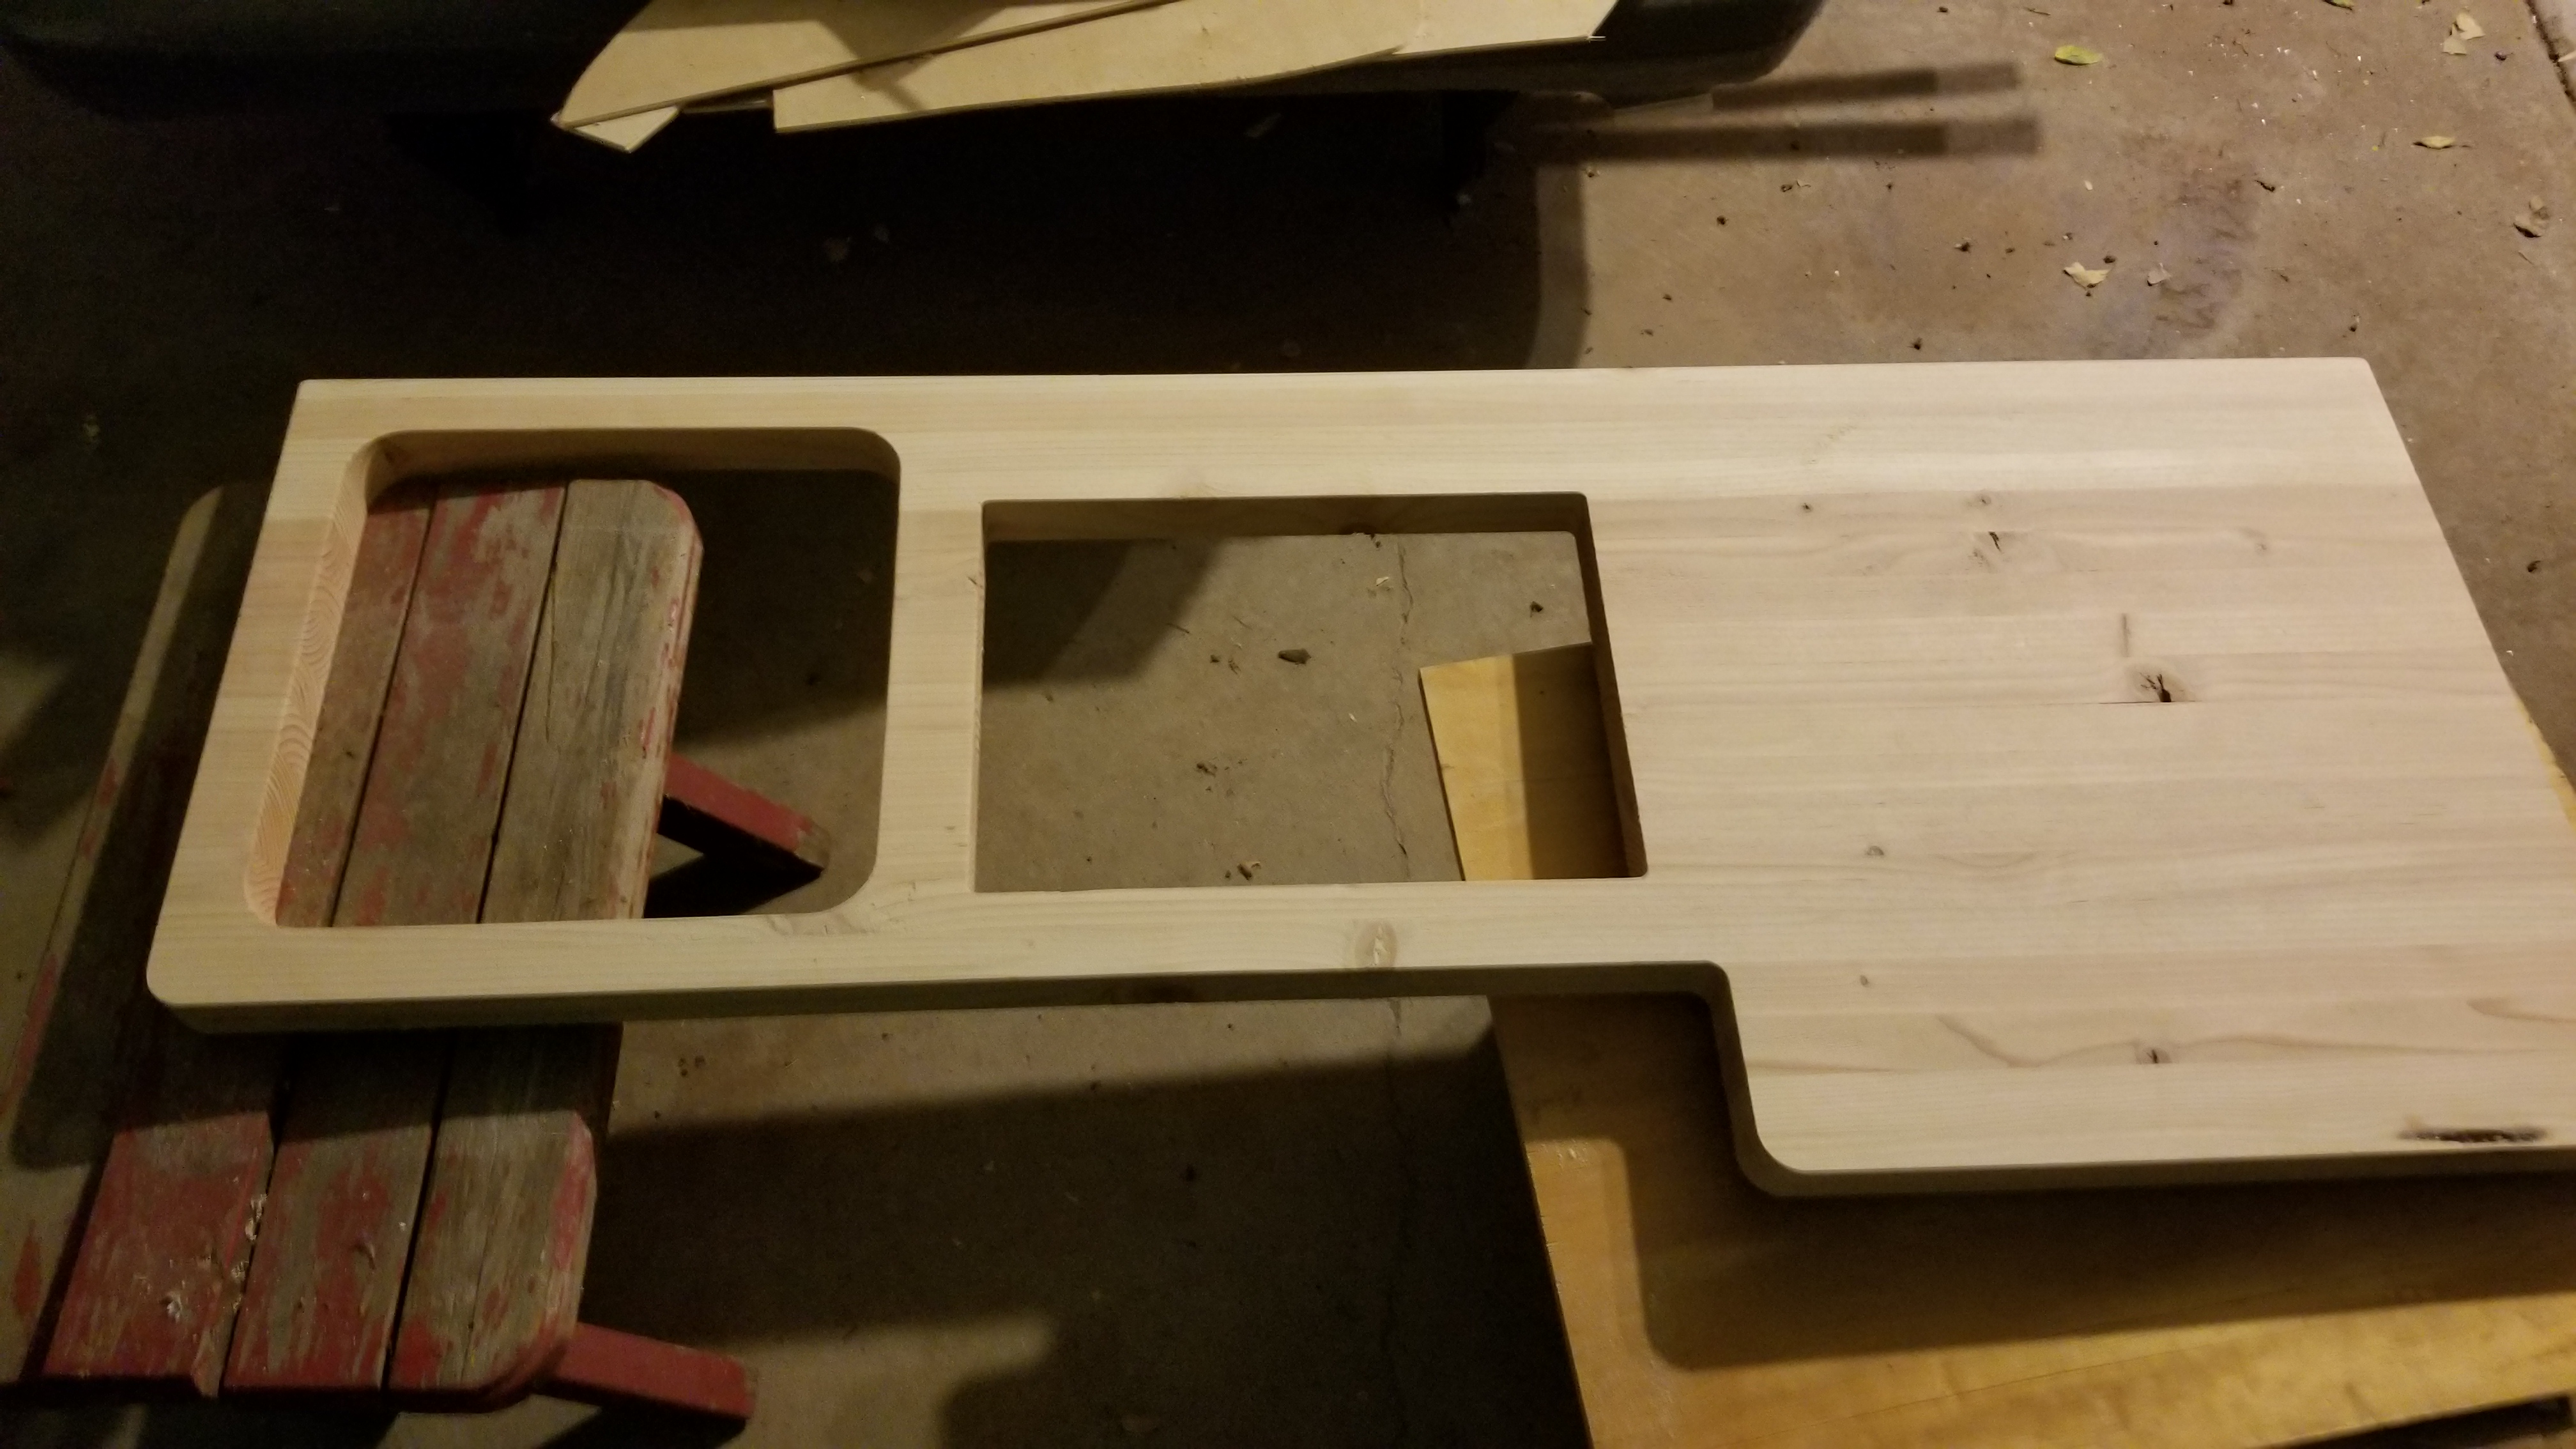
Counter top cut and ready for staining! - Video: https://youtu.be/RNCook7NE3A
- Video fitting in appliances: https://youtu.be/dGVq6um1pl8
-
- Stain and seal your countertop: I first filled all cracks with wood putty, sanded it down, routered the outer edges, then stained with Natural 209 (that I used on the ceiling). Finally, I sealed it with SuperGlaze Gloss Kit (just follow the instructions on the kit – You get to use a Propane Torch YAY!!!!)
-
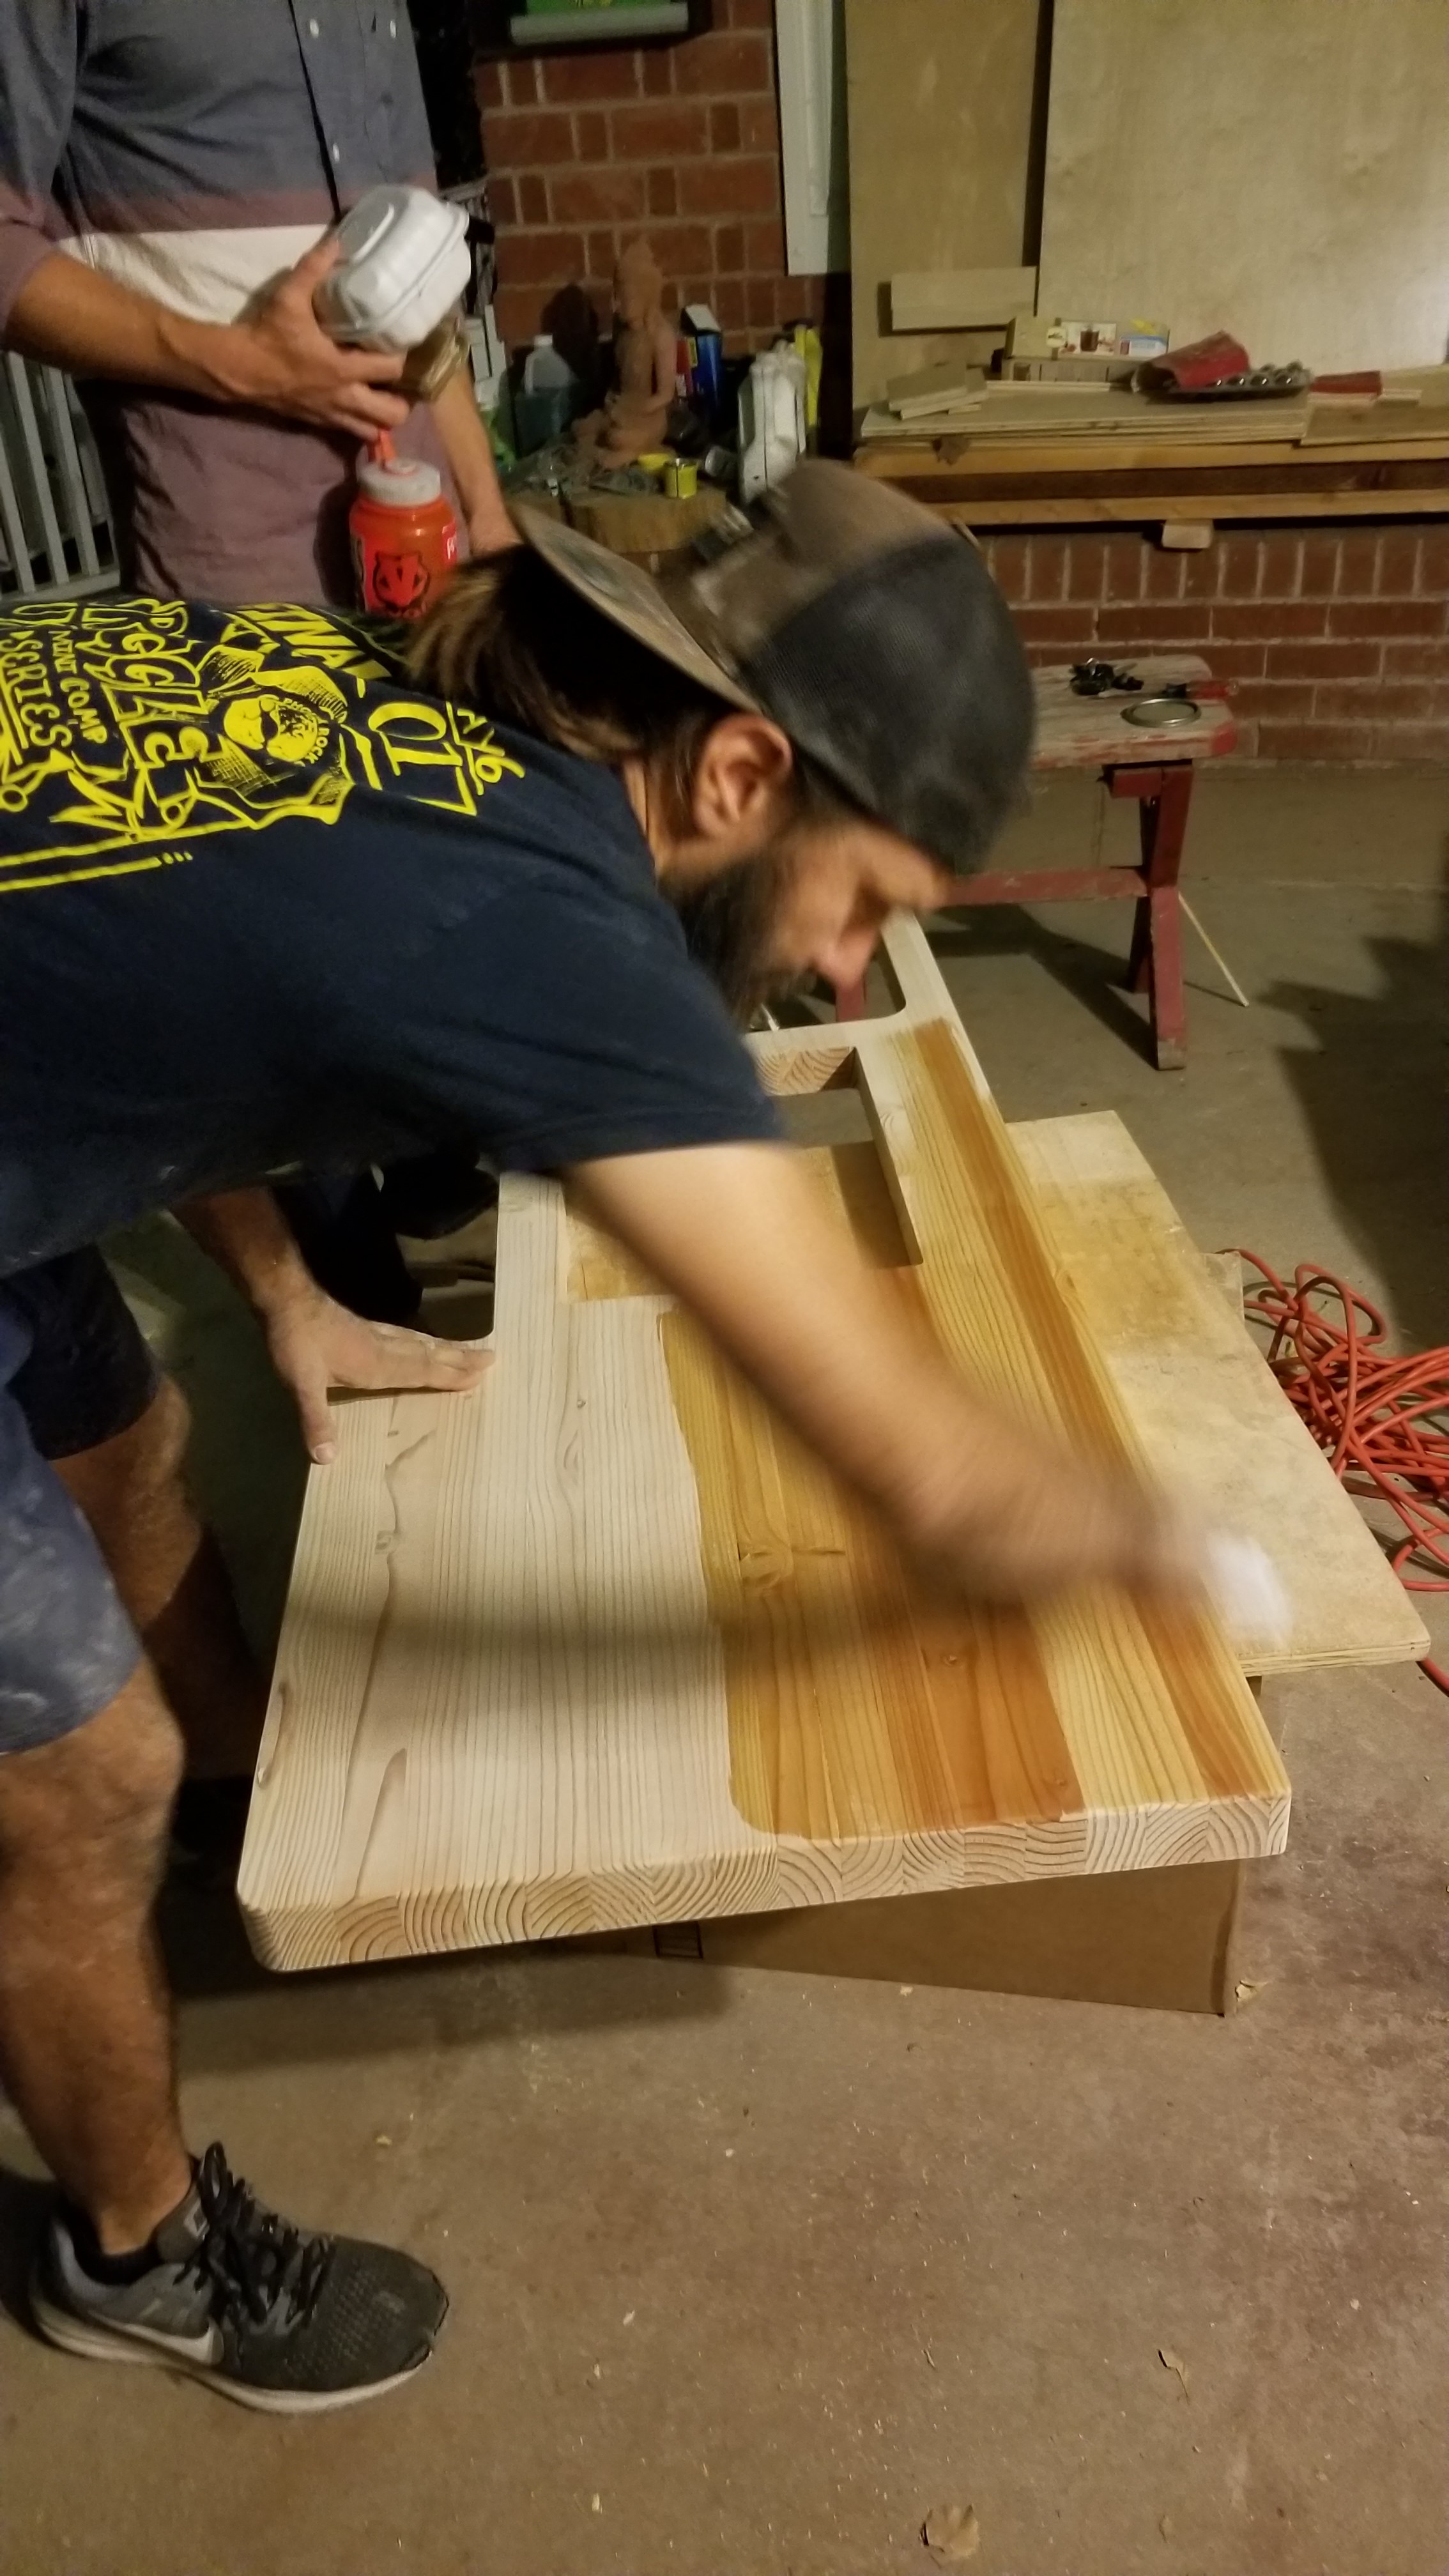
Stain – Natural 209 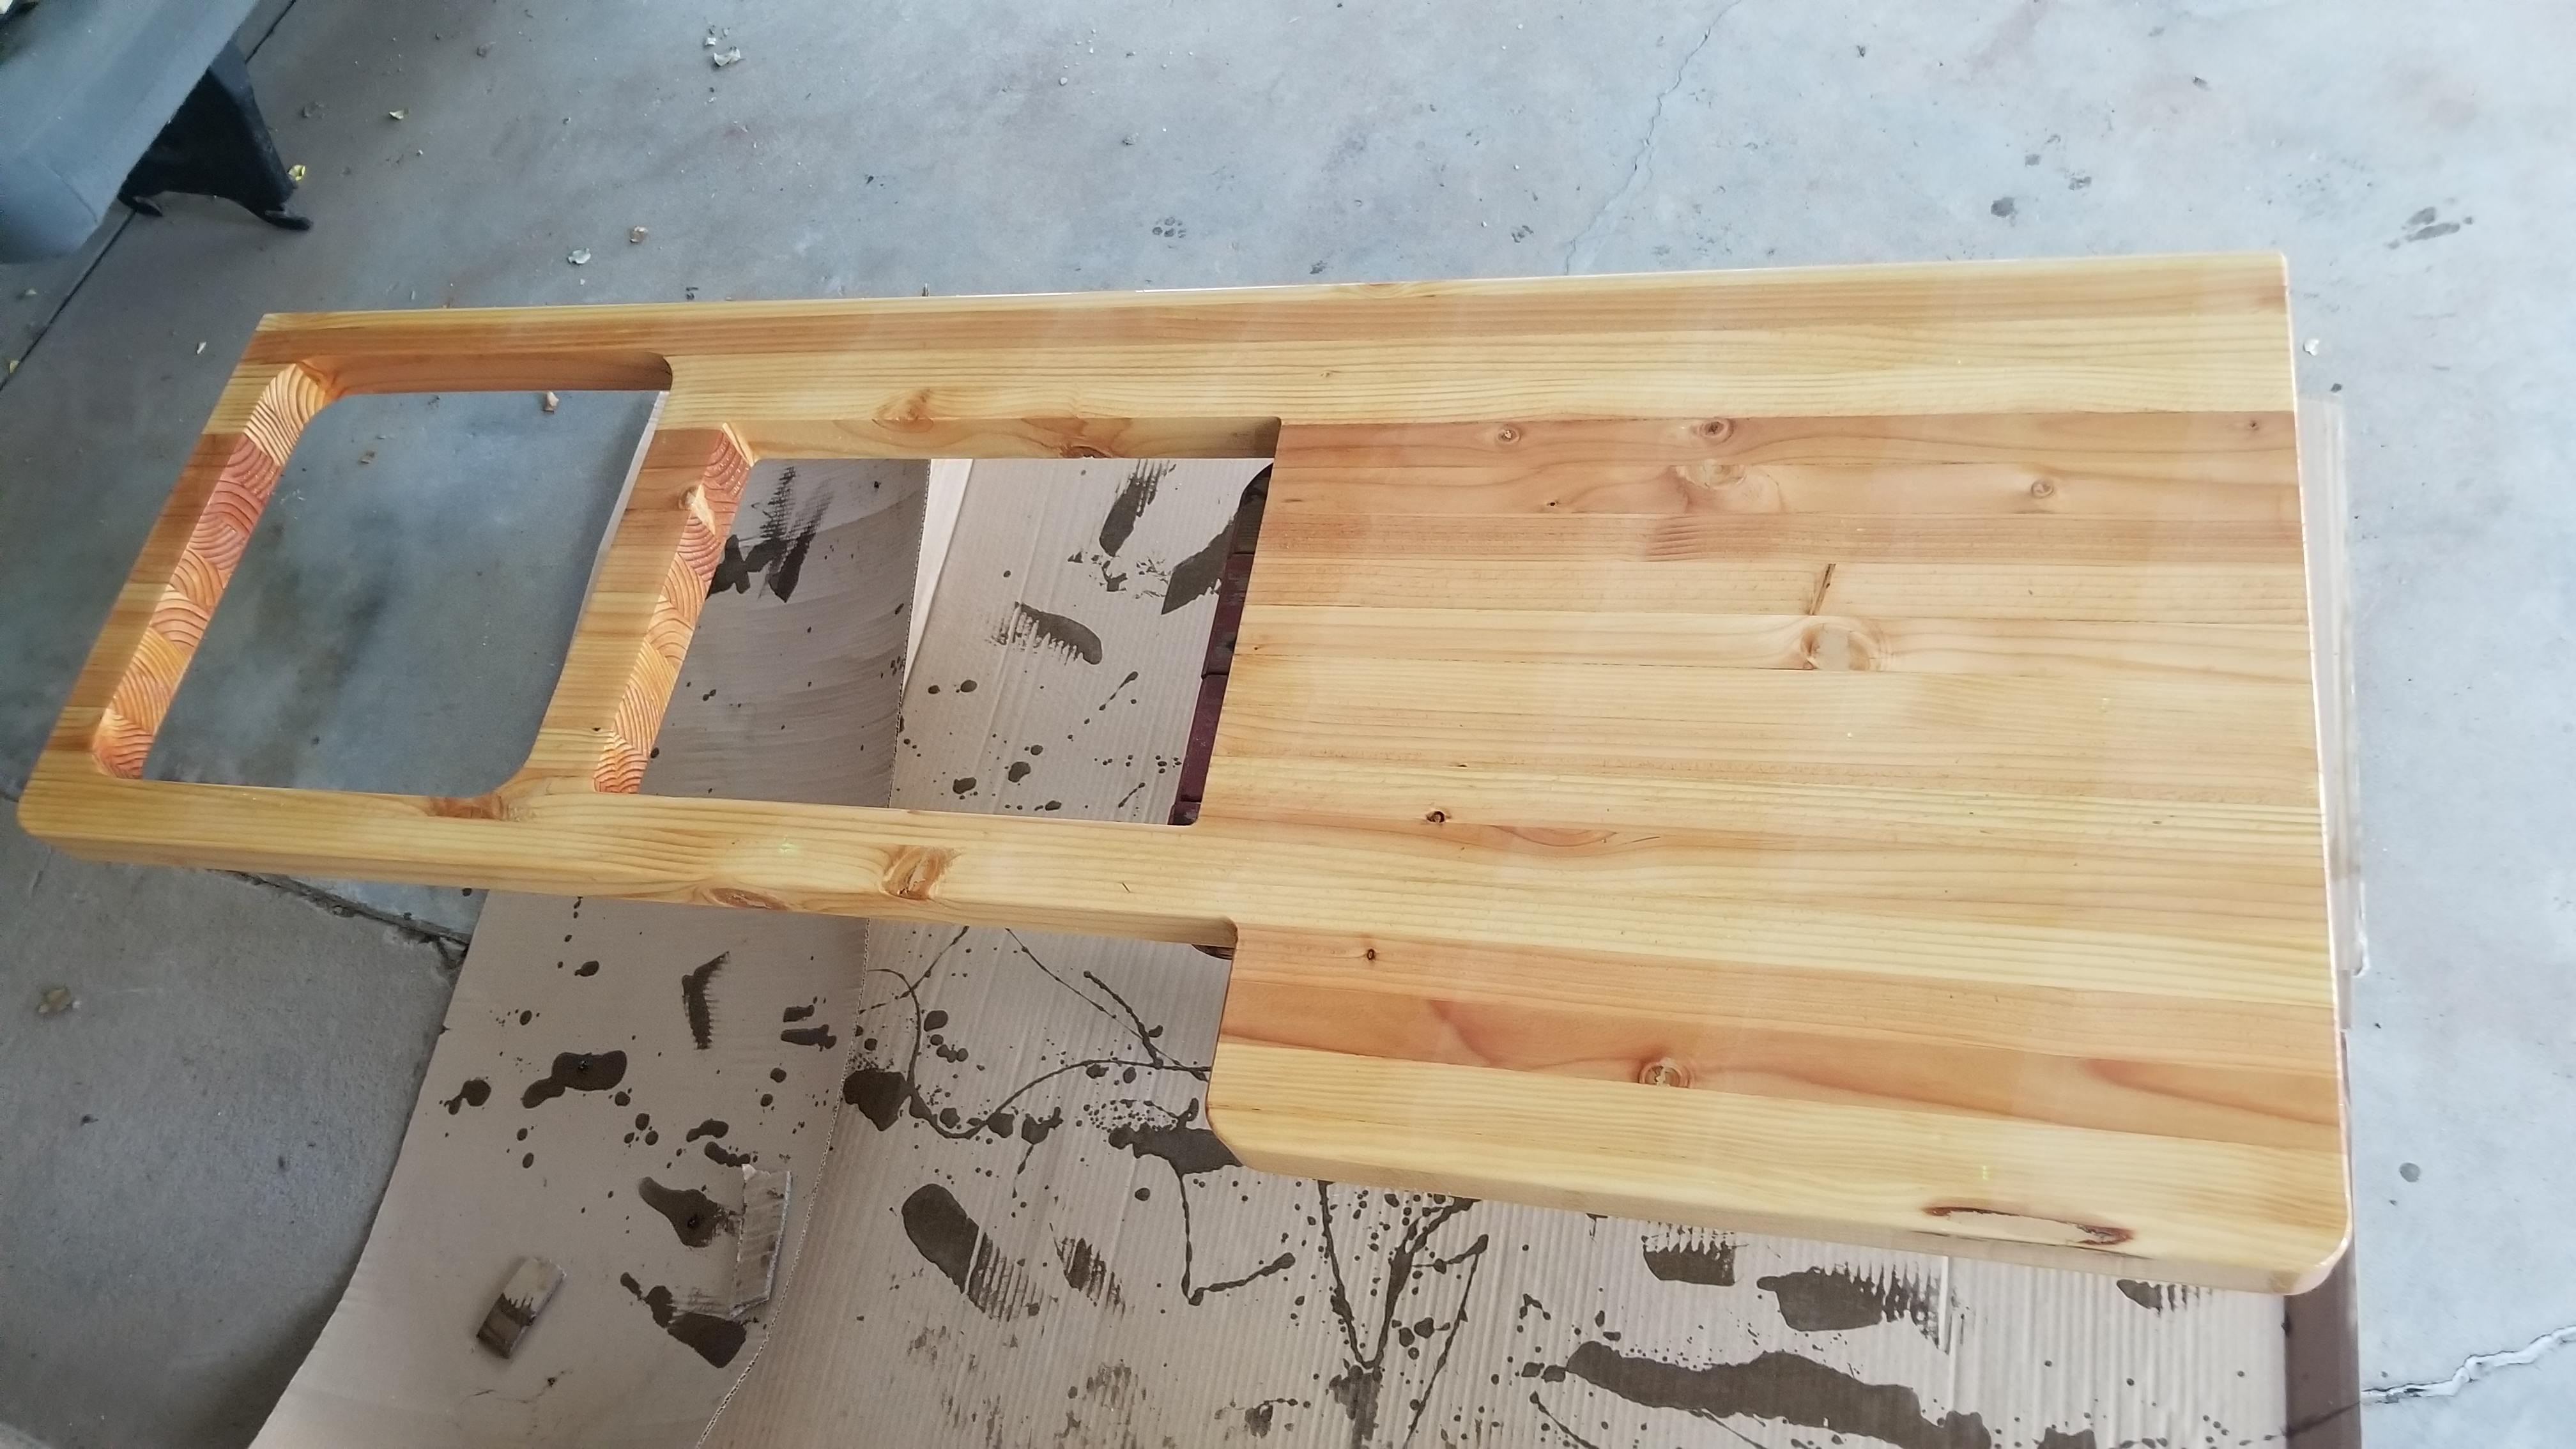
Glaze BarTop Seal 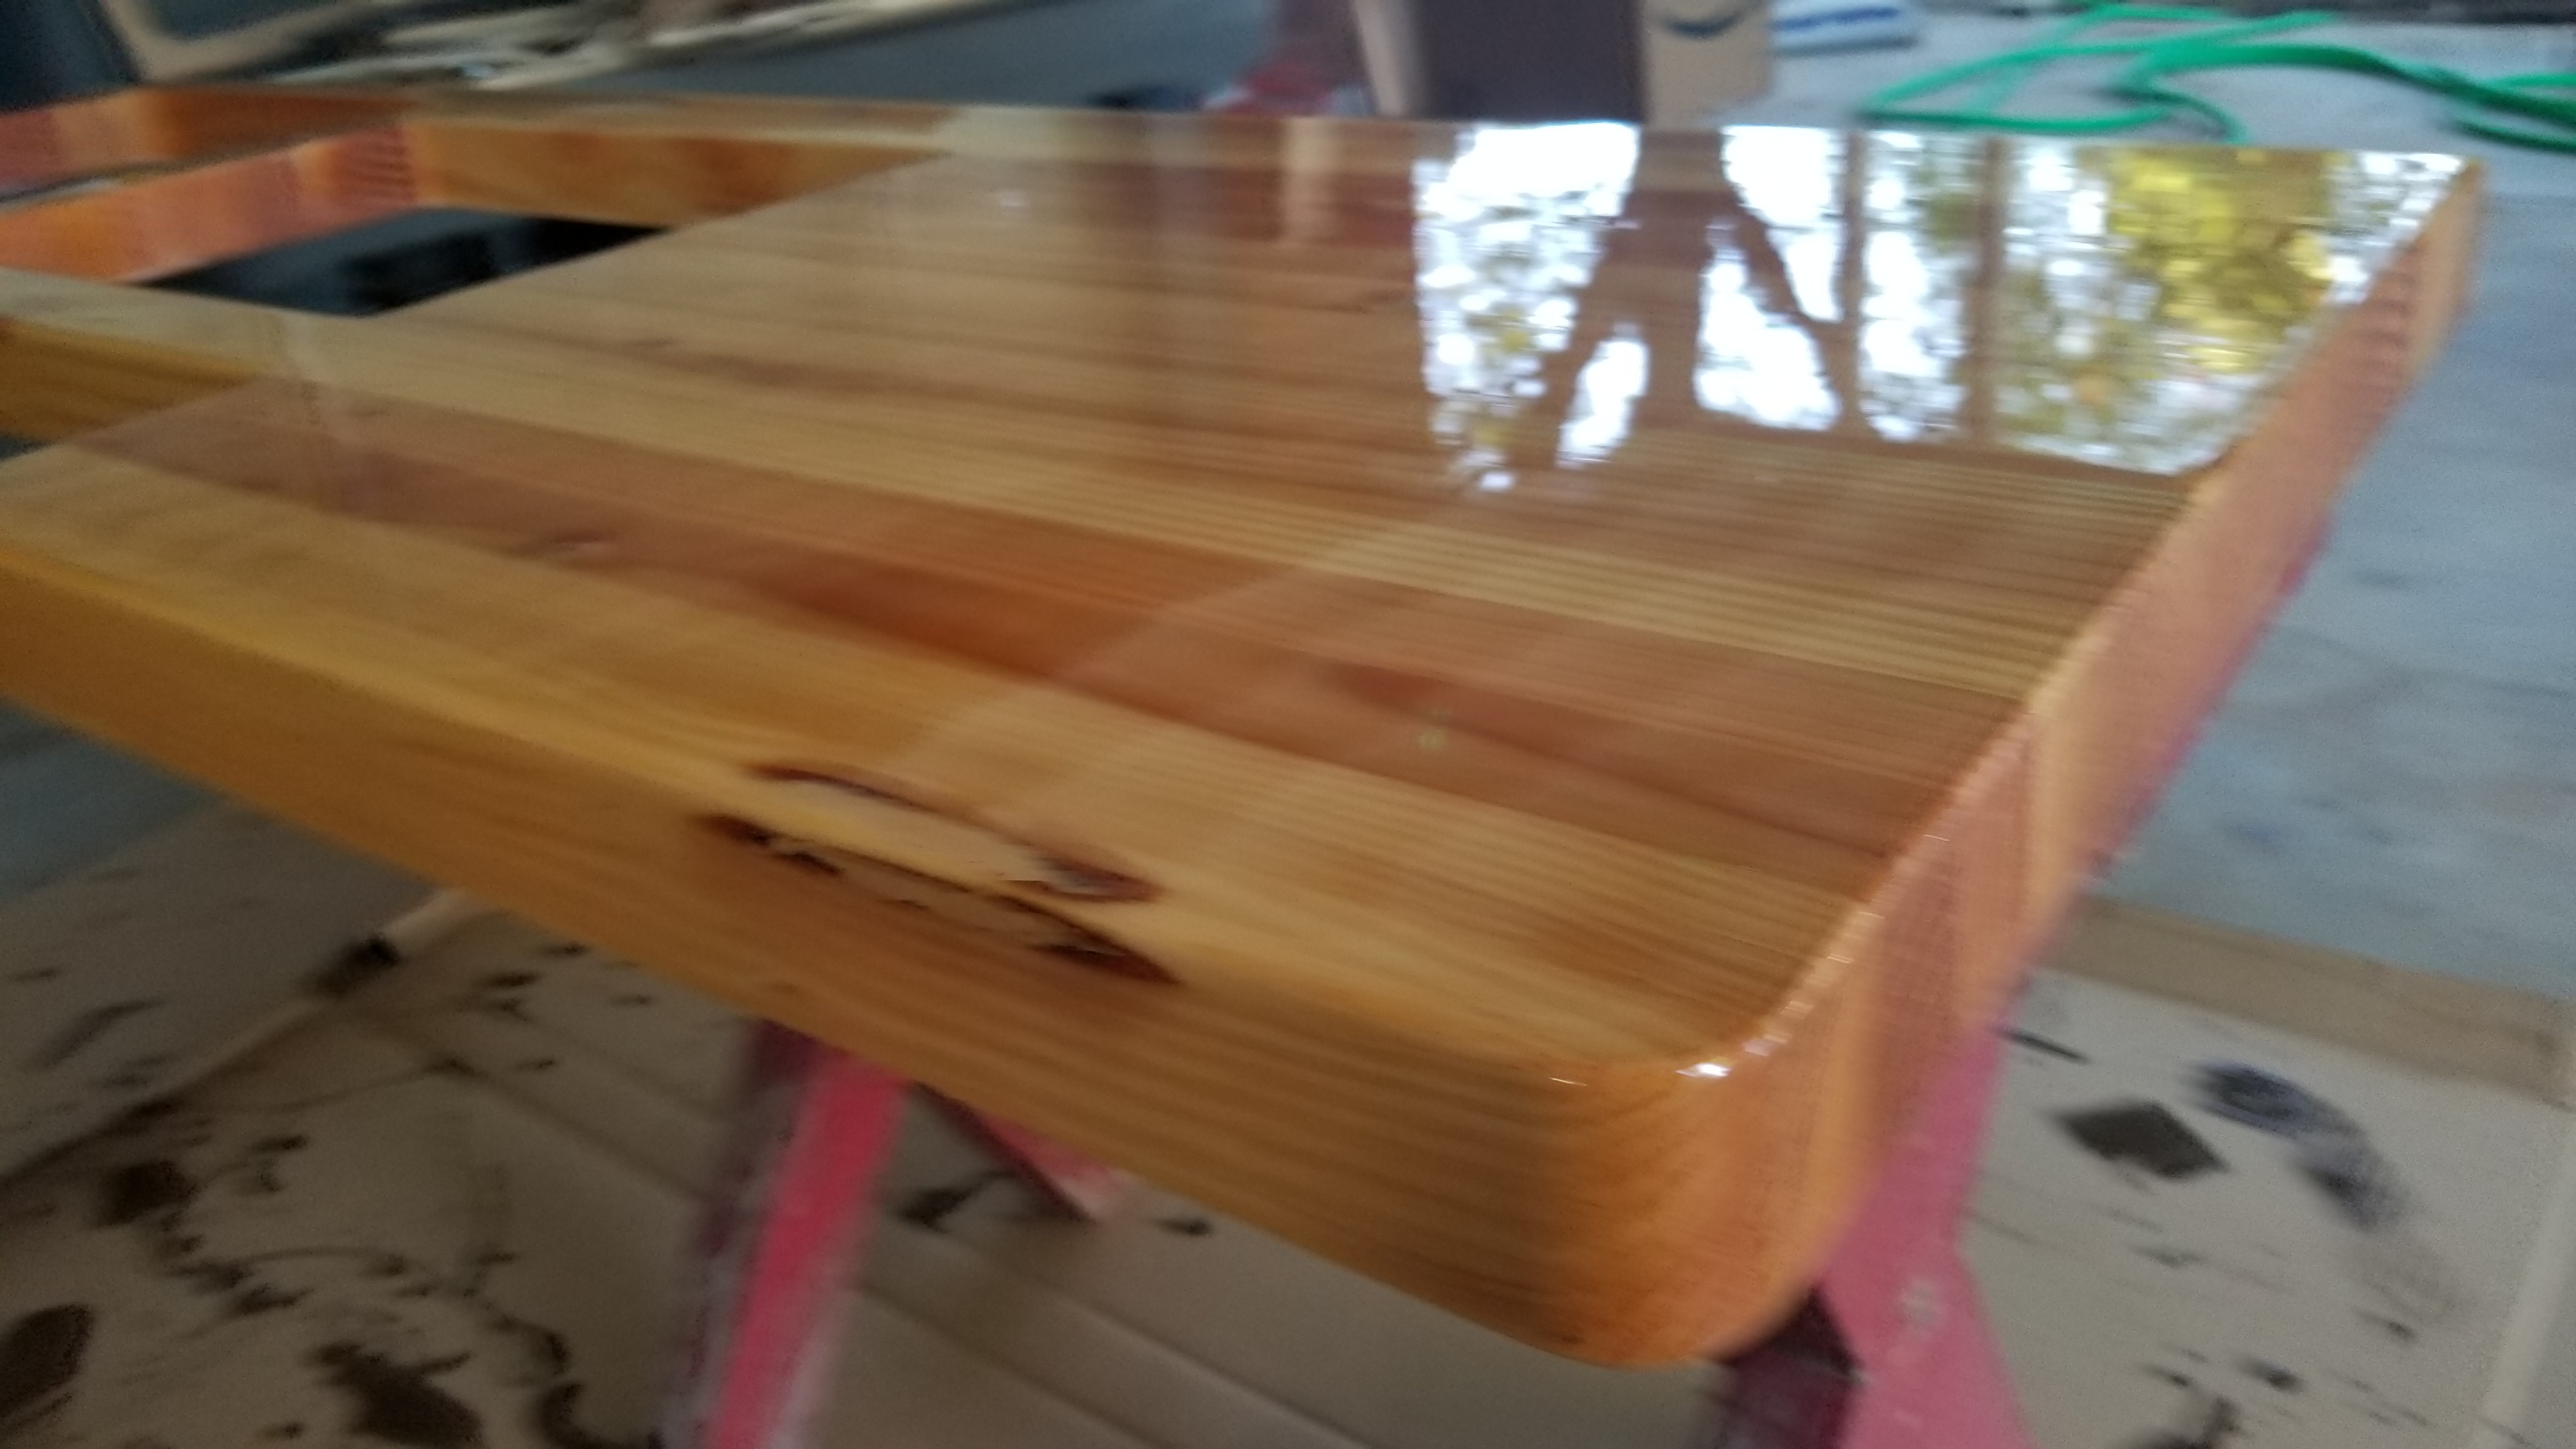
Nice mirror finish on BarTop Glaze - Video: https://youtu.be/USuqAIiz1Zc
-
- Build the legs for your counter. I used the wall as the back face and cut three legs to size and fit them into place. I put my fridge in at this point to make sure dimensionally that the counter legs fitted around it. Once in place, I screwed the legs to the bottom of the counter using blocks, reinstalled the counter and legs into place and screwed it down to the end of the bed. I then screwed it in place to the floor walls using mounting blocks I cut from wood.
 Mocking up legs, I have my subwoofer speaker holding up the countertop (it's no levitating I promise)
- Video 1: https://youtu.be/OkJsgvjJyVg
- Video 2: https://youtu.be/z0z3IhPkf1M
- Video 3: https://youtu.be/EsqHxbg19FQ
- Cover the face of the cabinet. I used ½” plywood (use thicker if you have it for durability),that will be painted later, and cut to size with 2 holes for cabinet access (in hindsight I would use ¾” wood here so I can have more options for cabinet door hinges).
- Once installed, cut two holes with shallow blue wall outlet boxes.
- Install the shallow blue outlet boxes, and then install a switch into one and a wall 125V outlet into the other.
- Wire up the switch in line with your water pump (I cover this step further in the Install Appliances Step).
- Wire up your outlet with wires from an extension cord and run the end of the plug near the place where you plan to install your inverter.
- Install the plate covers on the outlets.
-
You can see the cabinet face installed here with the Wall Outlet and water Pump switch in place.
- Cut the cabinet doors. I used some ½” plywood to cut some lightweight cabinet covers which I fixed into place with magnets (I wanted to remove them later and use them as cutting boards or lap tables). Make 4 magnet mounts for the corners of the cabinet doors and install them on the back of the cabinet face (see video for clarity). Router the outer edges of the cabinet doors and sand down any imperfections.
-
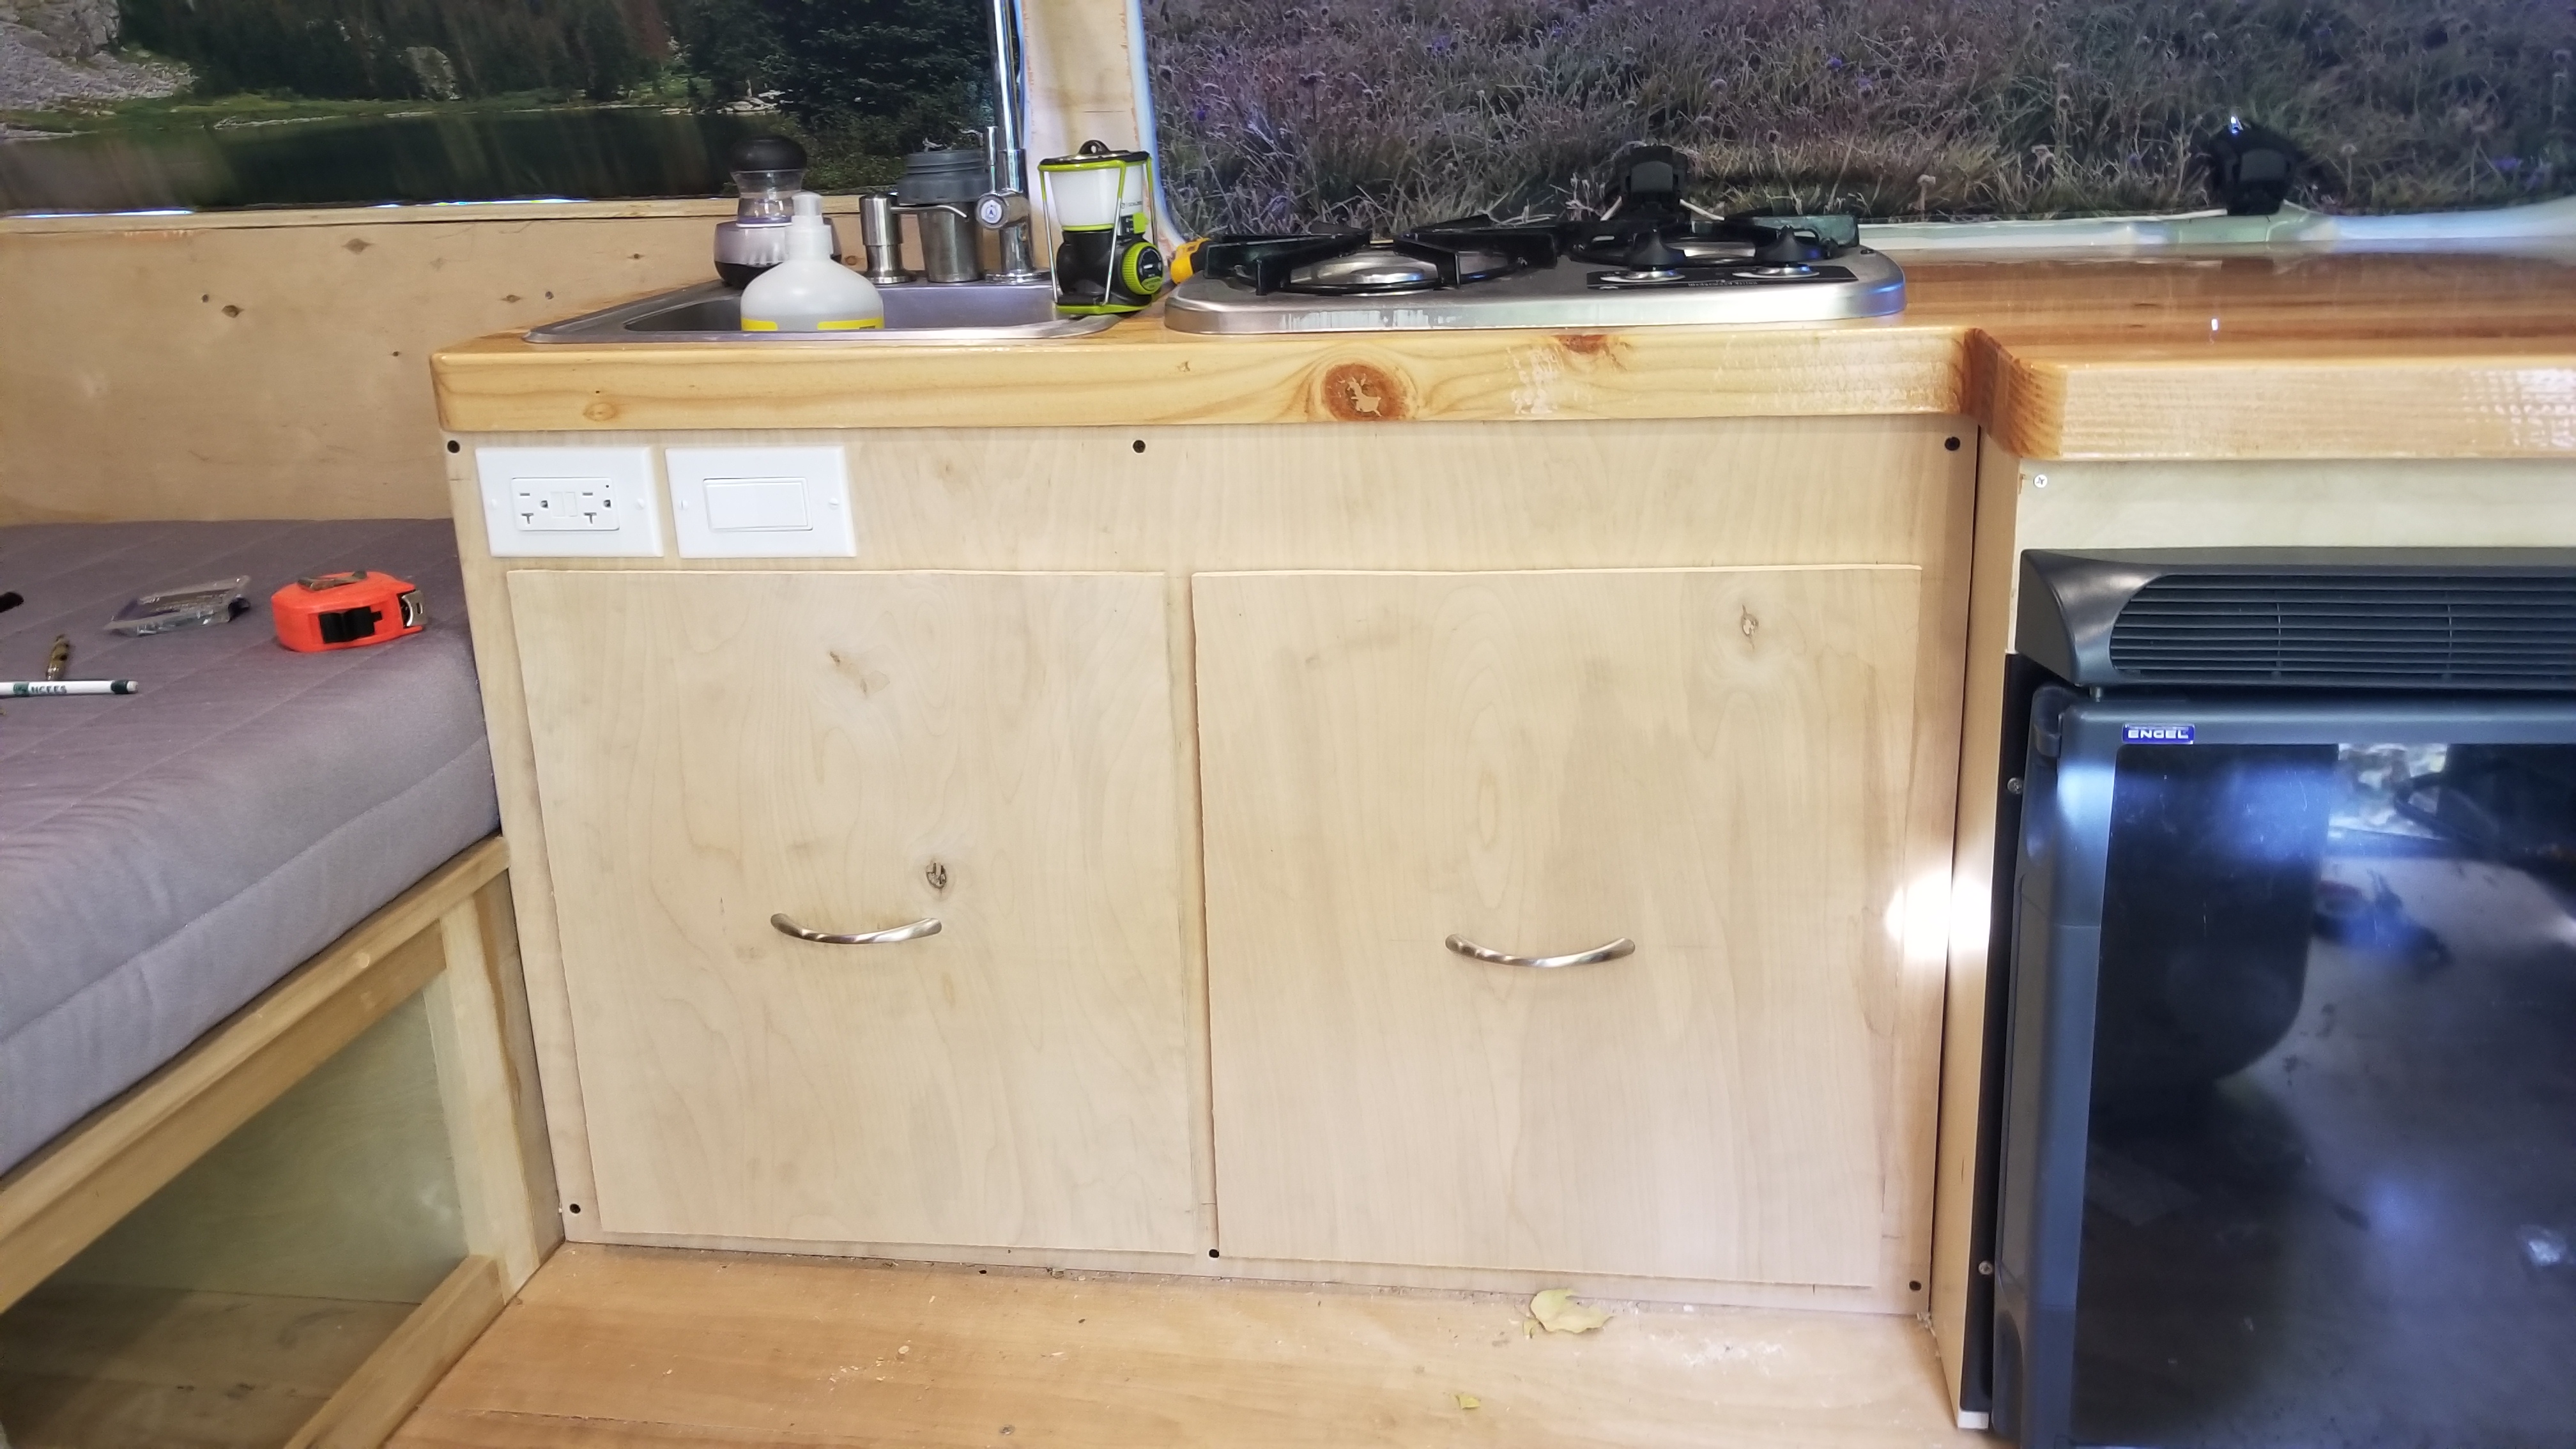
Cabinet face, cabinet doors, and 120V outlet & water pump switch in place. - Video: https://youtu.be/DV8UqHWMfhg
-
- Stain and seal the cabinet doors with the same stain and sealer as the ceiling, counter, and drawer faces.
- Affix your handles to the cabinet doors (I used the same handles as the front drawers beneath the bed).