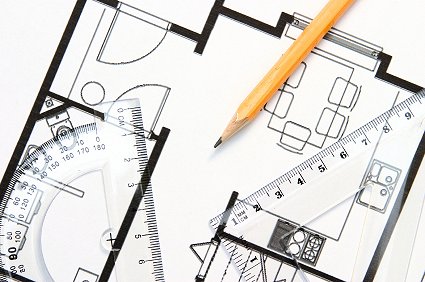

Step 2: Start your Camper Van Build Design!
This will go hand in hand with the dreaming step. Take all those things you liked or disliked into account when you scoured the internet (step 0) and start throwing a few sketches of what you think it should look like. But where to start?
Choosing your Design:
What do you want in your van? Convertible bed? Stove? Sink? Toilet? These are all personal calls, so let’s start with the simplest question:

Bed Design:
- Are you shorter than 6’ tall? If you are, you can build your bed driver side to passenger side in the van (as opposed to lengthways) saving yourself a ton of “living” room.
- Will you be rocking solo or with a partner? If you have a partner you will want the bed wide enough to accommodate two people.
Now that you have the dimensions for your bed you can start sketching and go from there. Measure your van, figure out where you want your bed and the rest of your appliances will fall into place naturally from their required dimensions.
You want everything in your van to be as dual purpose as possible! My bed is both bed and couch when you lift the back up. I have seen beds that convert to a kitchen table and seats, all kinds of options out there. Try to make the steps in converting your bed as minimal as possible. Too many steps will deter you from ever converting it and you’ll end up wasting the effort of trying to design/pay it for the dual purpose aspect of the bed.
Insulation:
Your thought here should be, where do I plan on spending most of my time with this vehicle? If you are in cold climates constantly you will want some good insulation as well as a heater. Every van should have some level of insulation; it dampens sounds outside of the van, locks heat in, keeps cold out or keeps the heat out if you are rocking an AC. It helps regulate your indoor temps.

Power:
This seems to be the area where I get most questions about because not many people have a good understanding of electricity. There are some great resources out there to help you along the way; I will attempt to make a quick explanation that makes sense.
If you plan on having power at night without running your engine the entire time then you’ll need a second set of batteries to provide that power for all your appliances. The batteries must have enough capacity to run your appliances when you are not charging them.

My Electronics Analogy: I tell people to imagine the batteries like buckets of water. Charging the batteries is like filling the buckets with water. The “water” is the current that runs your appliances. You can use as much juice as you have in the buckets (which depends on their size), but once the buckets are empty you’ll have to recharge them. The size of your buckets (or charge capacity (AmpH) of your batteries) should be selected by how much energy (current) you plan to use. That will all depend on your appliance selection and how long you plan on using those appliances when you aren’t charging your batteries. I’ll get into the power calculations in the Electrical section.
These secondary batteries will have to be charged somehow. There are 3 main ways of doing that:
- Solar Power: Solar utilizes panels which can be mounted to your roof in fixed position or can be mobile. You want to be in an area where you have a good amount of light during the day. If you are somewhere where it’s cloudy all the time, this may not be your best choice. (I will dive deeper into exact specs of the solar system in the Electrical section below).
- Pro: Totally separate system from your vehicle, is relatively easy to maintain, well used enough that companies make a “plug and play” system that you can just “throw in” and use. You can expand this system and add more solar or batteries if you need them.
- Con: High costs (depending on the system you select), knowledge of electrical circuits (if you build a custom system), solar panels lower the “stealthiness” of your van (making it look more lived-in).

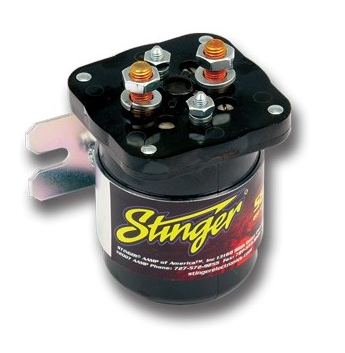
- Van’s Alternator: Your van is already equipped with an alternator which charges the van’s starting batteries. You can tap into this with an isolator and utilize this power to charge your batteries.
- Pro: No need to spend all that ca$h money on a solar system.
- Con: You have to modify your existing stock van wiring system, you need to run your engine in order to charge your batteries (this can be no big deal if you are moving the van constantly).
- Gas Generator: I have seen people run a Honda Gas generator to provide both electrical power and charge for their secondary batteries. Mounted on the back, you’ll need extra fuel to run it, and wire it into your secondary batteries.
- Pro: No need to spend all that ca$h money on a solar system or modify your stock van electrical system.
- Con: Requires secondary fuel supply, can be noisy, not stealthy and you will have to secure it to keep it from being taken off the back of your van.

Appliances:
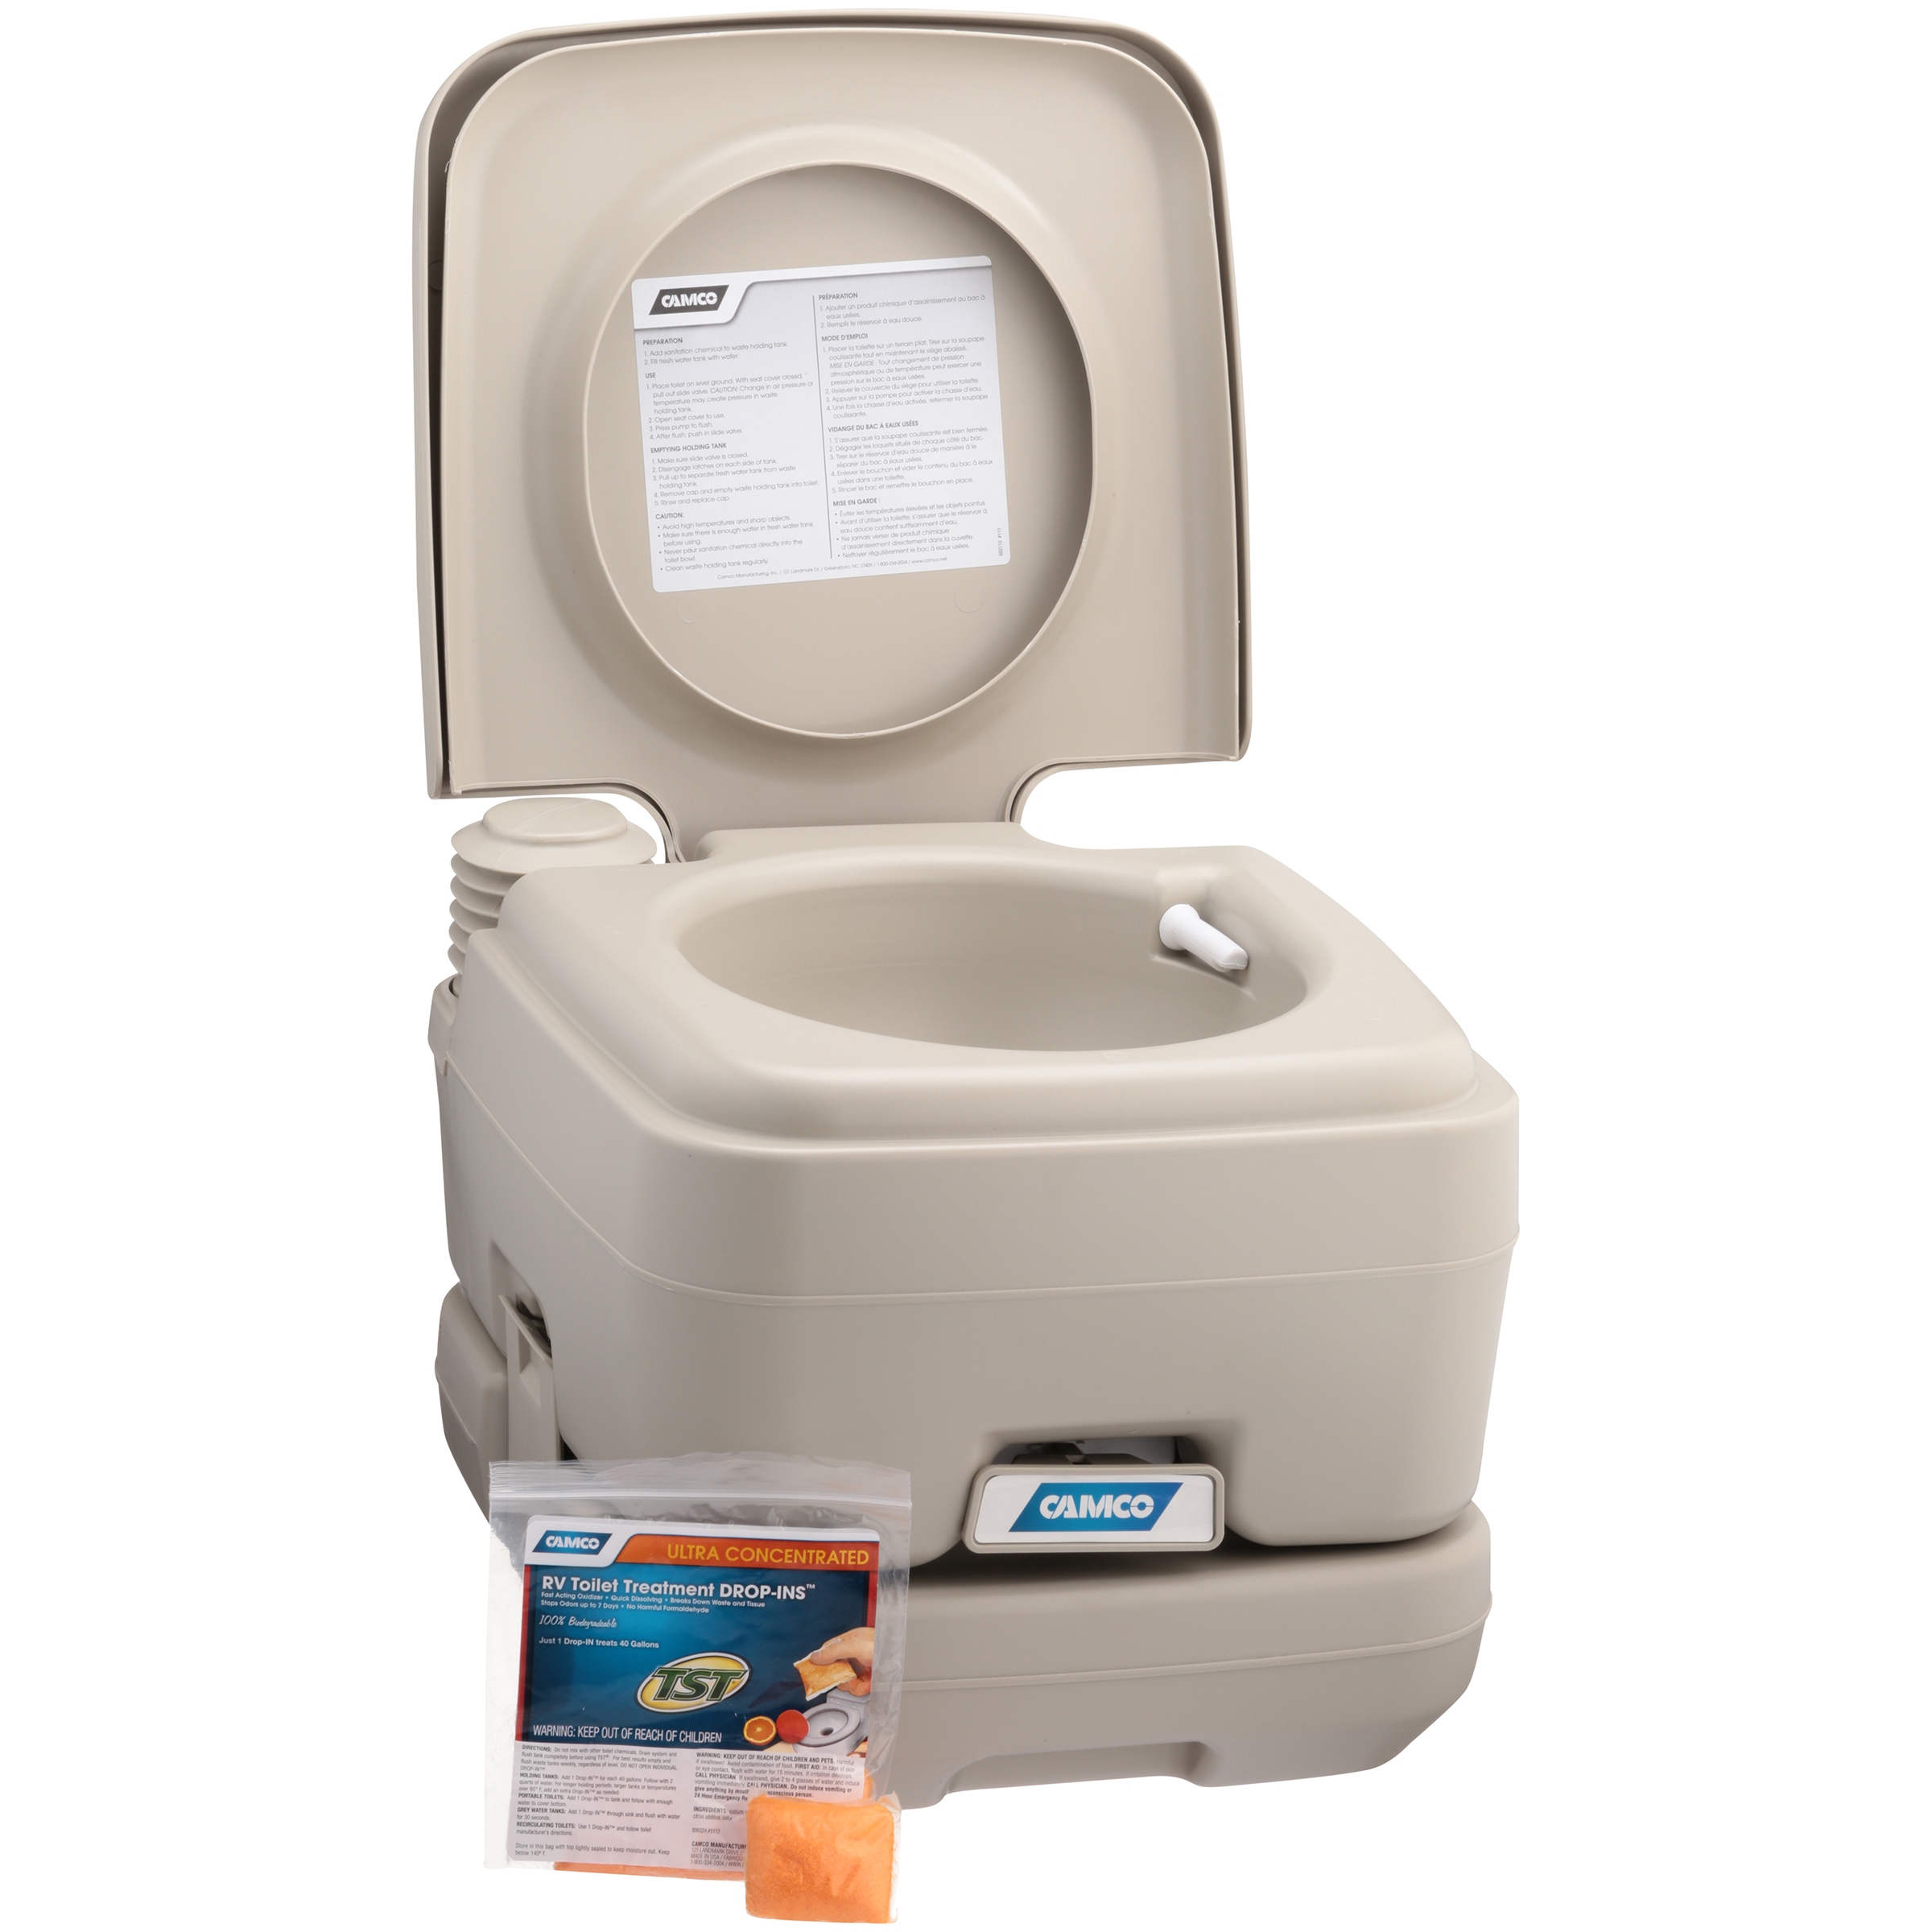
Sooo many options there! This is total personal preference at work. Do you like cooking with propane? Are you scared of propane in your van? Do you need a fridge? Must you have a sink? Do you want a toilet? Shower? Must have that hair dryer?!

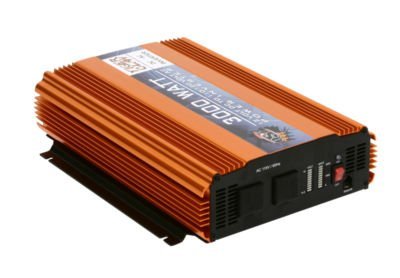
Most appliances you will put in your van should be running on a 12V system. Some appliances (like plug-in appliances (blender, hair dryer, induction stove) that you don’t want to hardwire into your van can be used by utilizing an inverter.
Inverter: An inverter uses your 12V DC (direct current) battery power and converts it to 120 Volts AC (alternating current) just like your outlets at home. An inverter will typically have 1-2 wall plugs on it which you can use to plug in any household appliance (you can plug in extension cords into these and run them behind your walls so you can have an outlet anywhere in your van that you want). Remember that this power conversion is not perfectly efficient so when you can hardwire something in at 12 Volts, you should. Example: Water pump for sink, fridge, fan, ect.
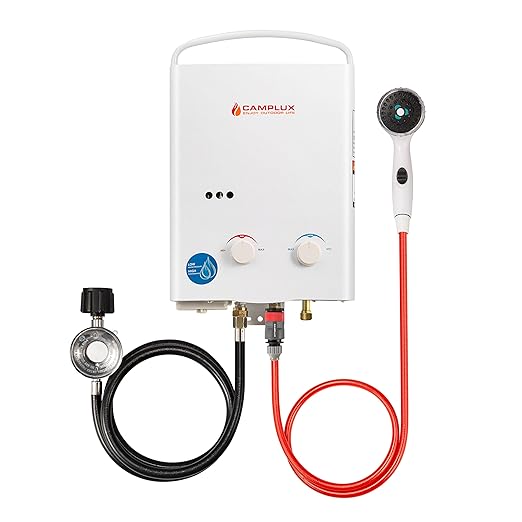
Typical appliances I’ve seen: induction stove, propane stove, fridge, fan, water pump (for sink or shower), water heater, toilet, microwave, oven, pretty much anything you have at home.

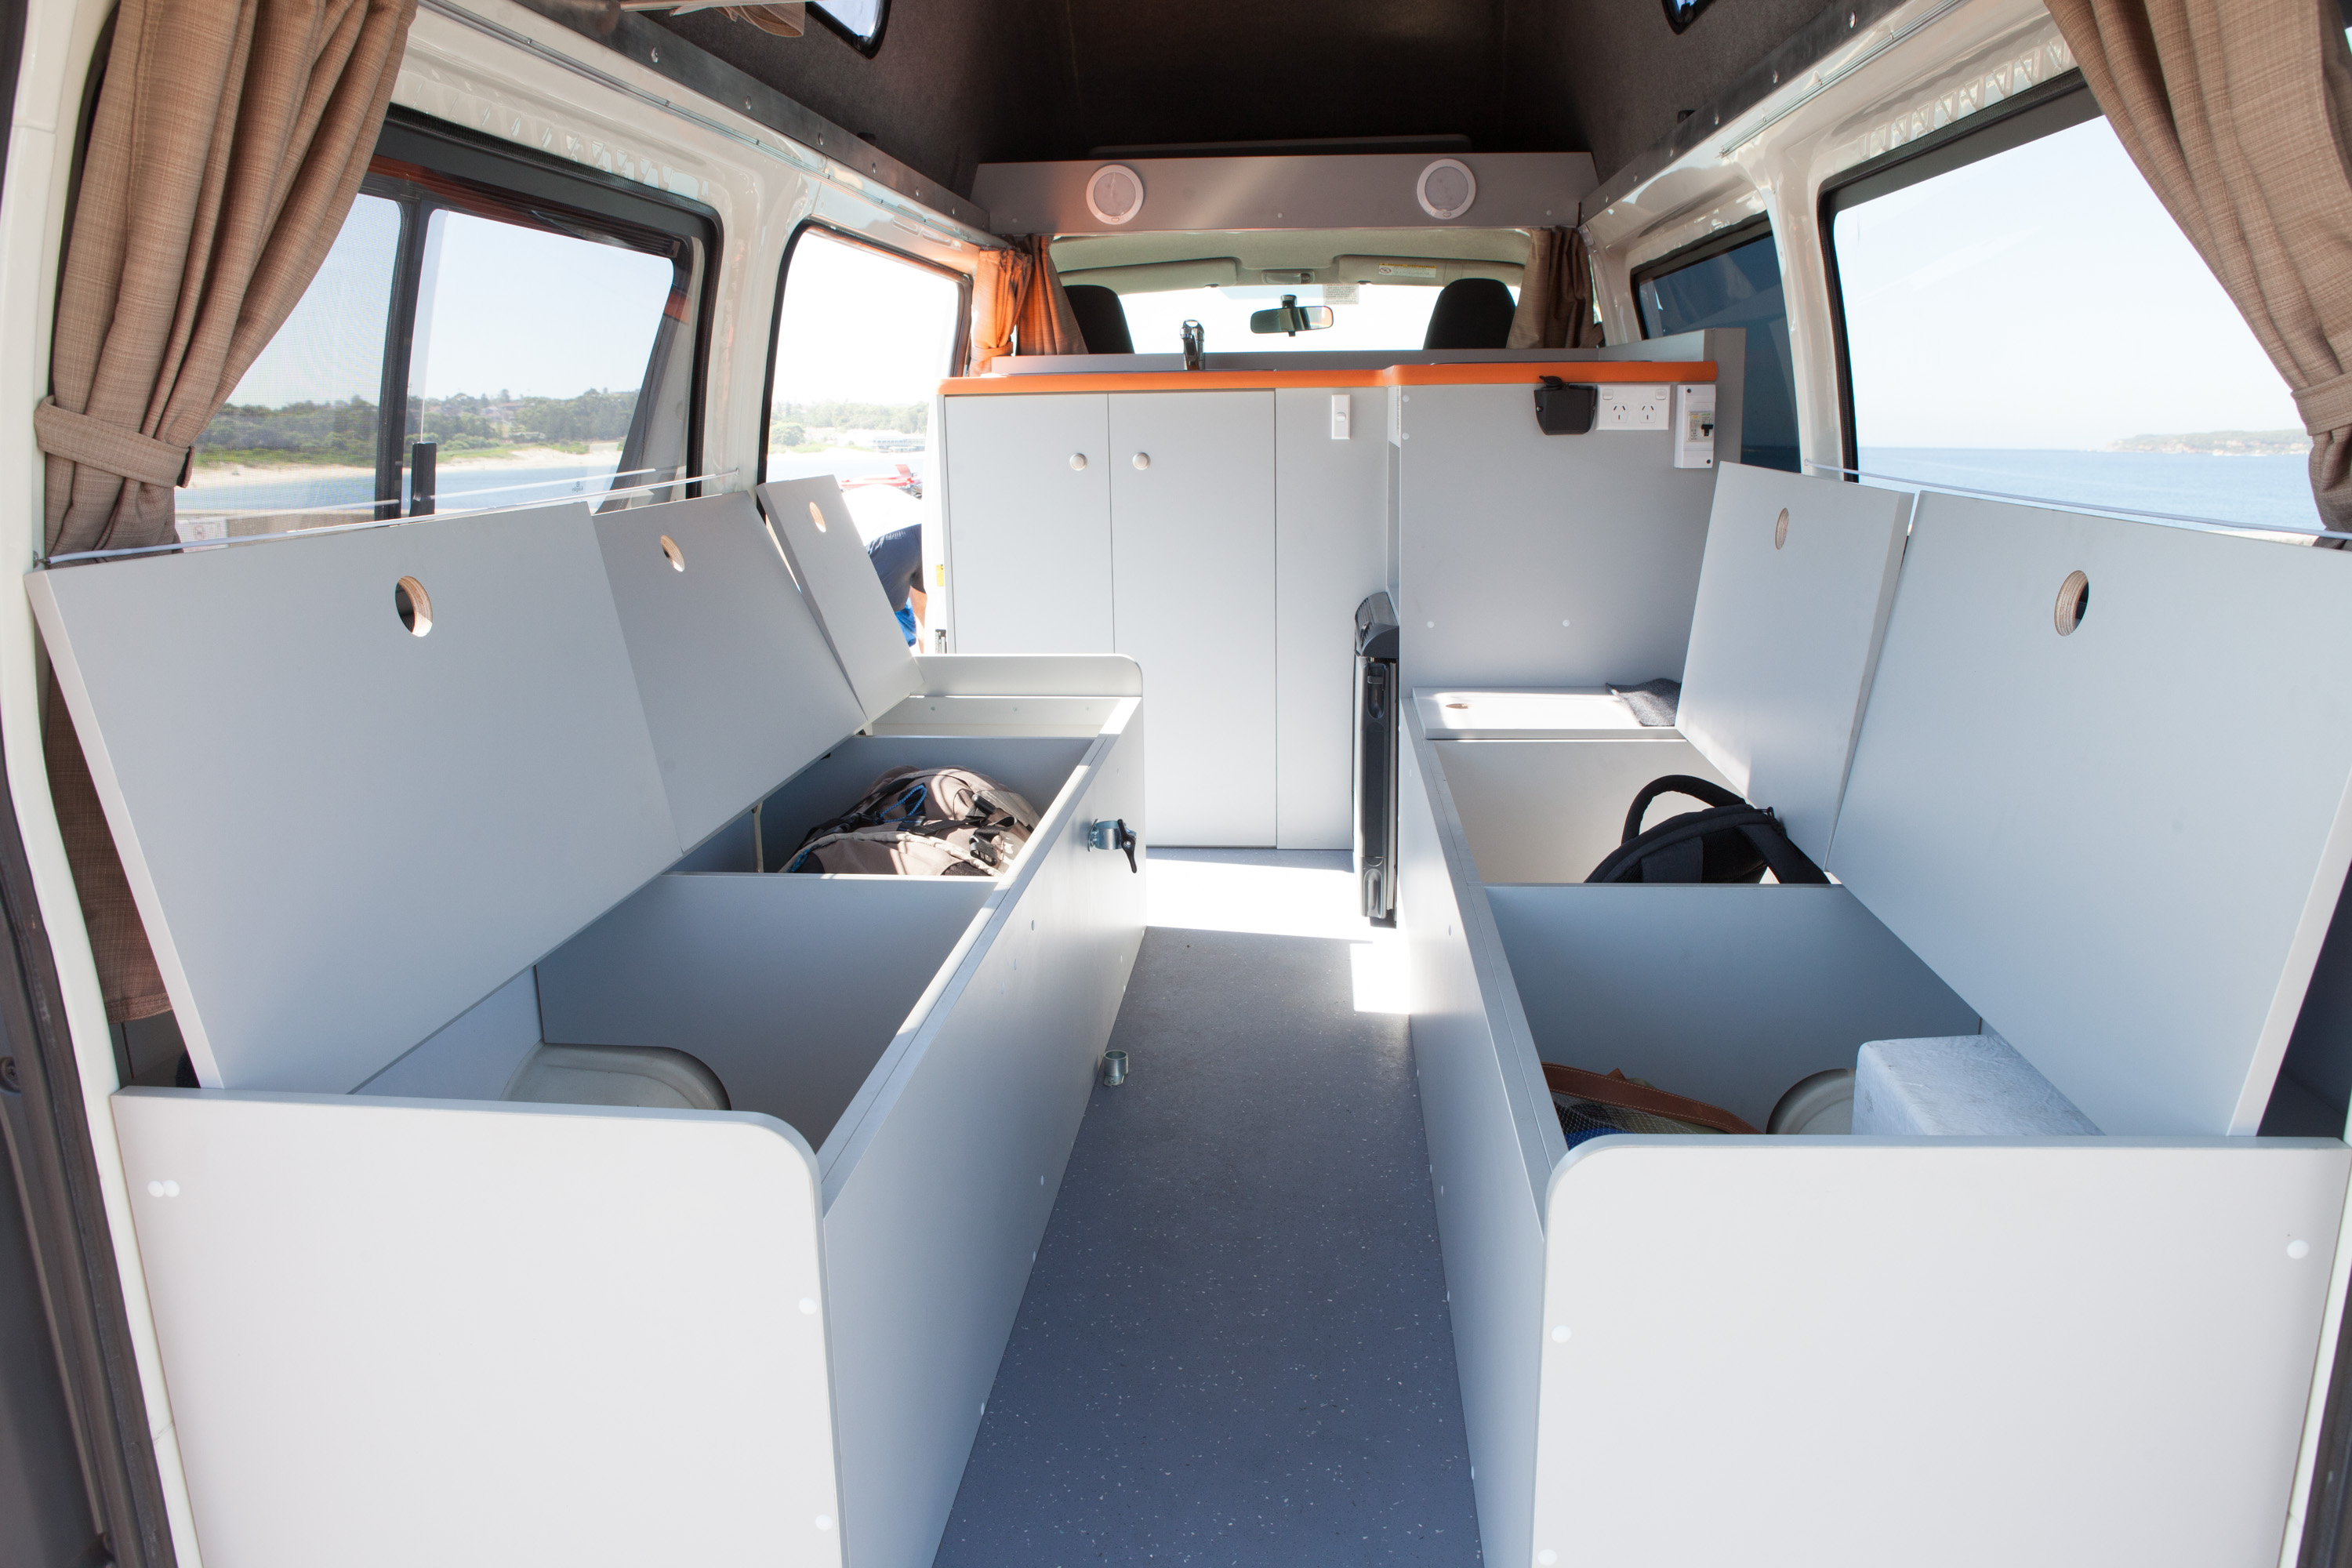
Storage:
You need to decide early on if you are going to keep your windows (if your van came stock with them) or if you are going to insulate and cover everything. Most of the heat loss (in cold temps) or heat gain (in hot temps) is through the glass windows. You need to decide early on if you are going to keep these or not. Keeping or covering the windows will really change your storage design. Some people build shelving and closets, if you are going to keep the windows this will obviously be a challenge.

Building Materials:
There are plenty of building materials to choose from. I’ve seen bed frames from metal, whole builds from hardwood, ply board, pressboard, laminate, ect. I would stay away from stone for countertops and flooring because it is very heavy and can crack. You want something that will flex a little with the movement of your vehicle. I did my build from pine plywood for most of the framing, pine hardwood for counter tops, and ton-n-groove pine for the ceiling. Wood can be difficult to work with, but is the easiest to be molded or cut to the shape that you desire.

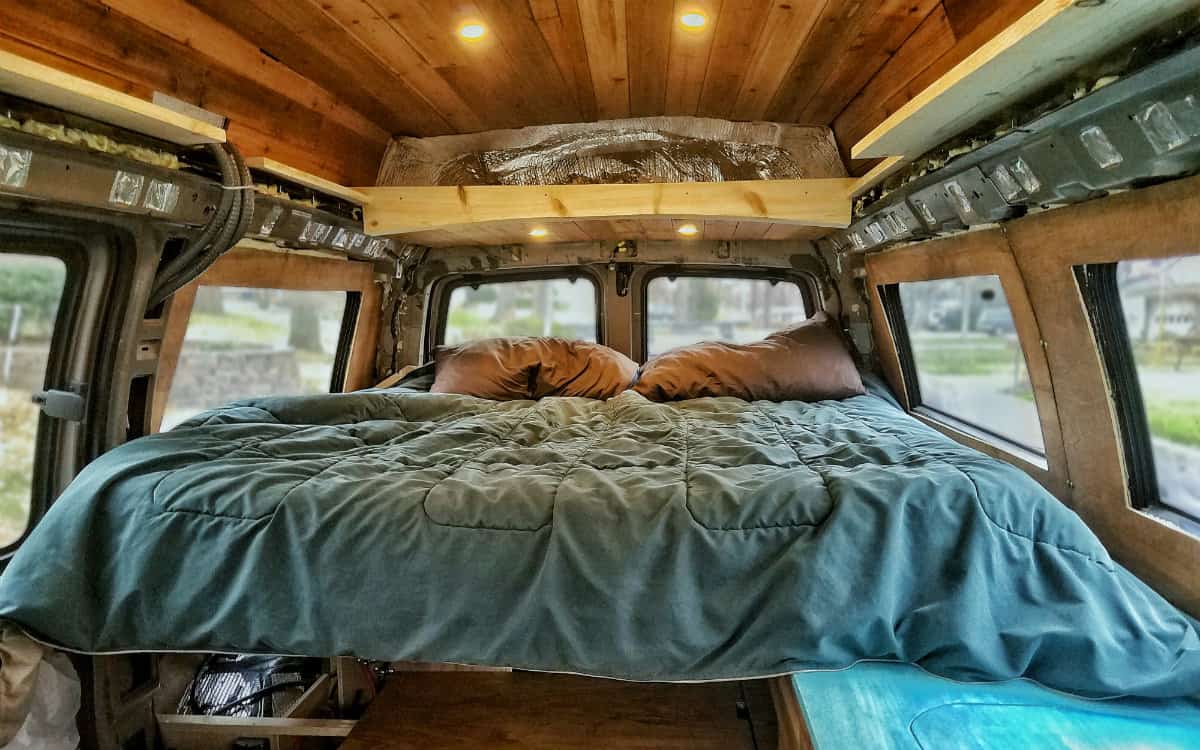
My Design:
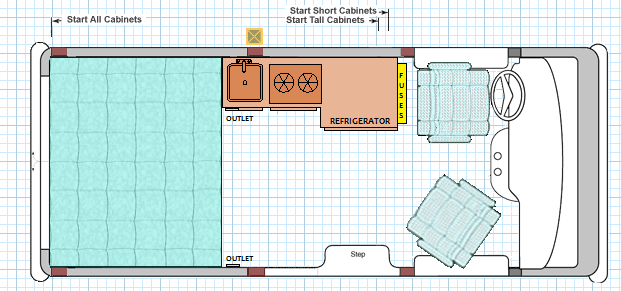
Bed: I chose to have side-to-side bed (I am 5’7”) that was low enough to the floor that I could still sit up in it and use it as a couch.
Insulation: This wasn’t a huge priority as I can always cuddle up in a sleeping bag and it doesn’t get killer cold in the Southwest.
Power: I opted for a solar powered setup (I live in the Southwest) more specs on system in Electronics section.
Appliances:
- Fantastic Fan – Used for ventilation when cooking and cooling off in summer.
- Fridge – I opted for a 12 Volt fridge to keep my beer cold!
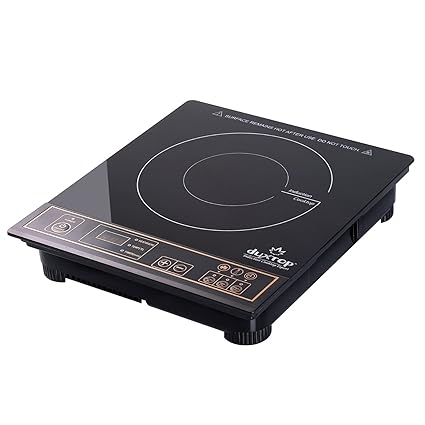
- Stove – I opted for propane, it’s cheap and I love cooking with gas. Some people are very cautious when it comes to propane gas so they decide to go with induction stoves. However induction stoves will use a lot of your battery power, they require about 1,800 Watts at full blast, which gives 1-2 hours of cooking time before your batteries may drain (depending on their capacity). There is no right answer here, just do what makes sense for you.
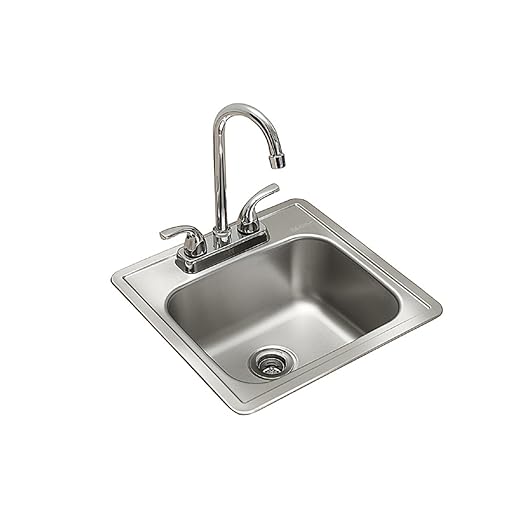
- Sink – I opted for a small sink with water pump, gotta clean those dishes!
- Lights – I went with two sets of LEDs, one bright to find things and get crap done, one for ambience and chillin.
Storage: Lastly I wanted to keep my entire build below the windows. This was very important to me as I wanted an open layout in my van and didn’t want to feel like I was stuck in a fart coffin . . . just sayin!
Building Materials: I decided to go all wood on my ceiling, walls, and floor as I wanted a nice aesthetic finish. I planned on painting the walls and main body of the bed/cabinets white while leaving the countertop, drawers, cabinet covers, ceiling, and floor its natural wooden finish.
Don’t stress if you don’t have every detail all worked out to a Tee! The design can develop as you begin building. You will have to adjust your design as you go when you realize the size and dimensions of your appliances which will fix and bound the dimensions of your build.